Paper Flower Burlap Wreath
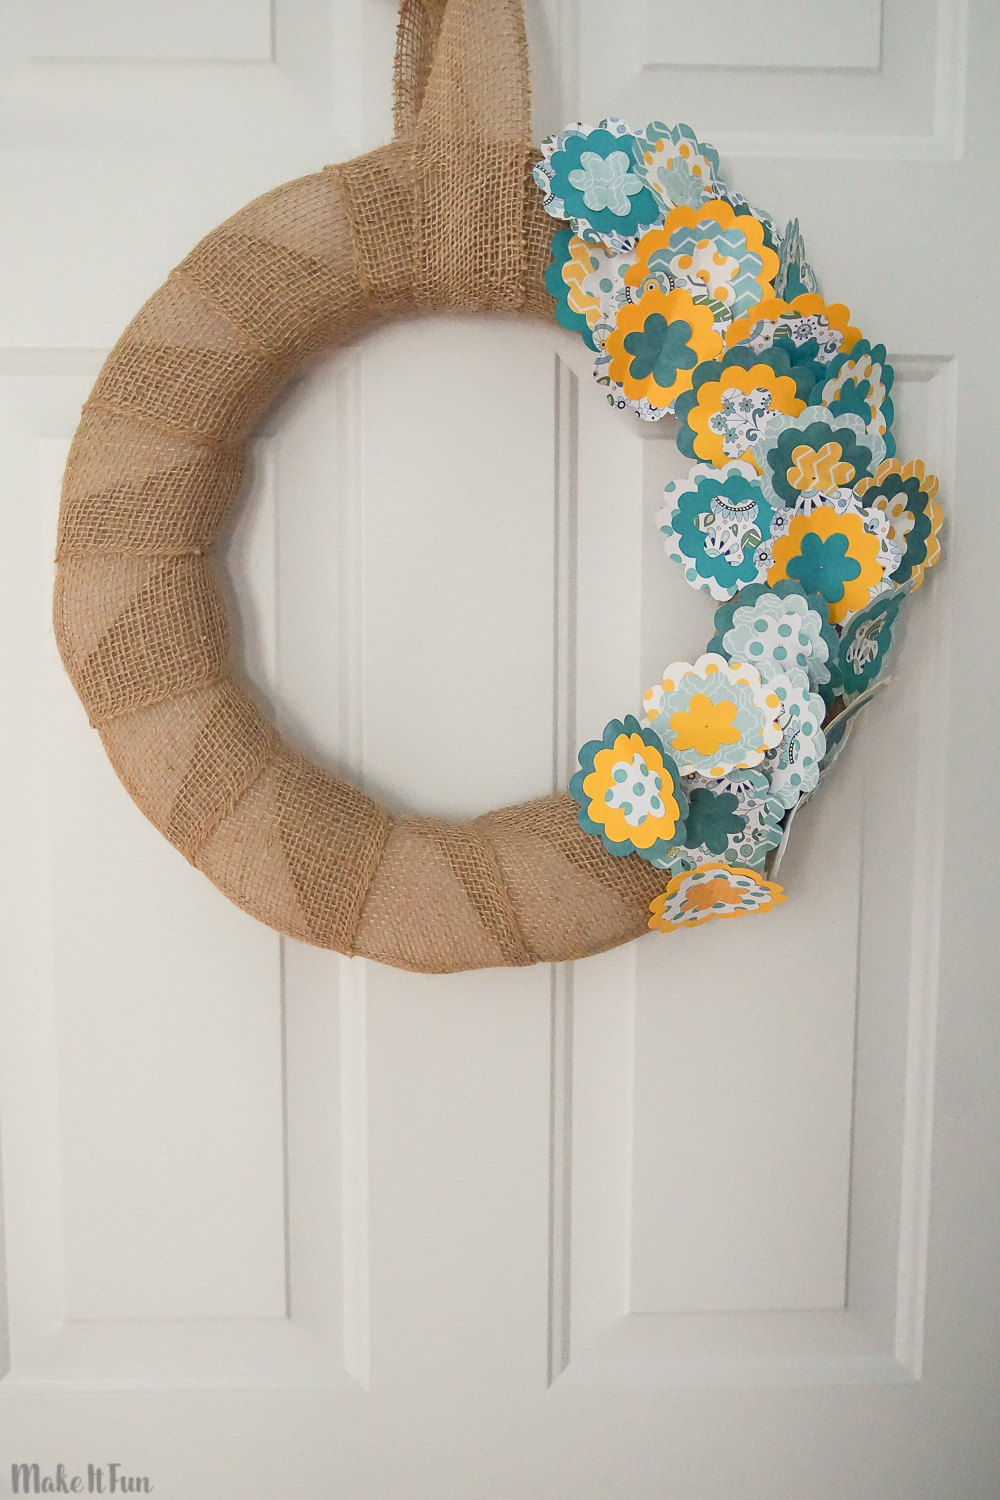
Summer is one of my favorite times of year! I love the green grass and the bright colors I see people wearing around town or at the pool. And, with the pastel tones of spring making way for brighter colors, I thought this Burlap and Paper Flower Wreath would be the perfect addition to my door through these sunny summer months! The cute paper flowers are so whimsical and bright and with only a few supplies and a few minutes, you can make your own to hang on your door!
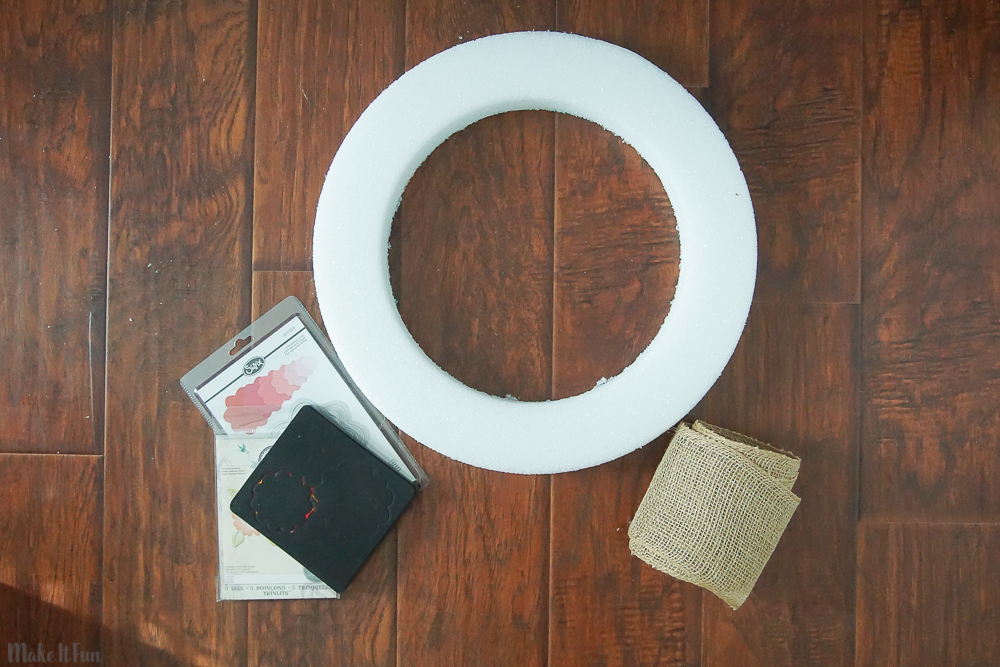
Supplies needed to make this project:
- FloraCraft® Make It: Fun® Foam: Wreath, 18″
- Burlap Ribbon
- Scrapbook Paper (I chose to use turquoise and yellow)
- Flower Die or Punch
- Straight Pins
- Adhesive (I used Rubber Cement)
- Low-Temp Glue Gun & Sticks
- Scissors
Instructions:
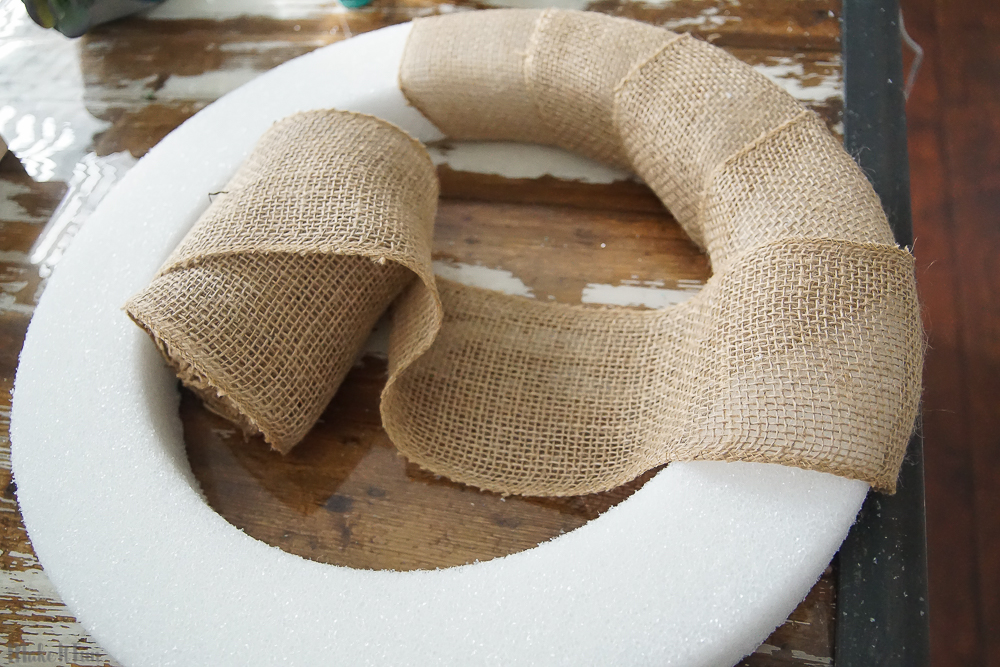
You will want to begin by wrapping the burlap ribbon around the wreath ring. Secure the beginning edge of the ribbon with low-temp glue. Remember a low-temp glue will work better with this project so it doesn’t melt the foam! Then wrap the ribbon around the wreath ring until the entire ring is covered. Snip the edge with scissors, and glue it onto the wreath. Sometimes I press down on the burlap ribbon with a pencil or the end of a foam brush to secure it without burning my fingers.
Now, take your punch or die cutter and cut several flower shapes in various colors and paper patterns.
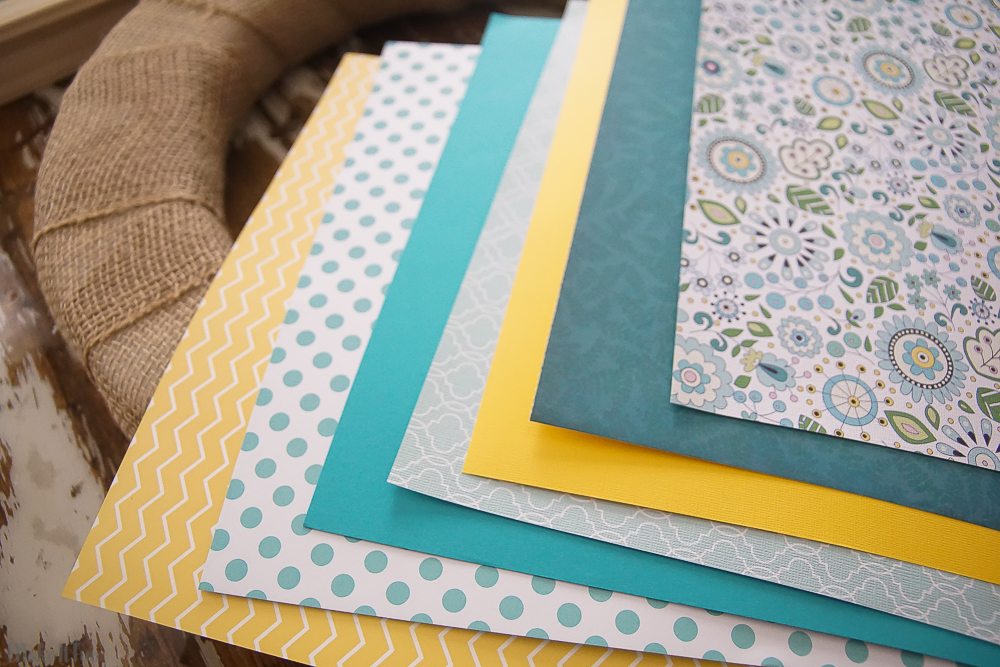
Stack the flower shapes in various patterns and secure each layer with rubber cement.
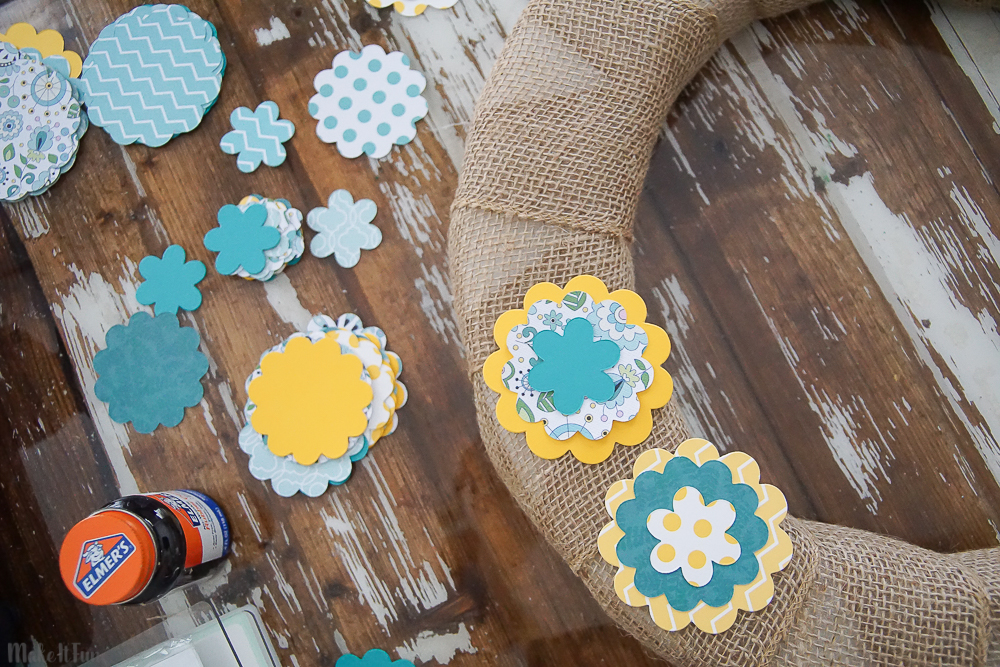
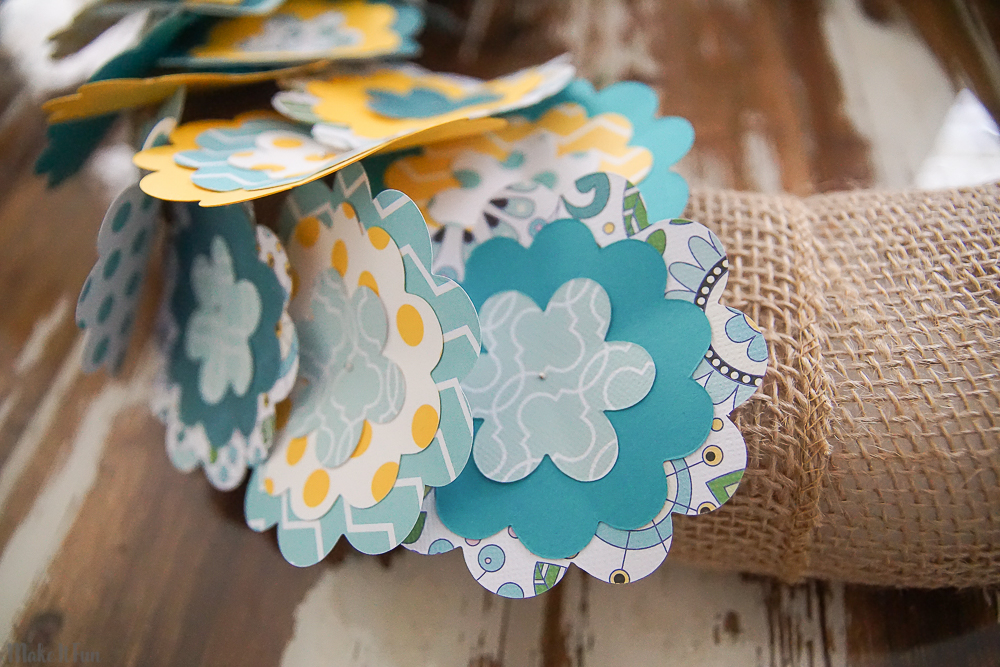
Stick a straight pin into the center of each flower. I bent around the petals so the flowers would have a little more texture to them. Then attach the flowers to the wreath.
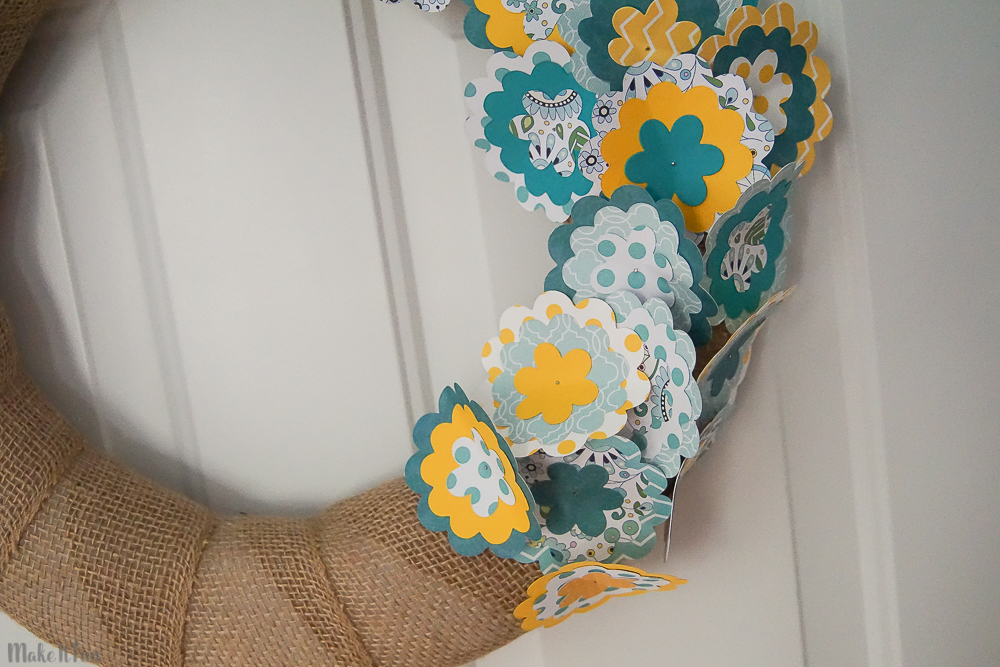
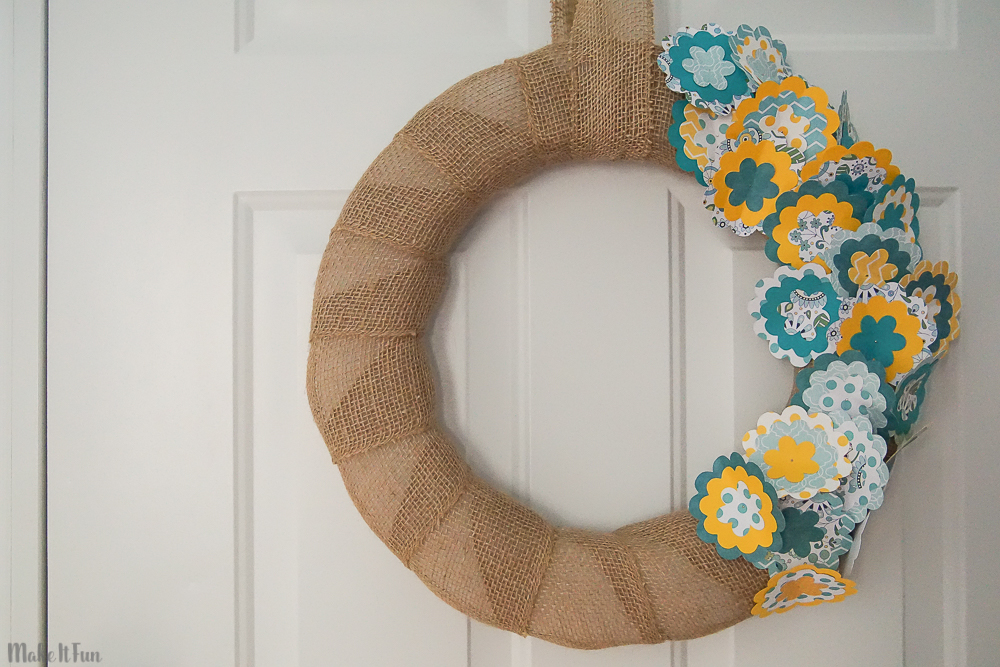
I chose to place mine in a bunch which cover about one-third of the wreath, but you could put them around the wreath any way you want!
Now the wreath is ready to hang on your door all summer!


Leave a Comment
Want to join the discussion?Feel free to contribute!