DIY Arrow Wall Art – Two Ways
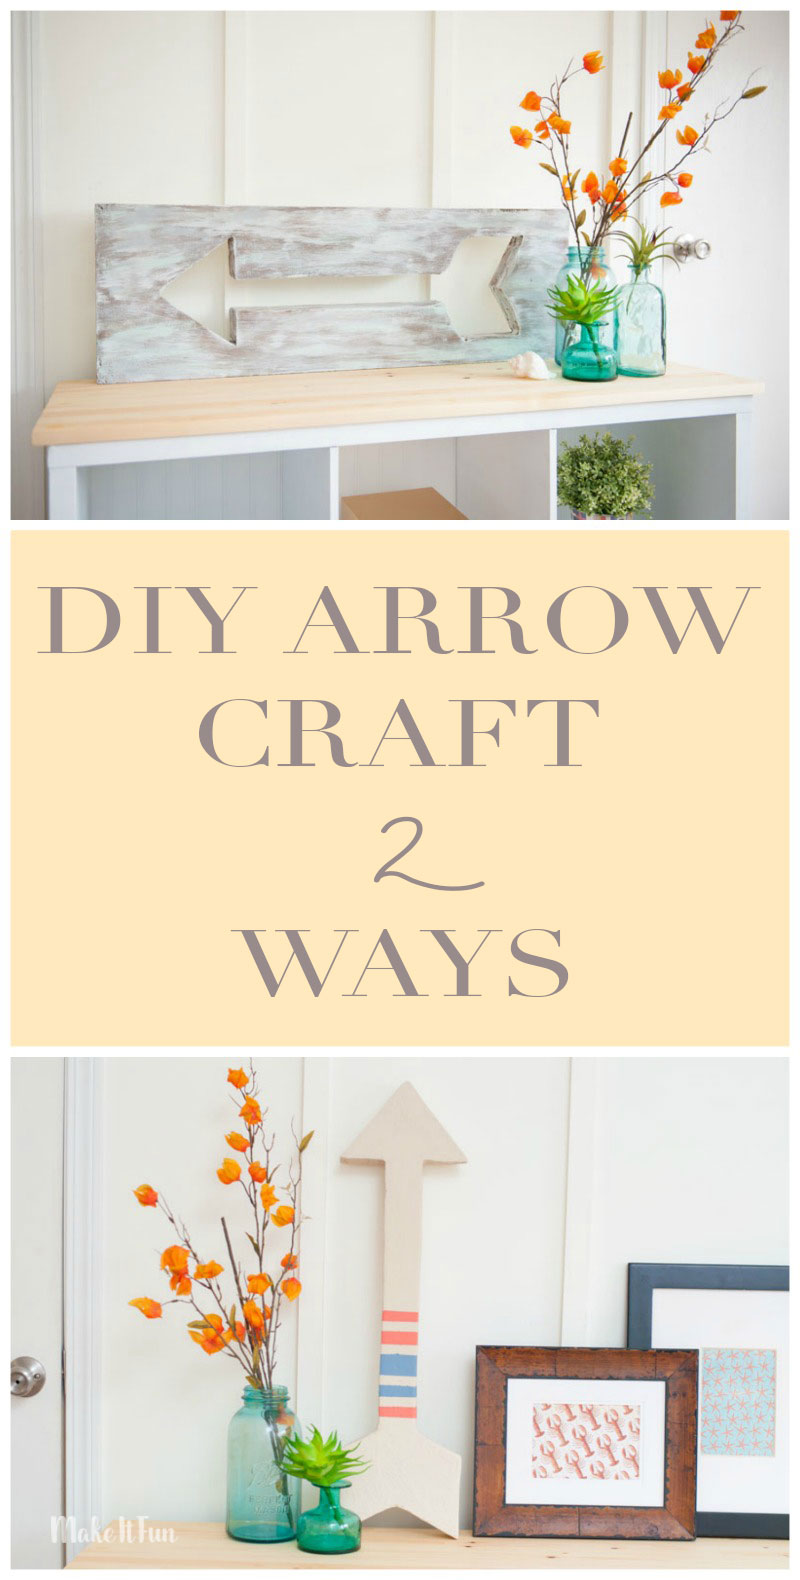
This is a project I’m really excited to share. When I first came up with the idea I was just planning on making a painted arrow. I soon realized I could get two for one out of this if I planned ahead. And it just happens to be perfect for Valentine’s Day decorating!
Supplies needed to make this project:
- FloraCraft® Make It: Fun® Foam: Sheet 2 x 12 x 36″
- FloraCraft Smooth Finish® Paintable Coating
- FloraCraft® StyroCutter® Plus
- Arrow Template (from online or a cutting machine like a Cricut® or Silhouette®)
- Sharpie Marker
- Straight Pins
- Sandpaper
- Acrylic Paint
Instructions:
I decided to use the thickest foam sheet I had on hand which is two inches thick. I wanted it to really be a statement piece. I used my trusty Silhouette Cameo to cut out my arrow template, but you could free hand this, use a ruler or print one from online. My arrow is approximately 28″ long.
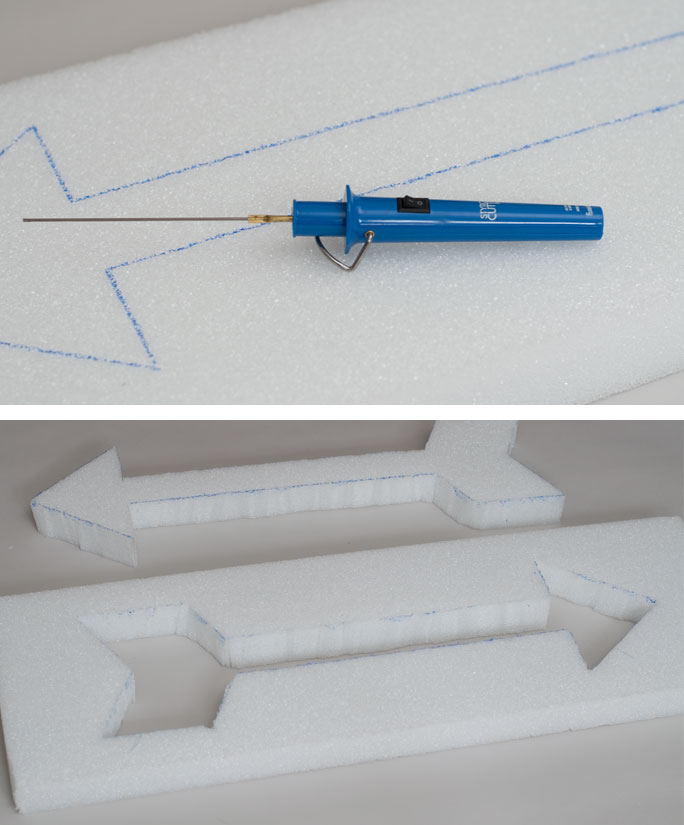
I used some straight pins to help keep my cutout in place and traced it out with a sharpie. If you don’t want to draw on the foam, you can also use the template as your guide, but it’s best if you use a thicker paper stock. Be sure to place the arrow centered on the foam sheet to be able to use the negative as your second project.
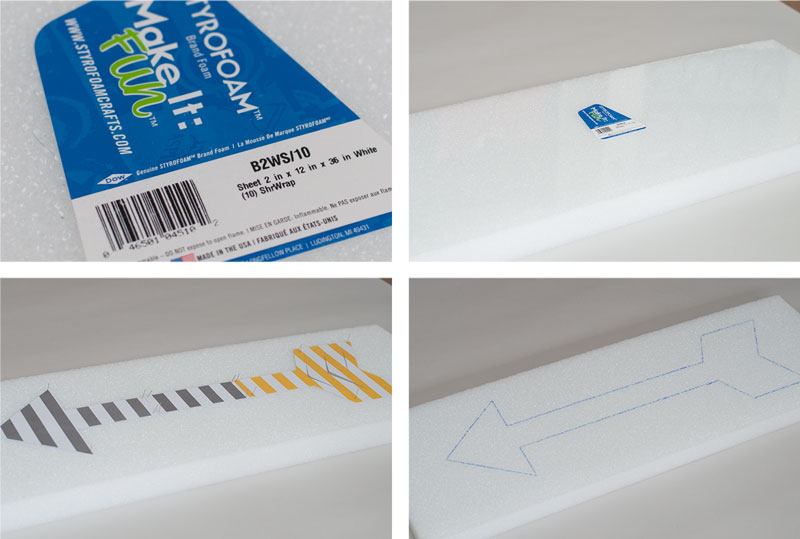
Next, I pulled out my trusty StyroCutter Plus to cut out the arrow. Be sure to read the packaging instructions carefully before using this tool…it get’s really hot! I started at the top point of my arrow, working my way around. Just gently guide the cutter around the foam and let the tool do the work. If the wand is bending, you’re pressing too hard. It cuts the foam perfectly.
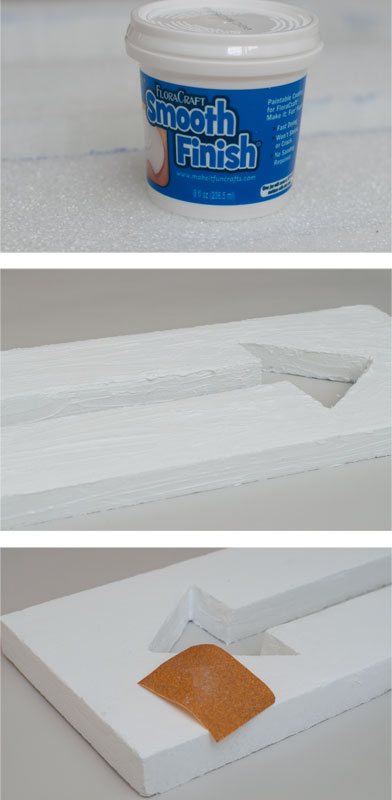
Once cut out, you can use a fine grit sand paper to smooth out the cut edges. Then I covered both pieces with Smooth Finish to fill in all the cells. With projects like these I always add two coats. Letting each layer dry several hours. I just smooth is down with my fingers, making sure to get in all the cracks.
Once it dries, I go over with some fine grit sandpaper. I basically treat it like wood at this point, making it as smooth as I can.
Now the fun part… Painting!
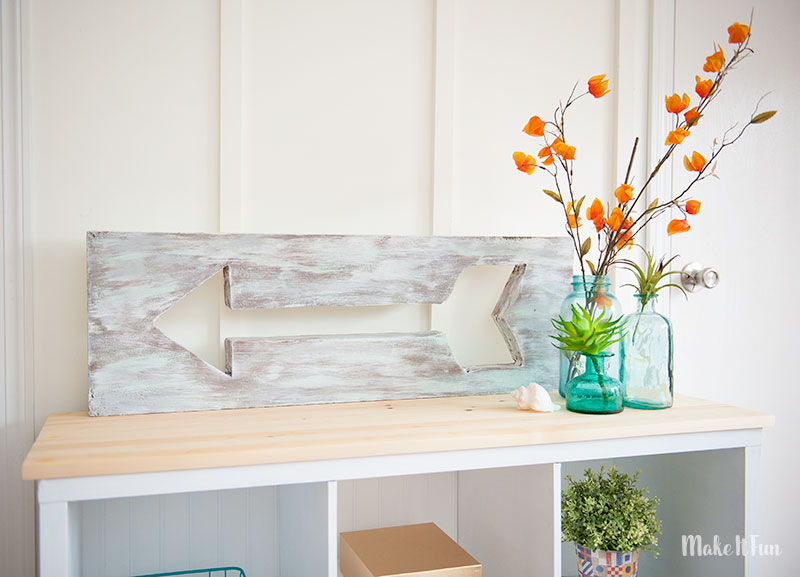
My first layer was a dark brown stain from DecoArt. Then I wanted it to have a rustic feel, so I lightly painted on several different colors of chalk paint; white, mint and gray. Once the paint dried I sanded the piece again.
The first piece is ready to display!
The second piece is just using the arrow cutout from the first project and treating it the same way! Cover it with Smooth Finish and then paint! This one I painted to match my nautical theme in my home, but there are so many options. You could paint it pink and red for Valentine’s day, mixed metallics for a modern feel or even traditional Aztec colors!
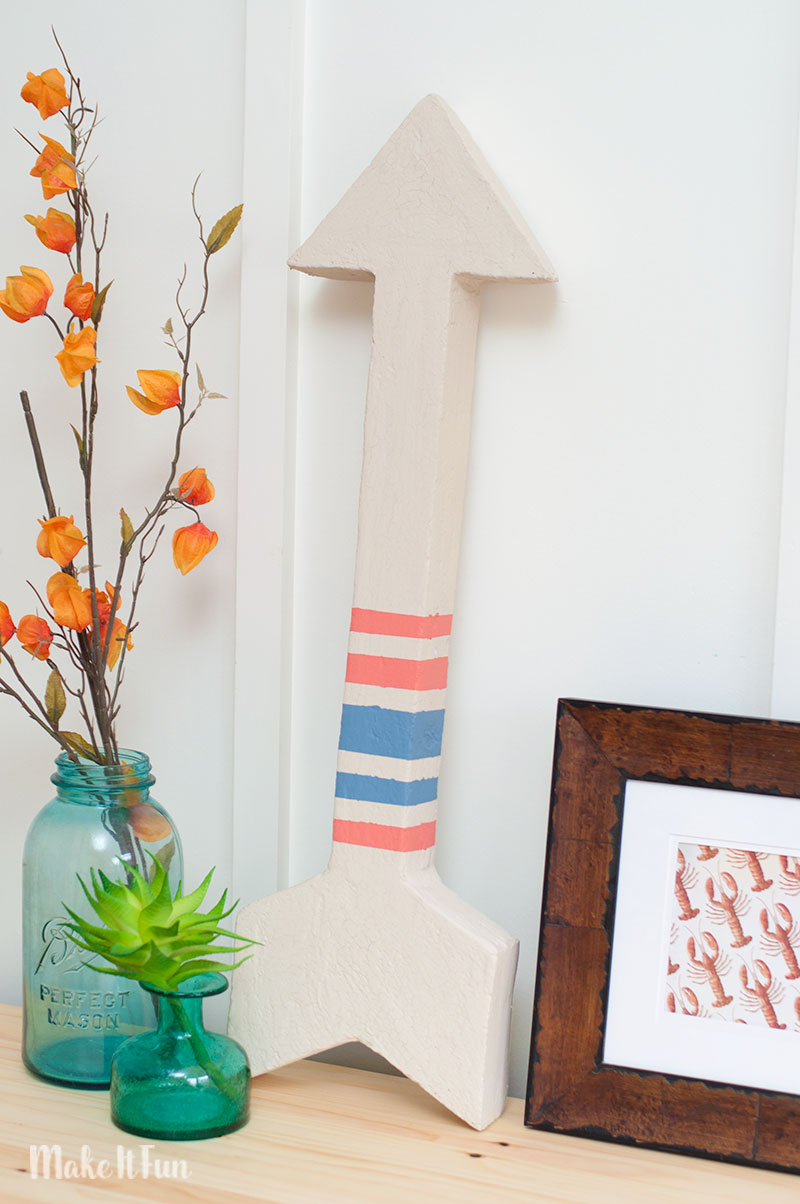
I am beyond happy with how these arrows turned out! There is really so many ideas you could do with this. They are so lightweight that you can display them anywhere!
What shapes would you create using foam?



Leave a Comment
Want to join the discussion?Feel free to contribute!