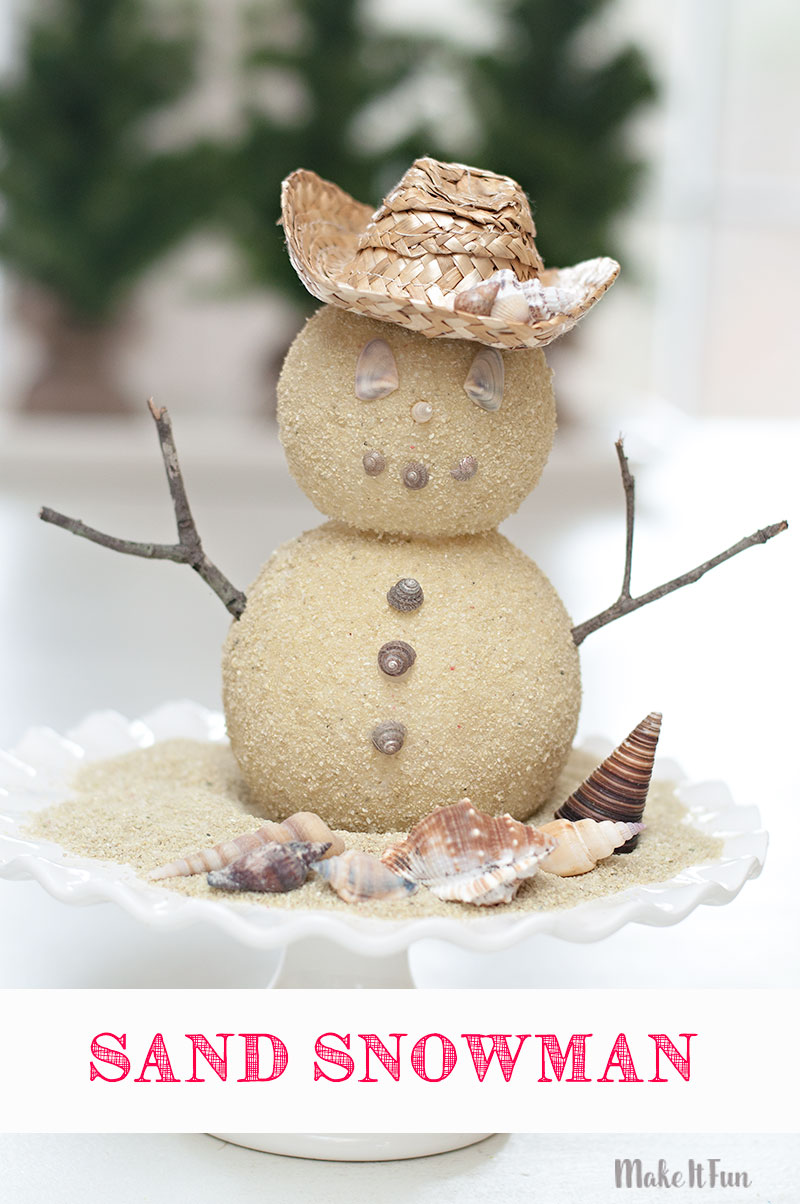
Beach Sand Snowman
Winter is here! Its cold and snowy in many places so I wanted to bring a little warm, beachy feel into this next project.
One project that I’ve really wanted to make was this sand snowman. I pinned this ornament from Pier 1 last year and ever since I’ve really wanted to make it myself.
I already had the sand and shells on hand from when I lived in Florida. I saved bags of sand and shells for crafts like these. Now it’s time to get started. This is a super fast project, my favorite!!
Supplies needed to make this project:
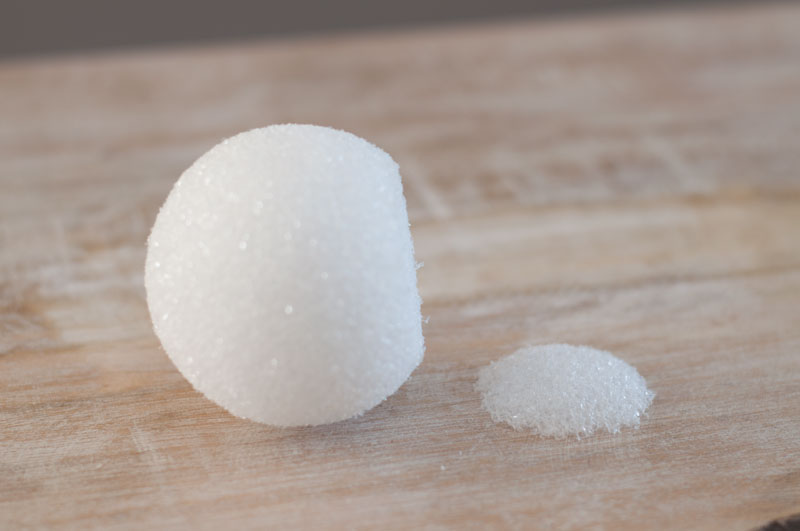
- FloraCraft® Make It: Fun® Foam: Balls (any two sizes)
- Mod Podge
- Sand
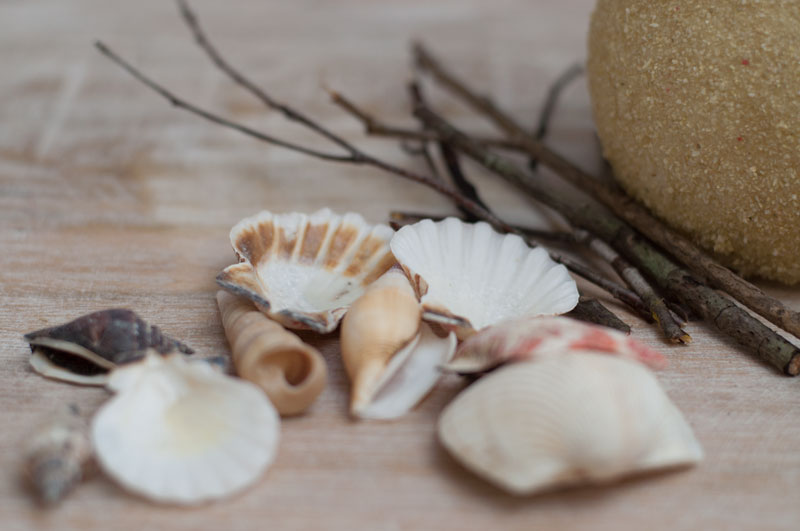
- Shells
- Twigs
- Mini Straw Hat
- Paper Straw or Toothpick
- Serrated Knife
- Low-Temp Glue Gun and Glue
Instructions:
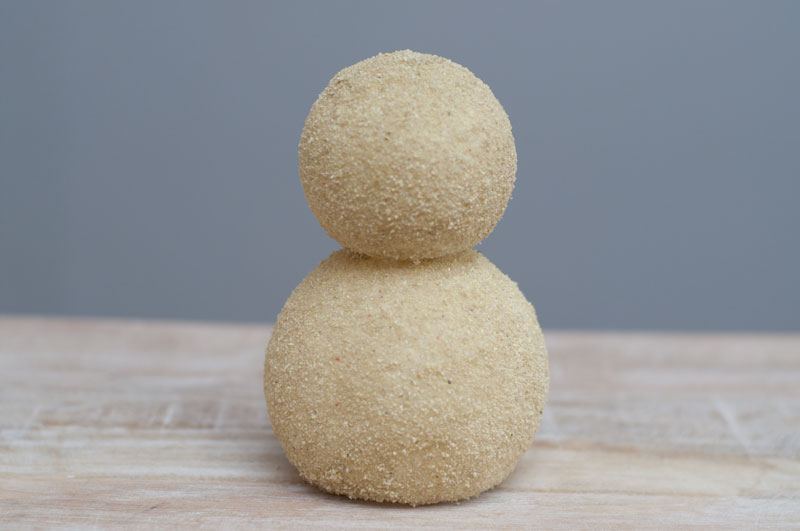
First, cut a flat spot off both balls.
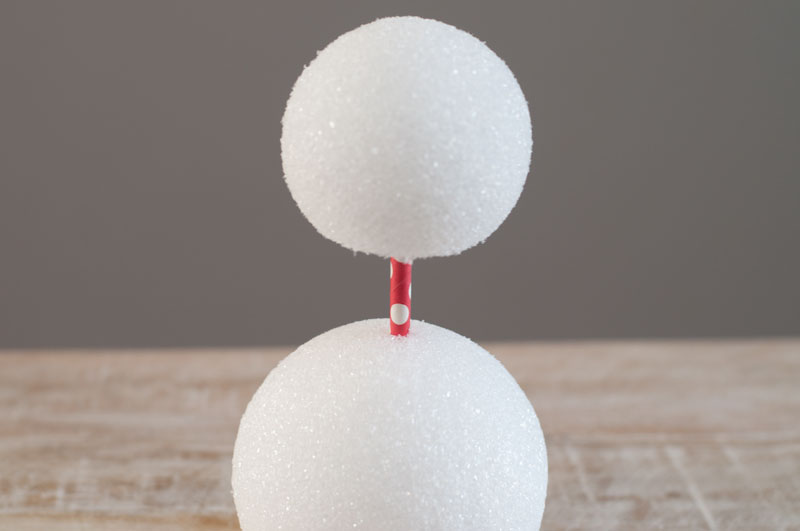
Next, insert a straw into the rounded end of the large ball and attach it to the flat side of the smaller ball. You can also use a toothpick, but I had a straw on hand.
Cover the balls with Mod Podge and sprinkle sand on top before it dries.
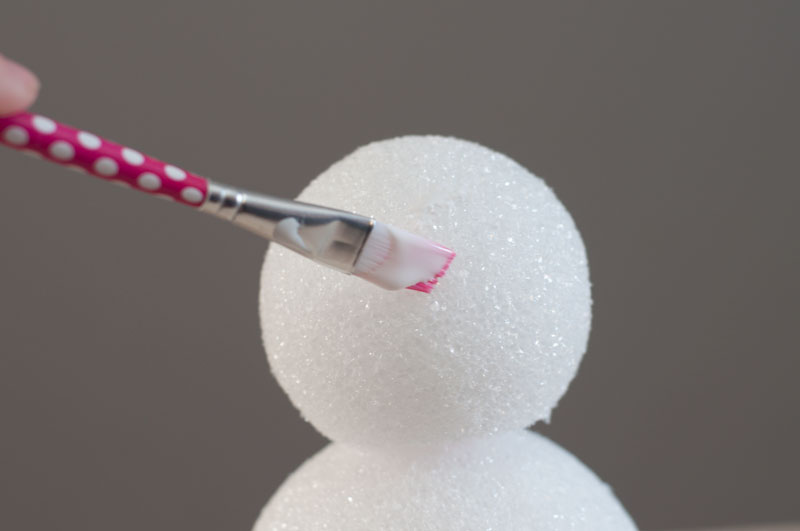
It’s best to do sections at a time. Let dry 2 hours.
Finally, it’s time to add our details!!
I really wanted this sand snowman to feel like he was made at the beach… So I used shells for everything…eyes, nose, mouth and buttons. Just glue them onto the snowman however you’d like. I pulled some sticks from outside for the arms and I found the hat at Hobby Lobby.
This is the perfect way to bring some of that beachy feel into your winter decor!
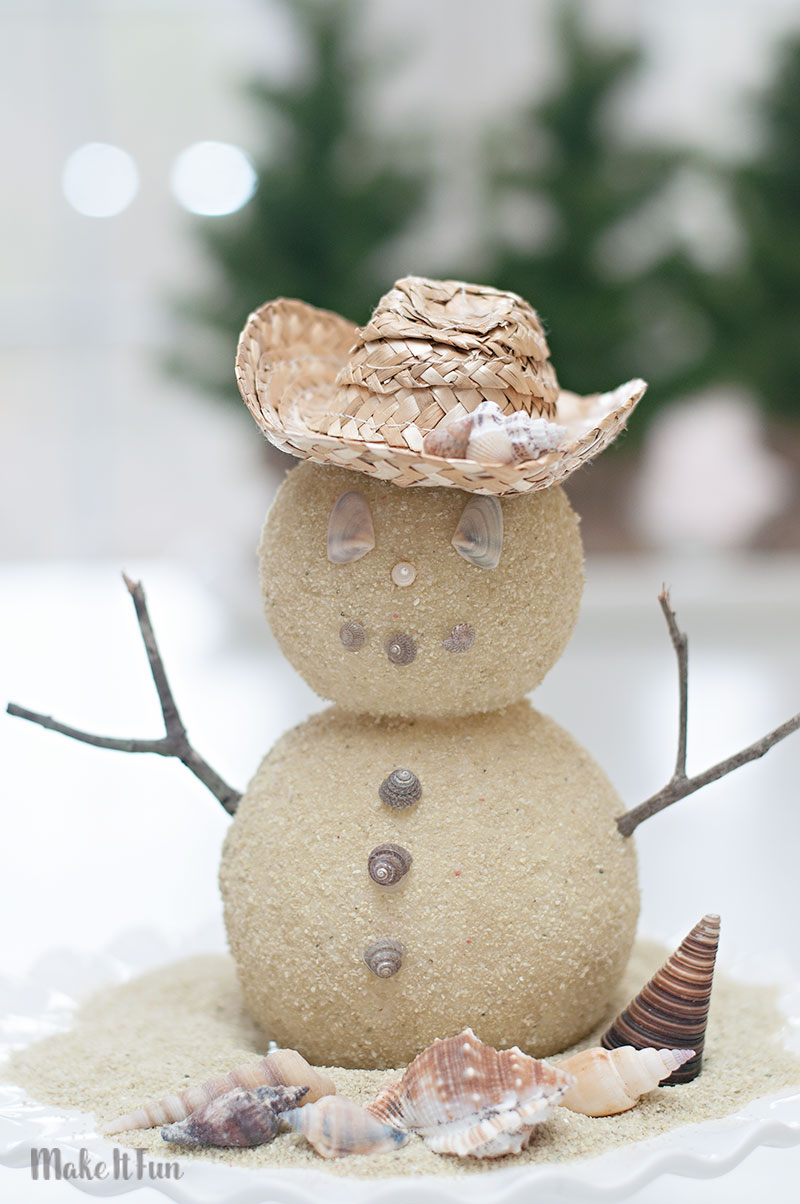
I displayed him on a “wavy” cake plate with some sand and shells!
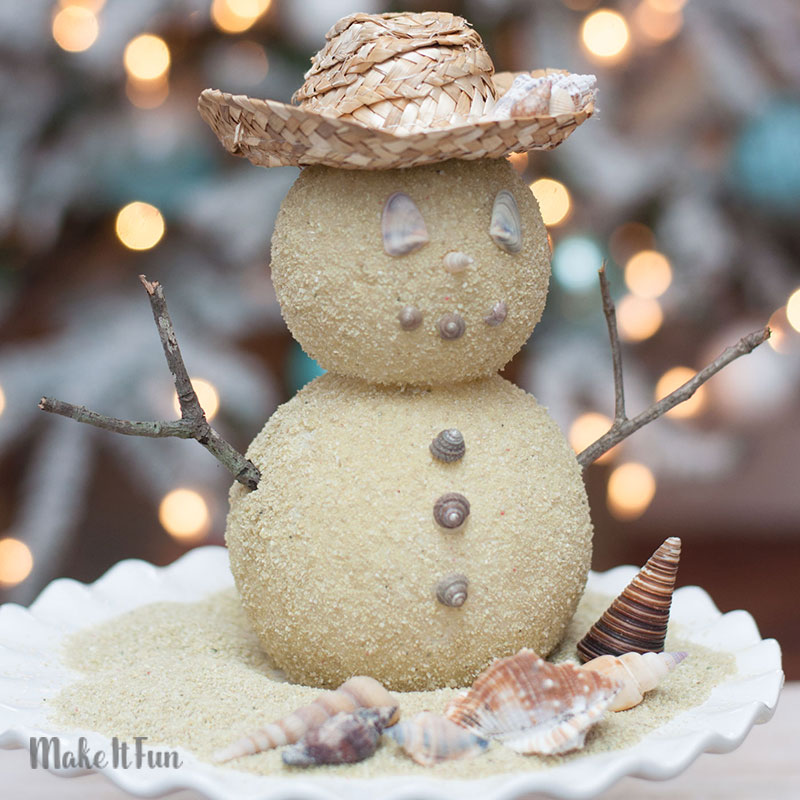
I love the idea of actually using sand and shells you’ve saved from a beach trip. Not only will it be cute, but sentimental as well. Now every time I look at him, he reminds me of Florida. I need to find him (or make him) a mini palm tree of surfboard to finish off his look!