Faux Wooden Pumpkin
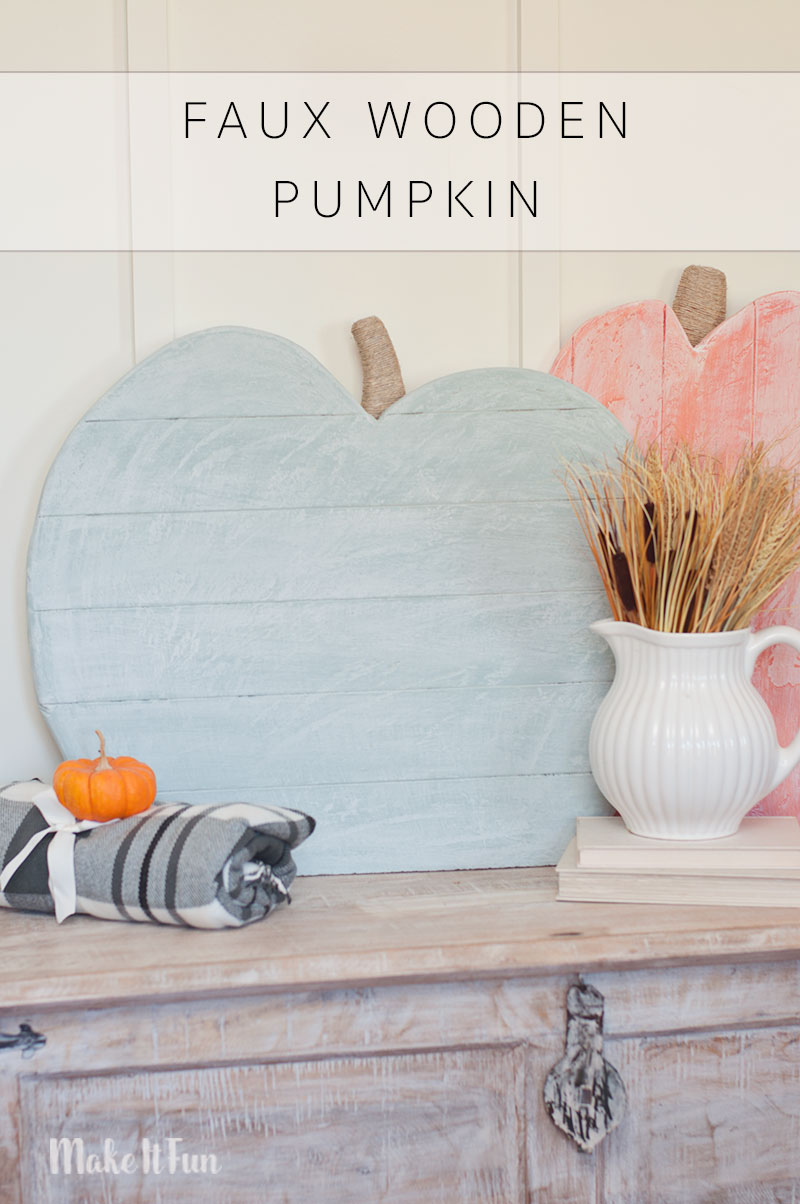
Today I’m sharing a super cool Fall pumpkin craft! I have seen these wooden pumpkins all over Pinterest and I just LOVE them, but I don’t have the tools to actually make them from real wood. So of course, my next best option was trying it out on foam. So I came up with the idea for my “faux” wooden pumpkin craft!
I did a similar “faux” wood project last year and I really took inspiration from that while doing this craft. Using foam sheets and the StyroCutter® Plus made this project super fast too. I am very pleased with how my pumpkins turned out.
Supplies you’ll need to make this project:
- (2) FloraCraft® Make It: Fun® Foam Sheets: 1 x 12 x 36″
- FloraCraft® StyroCutter® Plus
- FloraCraft Smooth Finish®
- Sharpie
- Fine Grit Sandpaper
- Low-Temp Glue Gun and Glue
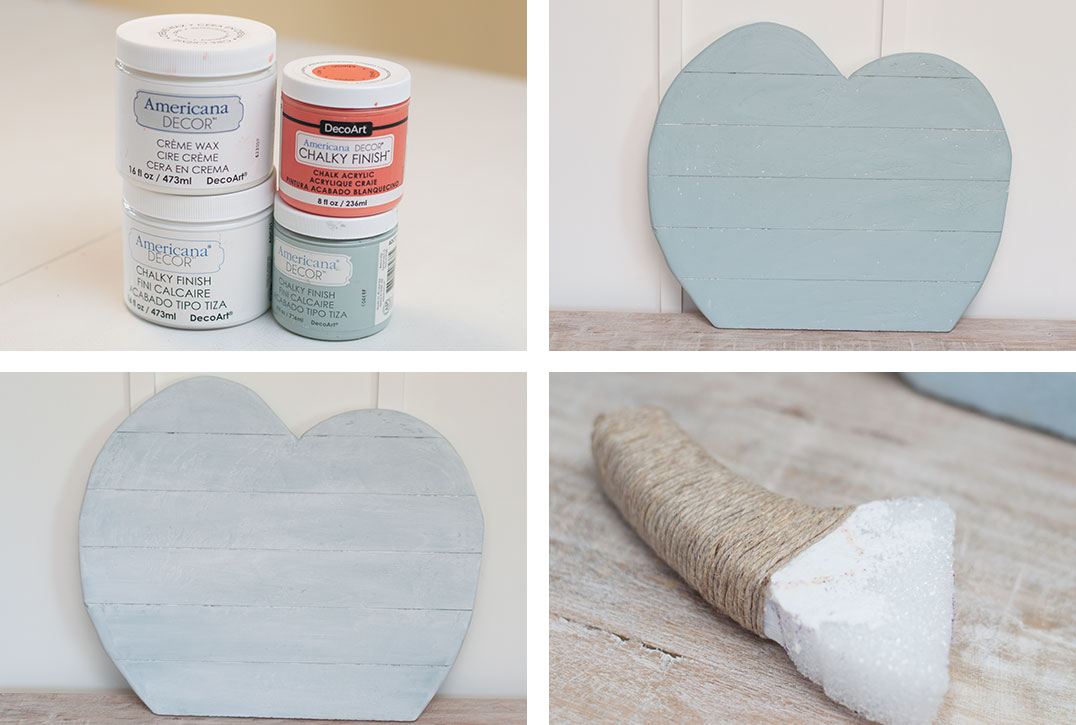
- Chalk Paint and Paint Brush
Instructions:
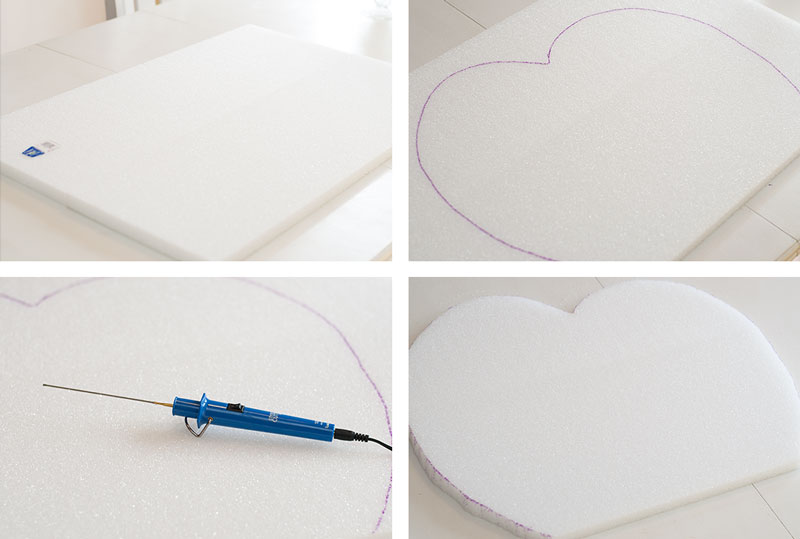
I used two sheets of foam and drew out my pumpkin shape with a sharpie. Then I pulled out my “handy dandy” StyroCutter Plus to cut out my shape. This tool is seriously the best, cuts it perfect and you don’t need to push it down hard when cutting. Just guide it and the tool will do the work! If the wand bends, you’re pushing too hard.
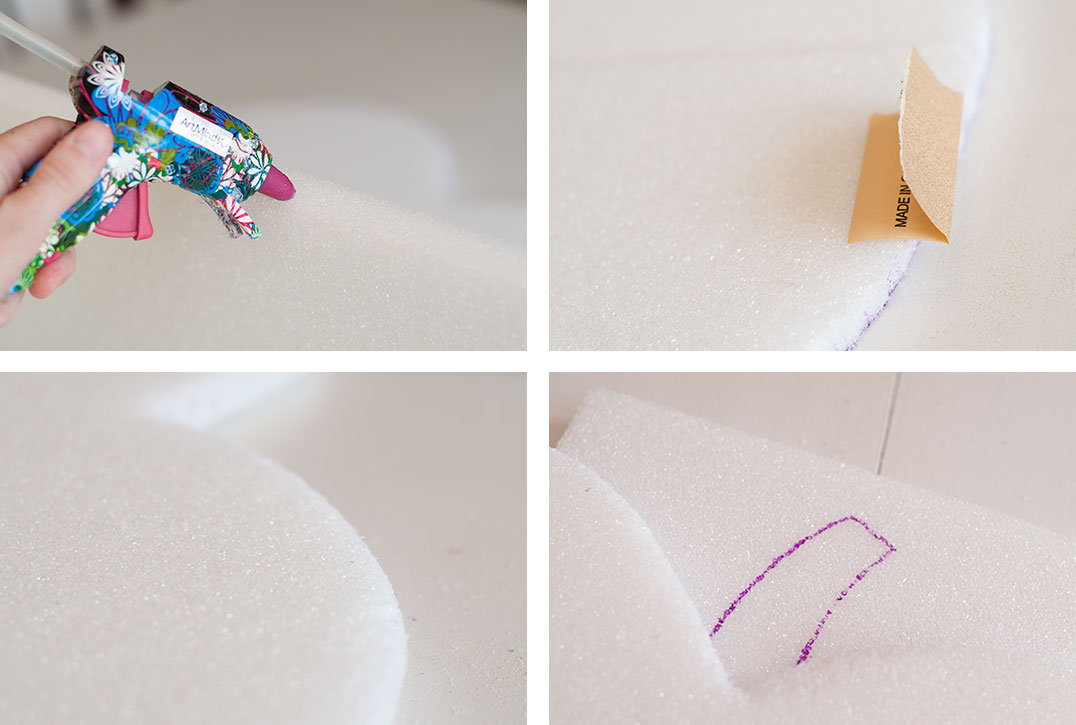
Next, I used a low-temp glue gun to glue my two pieces of foam together. Then I went around the edges with some sandpaper to round them out.
With an extra piece of foam, I drew out the stem.
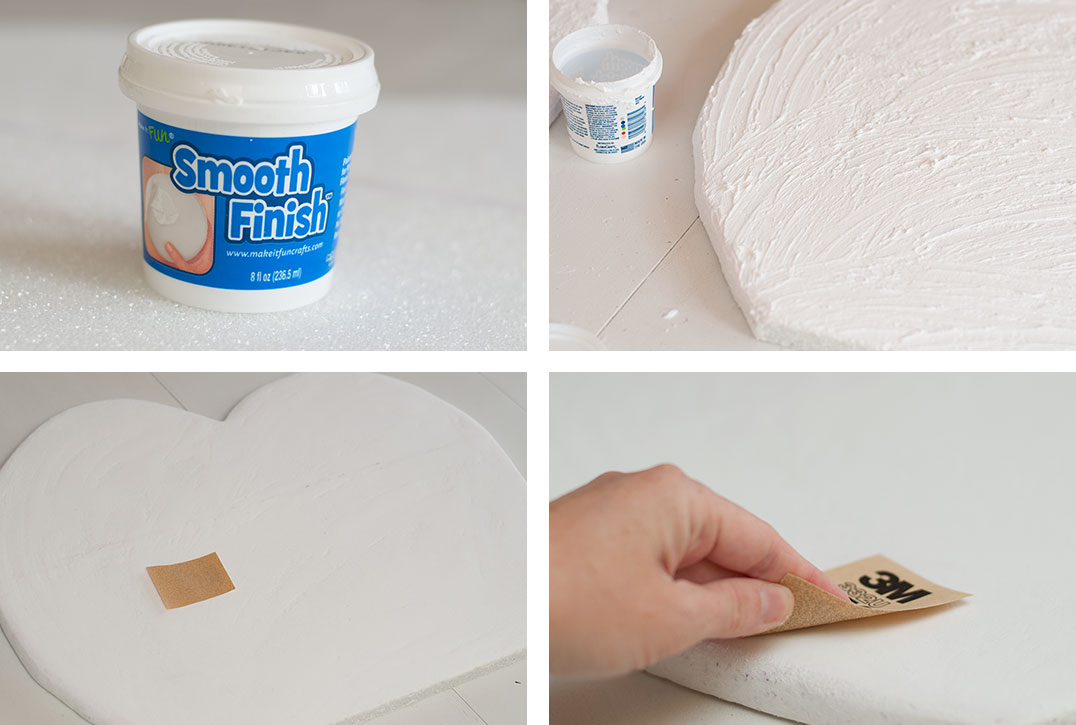
Now it’s time to add the Smooth Finish!! My favorite part!
I did two coats and let each coat dry for several hours. All I used were my fingers to smooth out the smooth finish.
Once it was dry I went over the entire pumpkin with light sandpaper. I wanted to make the pumpkin nice and smooth. This part gets a little messy!
Now it’s time to make the pumpkin look like “faux” wood. I actually had a piece of wood the size I wanted so, I used that as a guide. I bent my sandpaper over and traced the wood back and forth until I made lines into the foam. I also used a craft stick to help make the lines deeper.

Now it’s time for paint! I pulled out some beautiful Fall colored Chalk Paint. I painted my first coat and let it dry for 30 minutes. I wanted the pumpkin to feel white washed, so I lightly added my final coat of white paint on top using a dry brushing technique.
Once it dried I sanded the entire pumpkin again. For the stem, I wrapped it with some thin rope and glued it onto the back of the foam pumpkin.
Voila!! All finished!! I really think these look like wooden pumpkins. I pick some colors that match the theme of my home, but you can make them look more like wood and paint them different shades of brown or even stencil on some designs. The possibilities are endless, really!
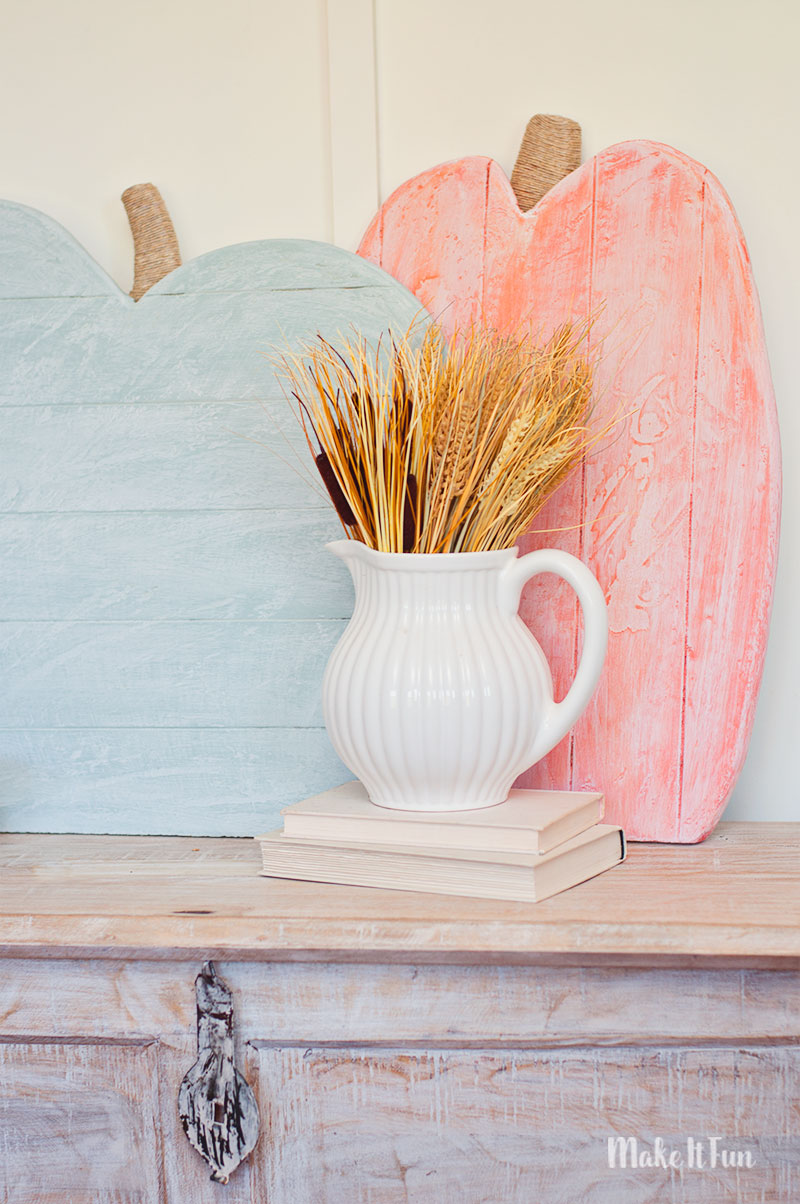
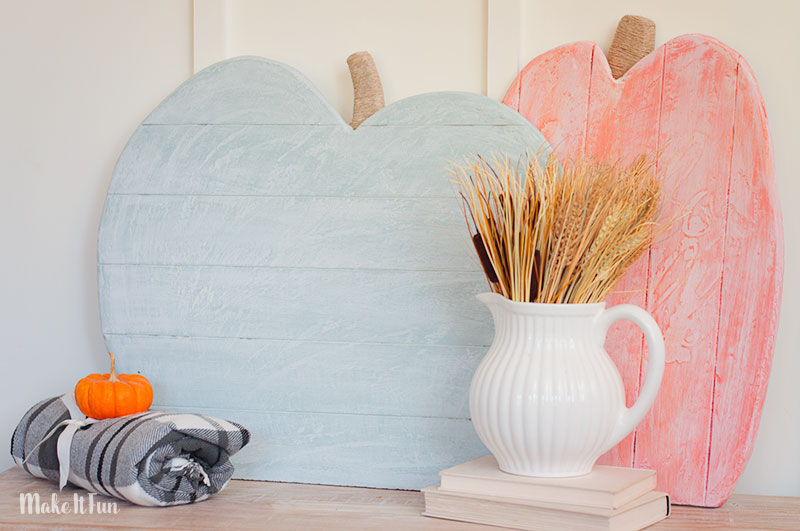
As you can see these are pretty BIG pumpkins. They would look great sitting on a mantel or even in an enclosed porch area.