Halloween Skull Wreath
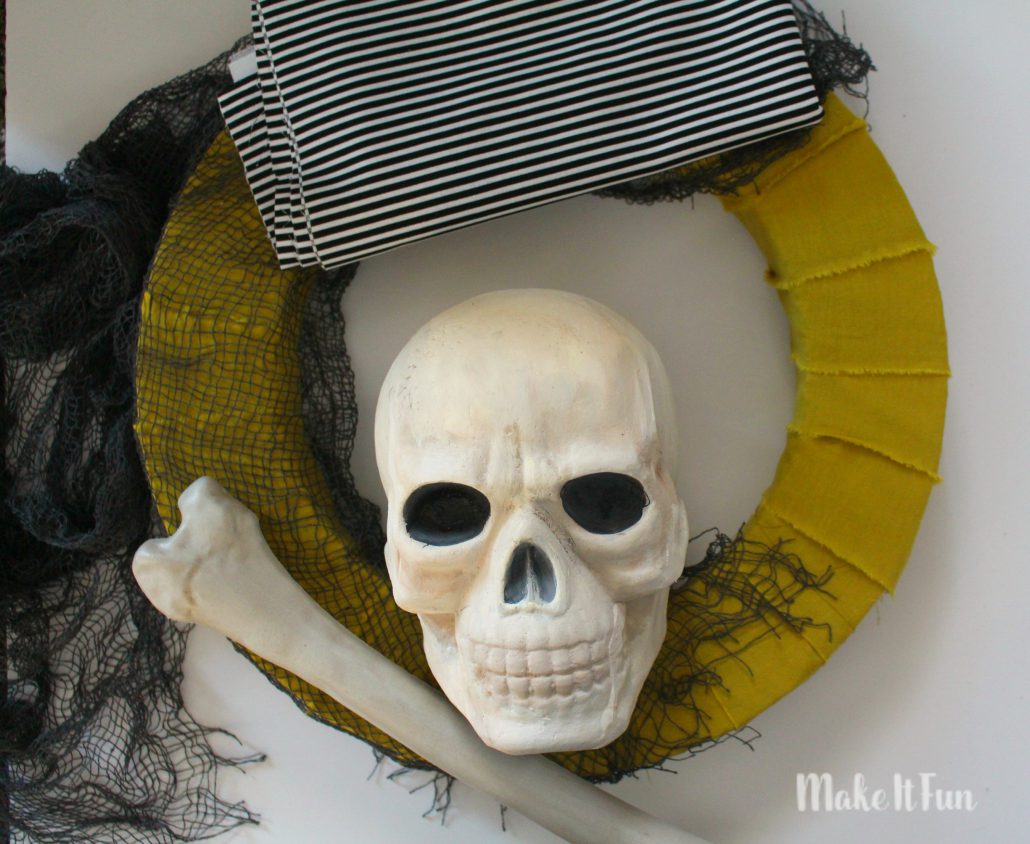
 Today I have a fun Halloween skull wreath! I’m not going to lie. When I start a wreath I have a basic idea…but there are so many embellishments that can I add to it that I never am sure what direction it will end up! (and isn’t that one of the fun things about creating!) Here are some odds and ends I started with:
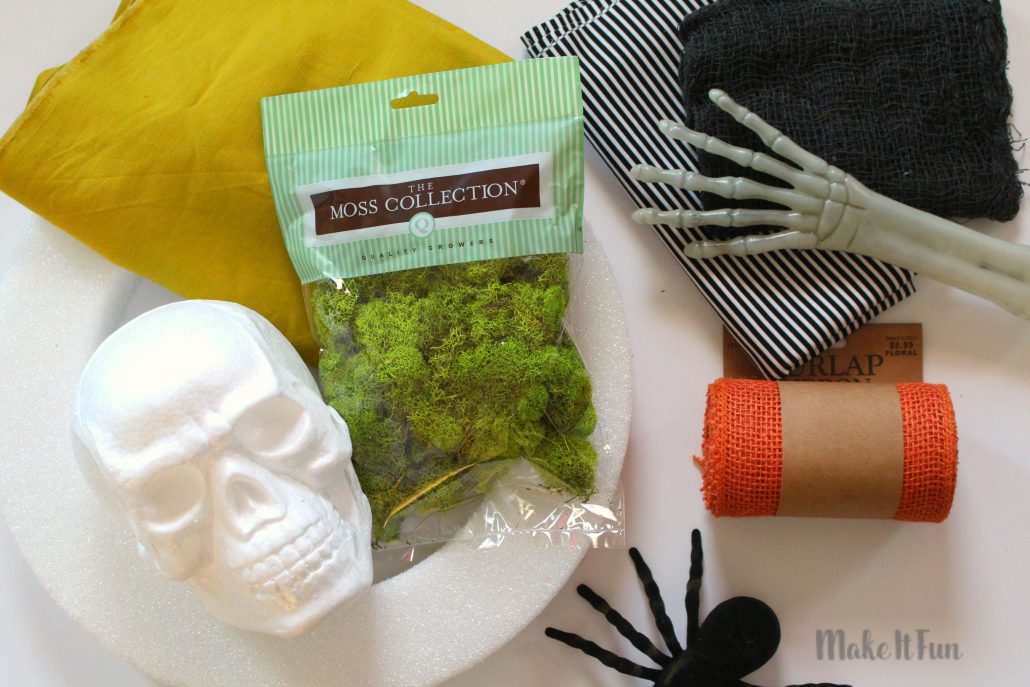
Here are the Supplies I actually used to make this project:
- FloraCraft® EPS Foam Skull
- FloraCraft® Foam Cutter
- FloraCraft® Make It: Fun® Foam: Wreath, 14 in
- Striped Ribbon
- Skeleton Hands (found at the dollar store)
- Acrylic Paint: White, Black and Cream
- Low-Temp Glue Gun & Glue
- Creepy Cloth Netting
- Halloween Sign
- Fabric (any color you want!)
Instructions:
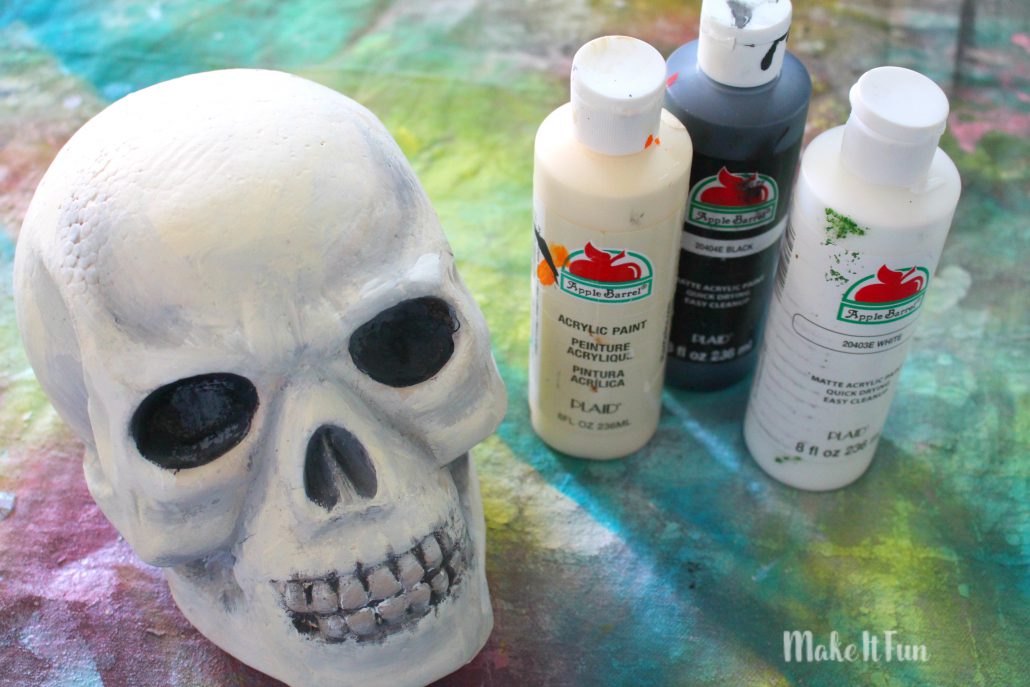
I painted the skull (cover in cream and white then add black in all the grooves!) and then I actually painted the skeleton hands to match.
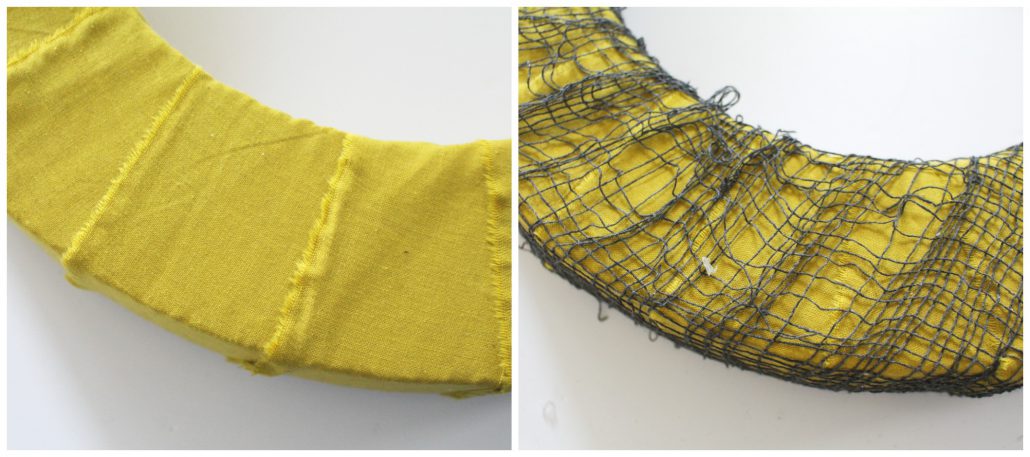
I wrapped the wreath form with strips of greenish yellow fabric and then covered with the creepy cloth (gluing as a I went).
I wanted the skull to sit flat on the wreath….so I put it through some minor surgery! I used the foam cutter to cut off the back of the skull.
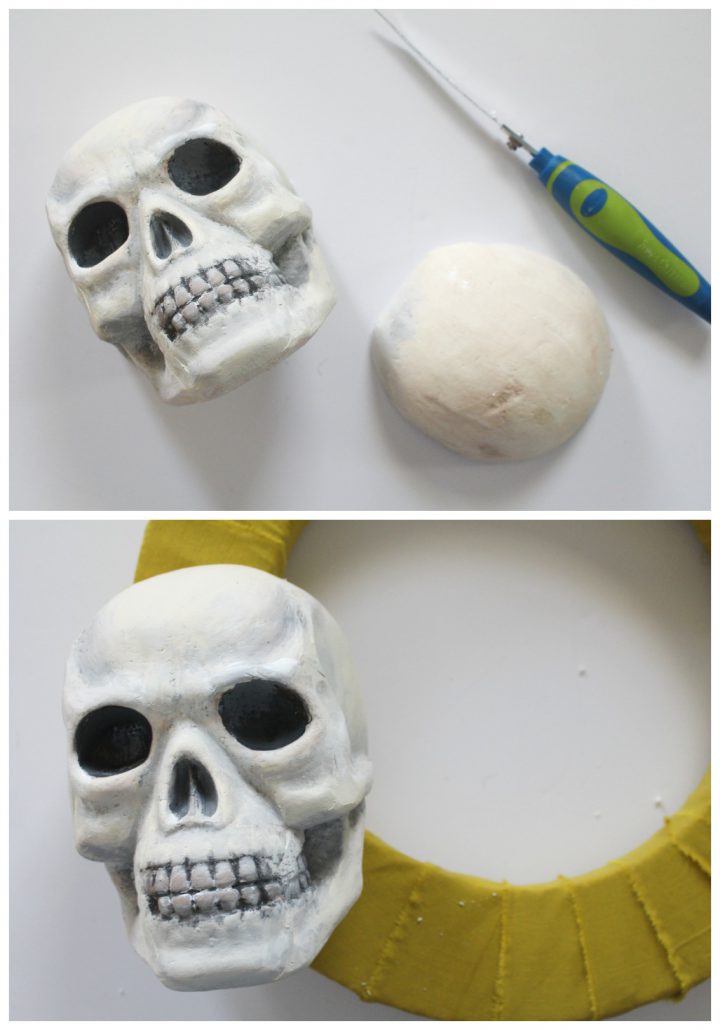
Then I just played around with the placement of all the elements until I figured out exactly how I liked it. There are so many possibilities that looked good!
It was creepy both ways and I loved it…but ended up using the one with sign because I love it so much!
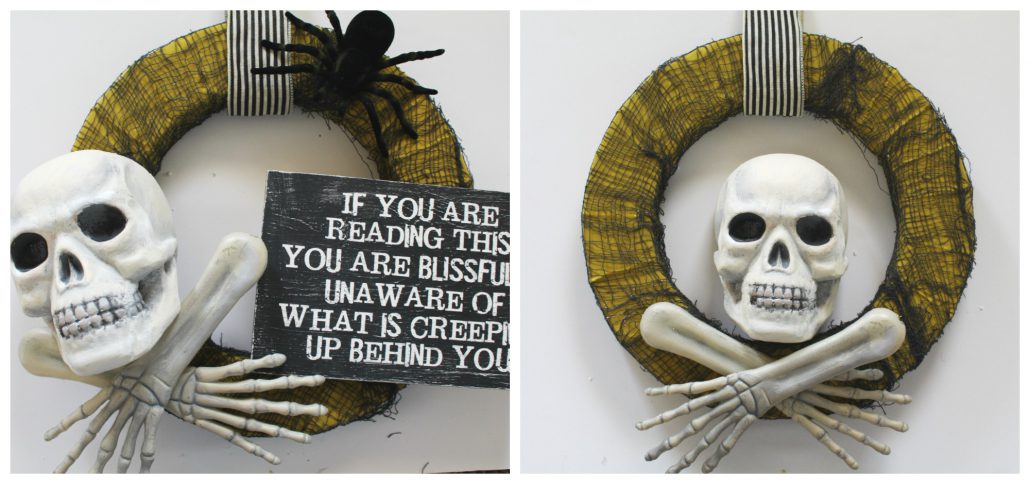
I secured everything onto the wreath with glue and then hung it up!

I still love the other version too though! How would you create your Halloween wreath?