
DIY “BOO” Letters
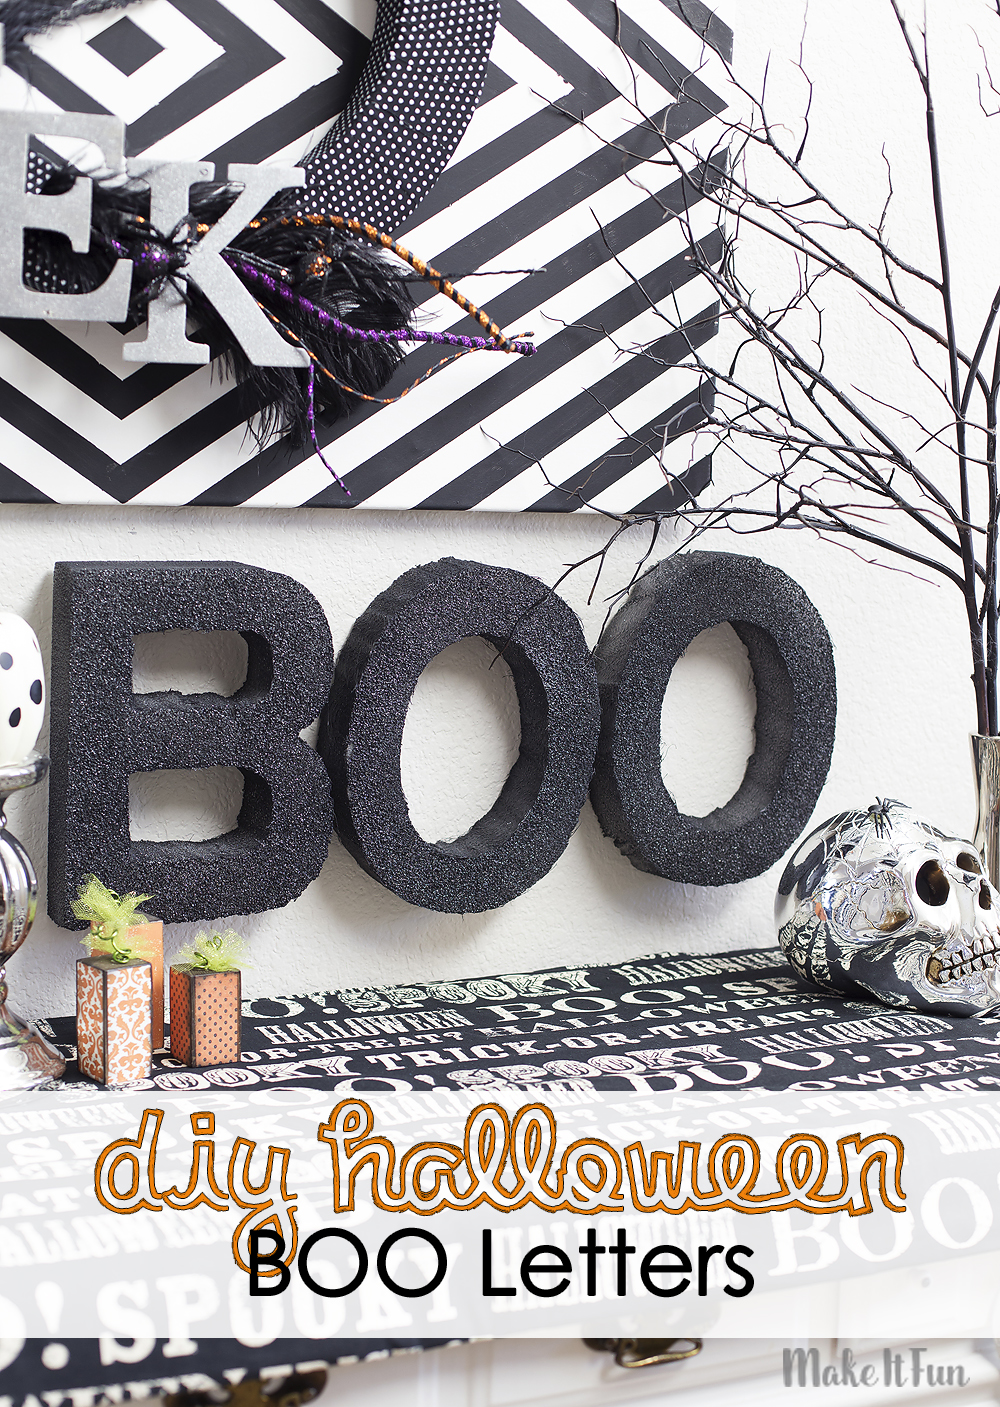
Halloween is coming soon and what better way to get in the festive mood then by creating these simple DIY BOO Letters. Not only is this project super easy to recreate, but you’ll learn a simple technique for cutting out letters and designs in any shape. Cutting through foam has never been easier!
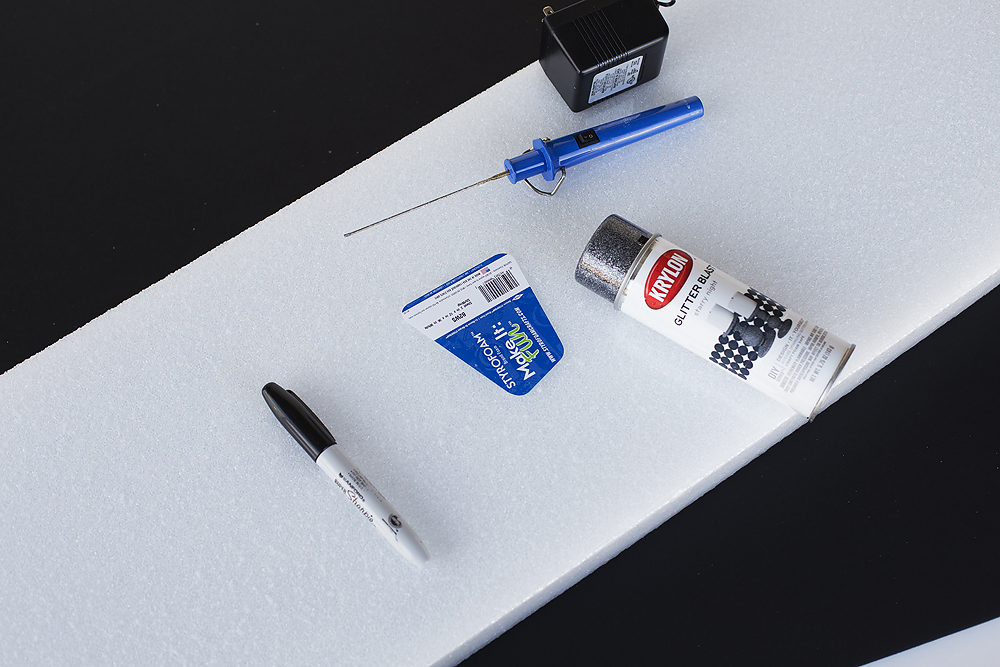
Supplies needed to make this project:
- FloraCraft® Make It:Fun® Foam: Sheets 2 x 12 x 36″
- FloraCraft® StyroCutter® Plus
- Permanent Marker
- Black Glitter Spray Paint
Instructions:
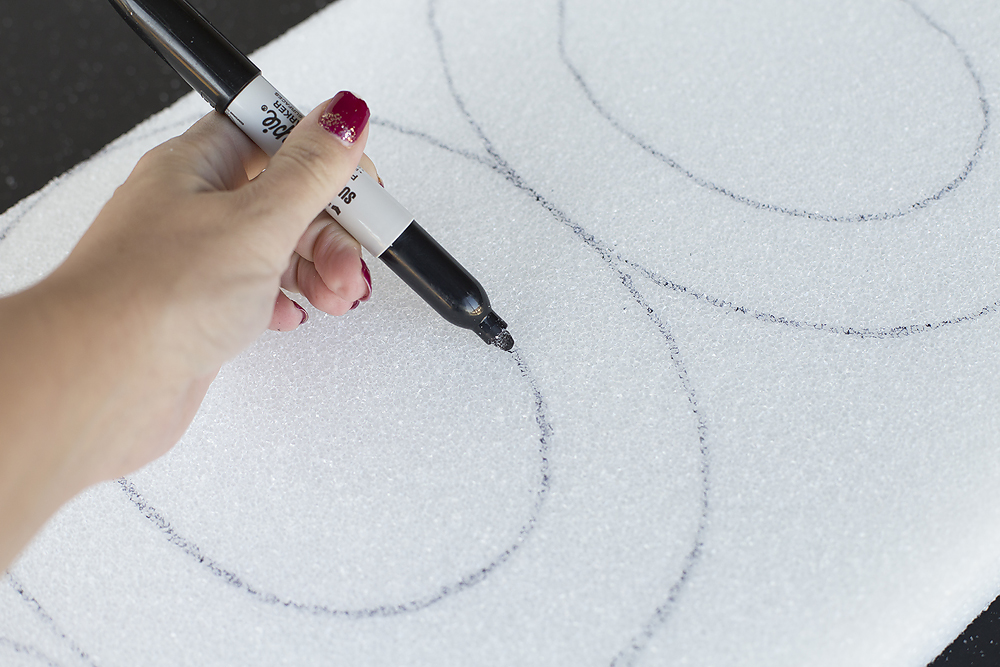
You’ll start by tracing out your letters onto your foam. This will serve as a guide so you know where to cut out your letters using your StyroCutter Plus. You can freehand this, but if you are like me you can print out the letters B-O-O on 8-1/2 x 11 sheets of paper, trim them out, and trace them onto the foam.
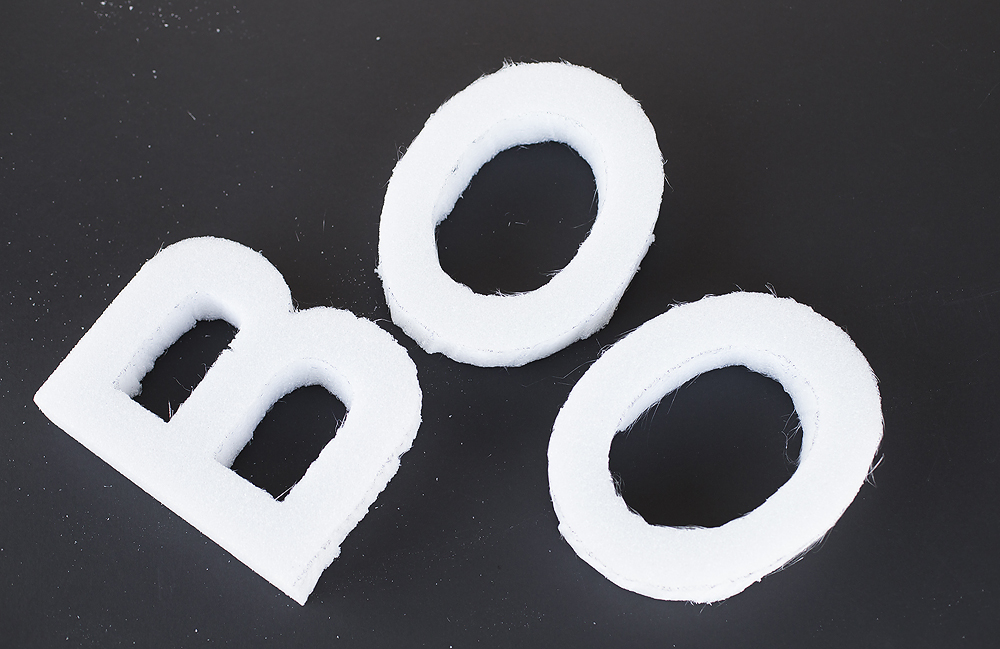
Now you’ll cut through your foam using the StyroCutter Plus. Be sure to go slowly and don’t rush it or you may break your heating element. Let the tool do the work. If the wand is bending, you’re pressing too hard.
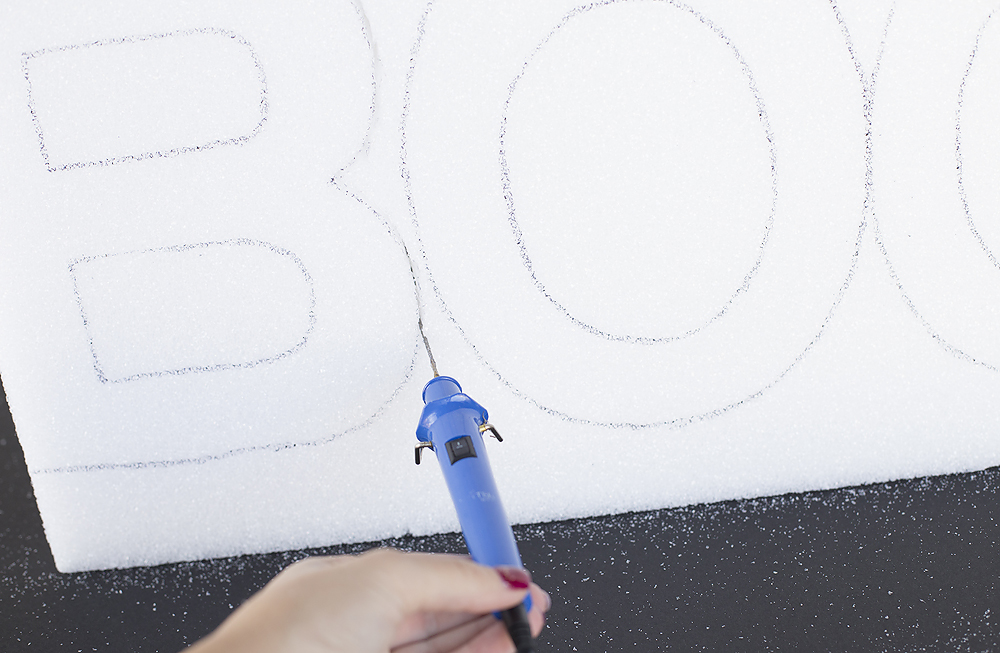
Repeat to cut out all three letters. If you wish, you can carefully sand the letters smooth after they are cut, but I liked the texture of the spooky raw edge.
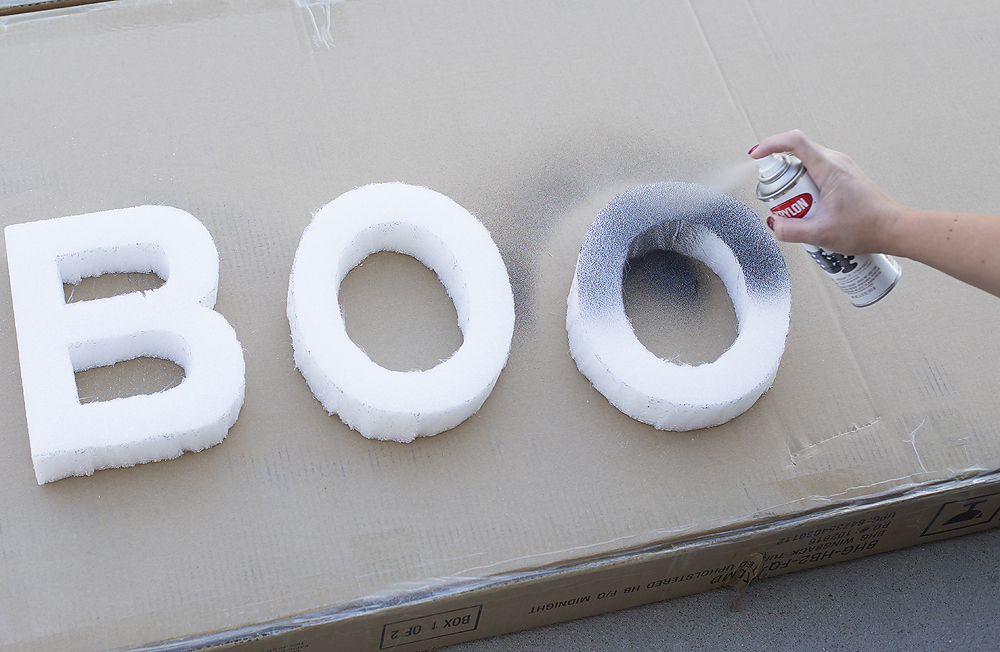
When you have your letters completely cut out, spray them lightly with black glitter spray. Be sure to hold the can 12-18 inches away from the foam to prevent melting and let the foam dry in between coats. Spray until you get the foam completely covered.
That’s it! Display your letters on the wall (easily with command strips!), on a buffet table or as a custom centerpiece!

Creating your own custom letters and designs has never been easier.
![Marie[1]](https://blog.makeitfuncrafts.com/wp-content/uploads/2016/08/Marie1.png)

