
Unicorn-Inspired Home Decor
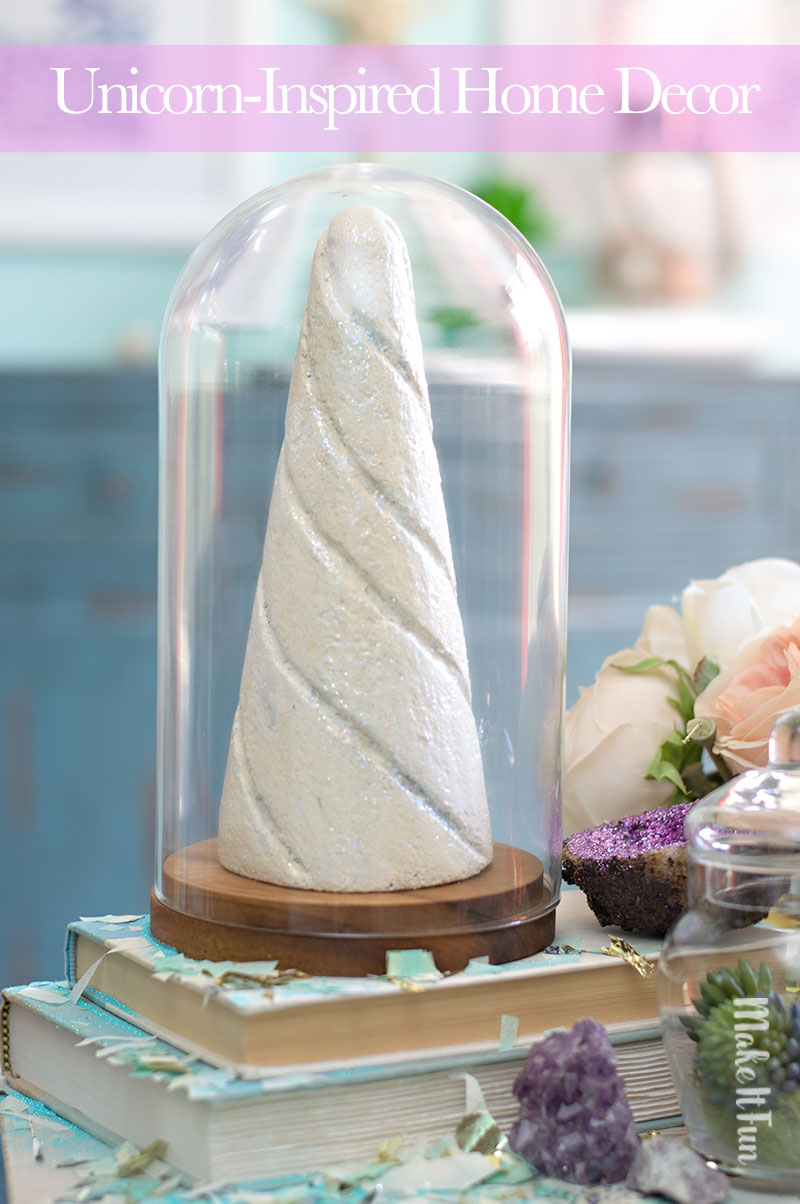
Today’s project is a fun, unicorn-inspired craft with a “grown up” twist. I know there are plenty of adults out there who love unicorns and they are super popular right now. This unicorn horn centerpiece is the perfect balance between sophisticated decor and whimsical magic!
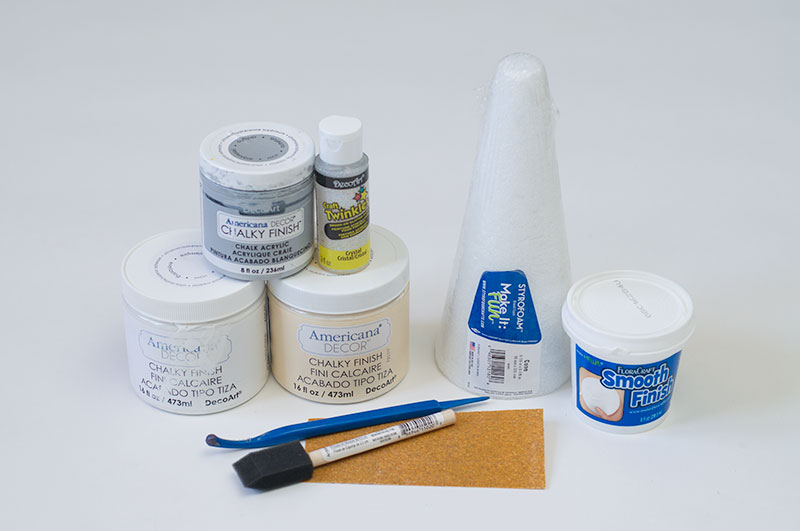
Supplies needed to make this project:
- FloraCraft® Make It: Fun® Foam Cone (any desired size)
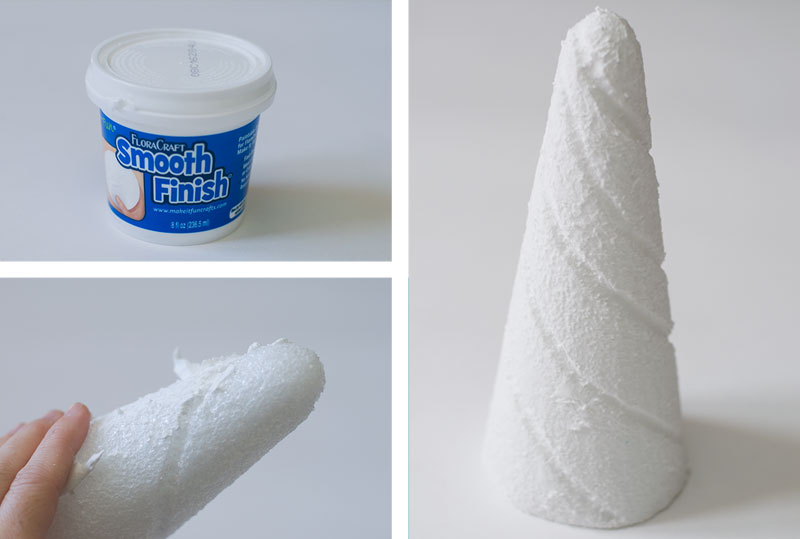
- FloraCraft Smooth Finish® Paintable Coating
- FloraCraft® Make It: Fun® Foam Tools, 3pc Set
- Chalk Paint
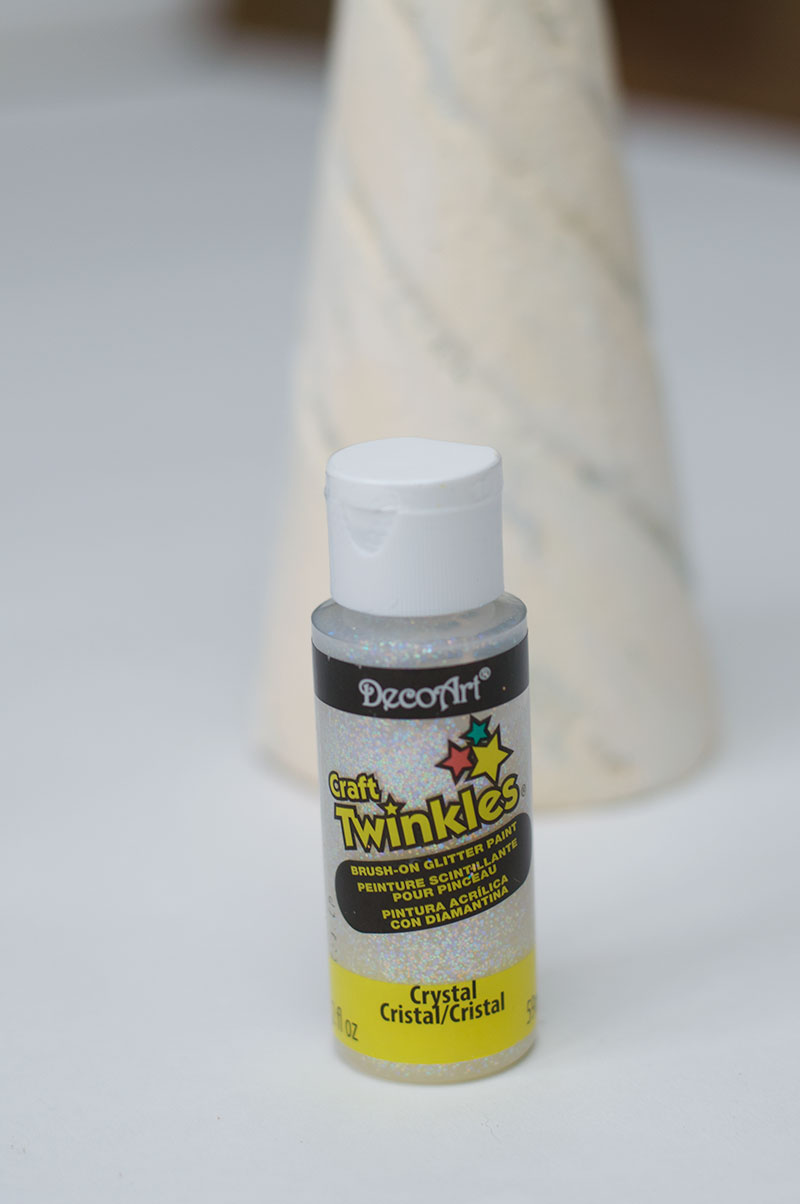
- Glitter Paint
- Sandpaper
Instructions:
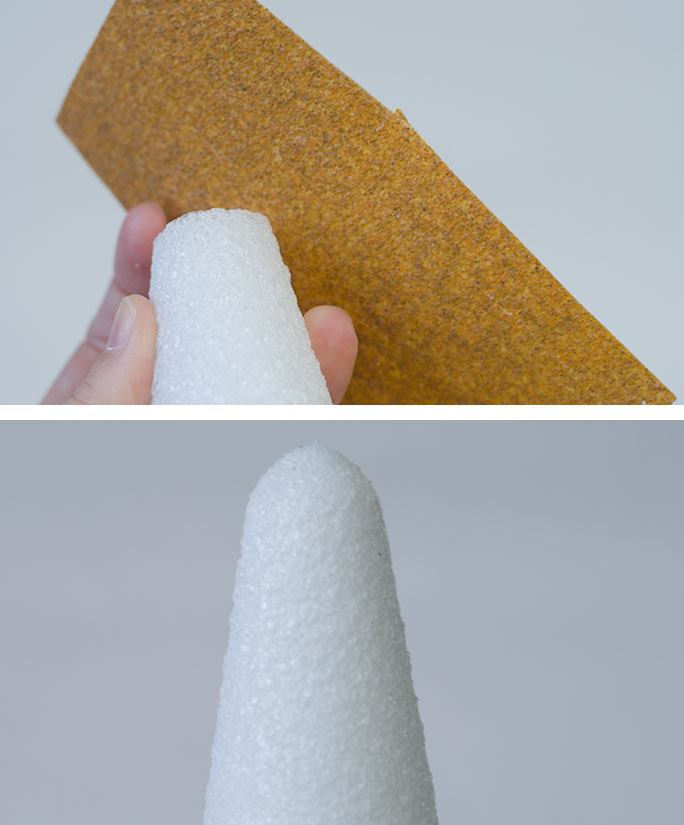
The cones come flat on top so first you will need to round the top. I used some heavy sandpaper for this step, but you could also roll the cone on the table to crush the foam cells and get the shape you want.
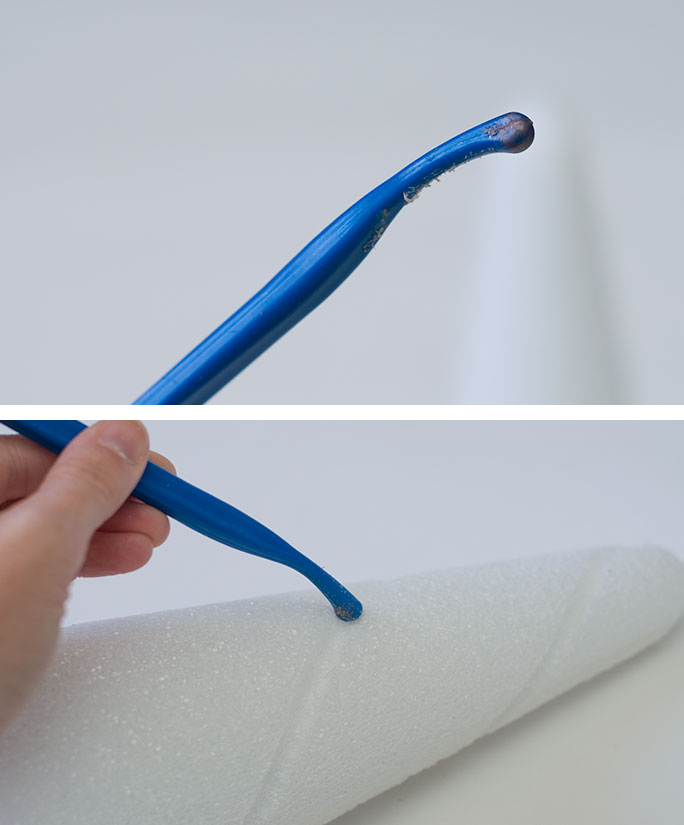
In the foam tools pack there is this “handy dandy” tool called the scribe tool. This works perfectly for making the spiral lines around the cone to look like a unicorn horn. Start at the top and work your way around to the bottom of the cone pressing the tool into the foam to create the lines. To deepen the lines, go back over them again with the scribe tool.
Tip: To create a guide, pin a piece of yarn to the top and wrap around the cone. Pin again at the bottom. Lightly trace the yarn with the scribe tool to make your pattern. Remove the yarn and go over the pattern again to deepen the grooves.
Now it’s time to add your smooth finish to create a paintable surface. Press the smooth finish into the foam to fill the cells. You can use a paint brush or spatula for this step but as a true crafter, I used my hands. For this project, I only used one coat of the smooth finish. Let dry for 3 -4 hours, or overnight.
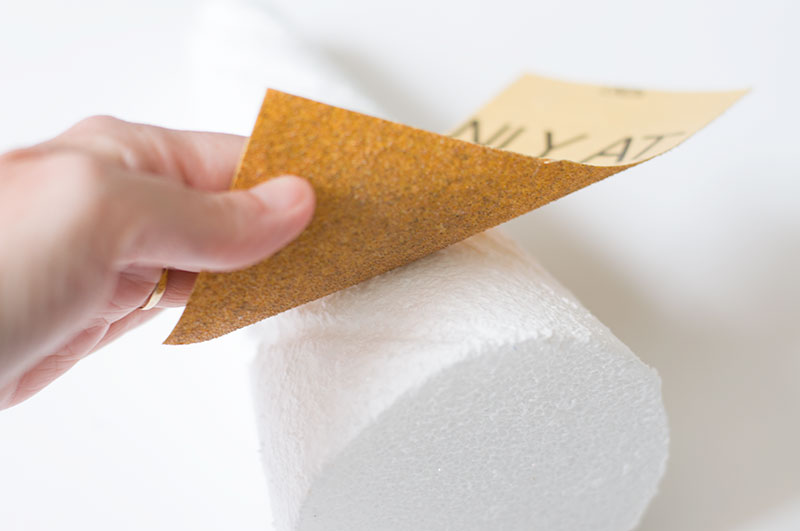
After it has dried completely, lightly sand with fine-grit sandpaper. It doesn’t need to be 100% smooth, some texture is more realistic (or as realistic as unicorn horns can be!).
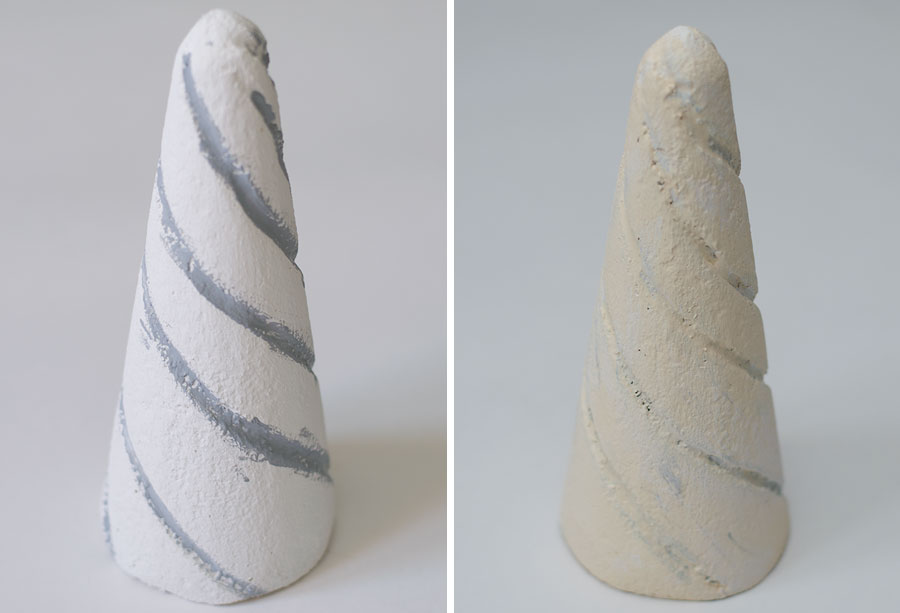
Time to paint! First, paint the whole cone white. Then fill the grooves with grey paint. After the grey has dried, I painted over everything with cream chalk paint. I did go over some spots again adding a little gray here and there to give it some dimension.
I don’t know why, but whenever I think of a unicorn, I think of glitter. Paint on two coats of glitter paint and let dry completely. It really gave it the sparkle that I wanted and worked better then just sprinkling glitter on top.
Once the glitter paint has dried you are ready to display.
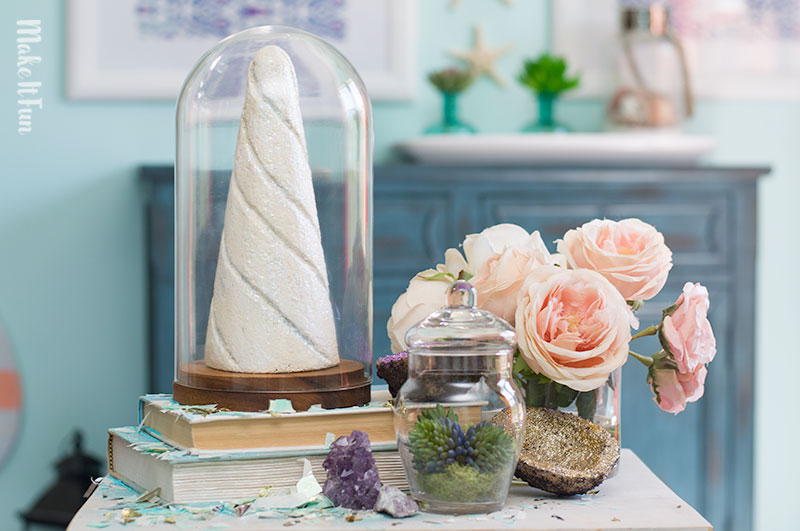
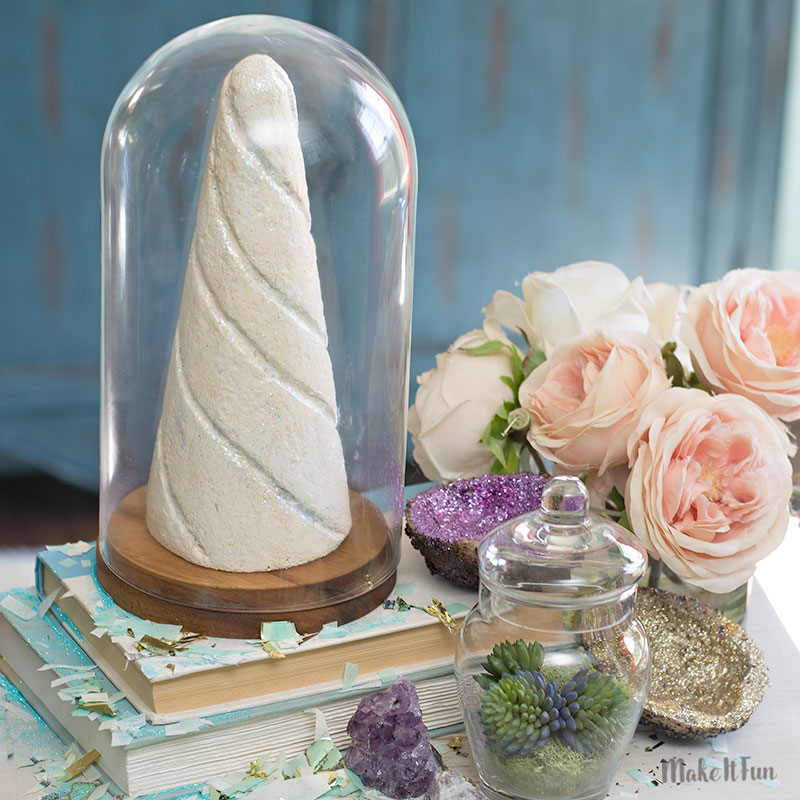
I found this amazing cloche jar at Ikea that I knew would make the perfect display. It really gives it a sophisticated decor feel. And I love it displayed on a stack of fiction books to really emphasize the whimsical magic!
I tried a couple different colors when painting my unicorn horn. I did a copper and a gold one, but then thought the classic white was the best and looked most ‘realistic’. So that’s what I went with.
You can get as creative as you want! They would be fun covered in gold glitter for a birthday party or glued to a headband for a costume! So many possibilities.


Leave a Comment
Want to join the discussion?Feel free to contribute!