DIY Halloween Wreath
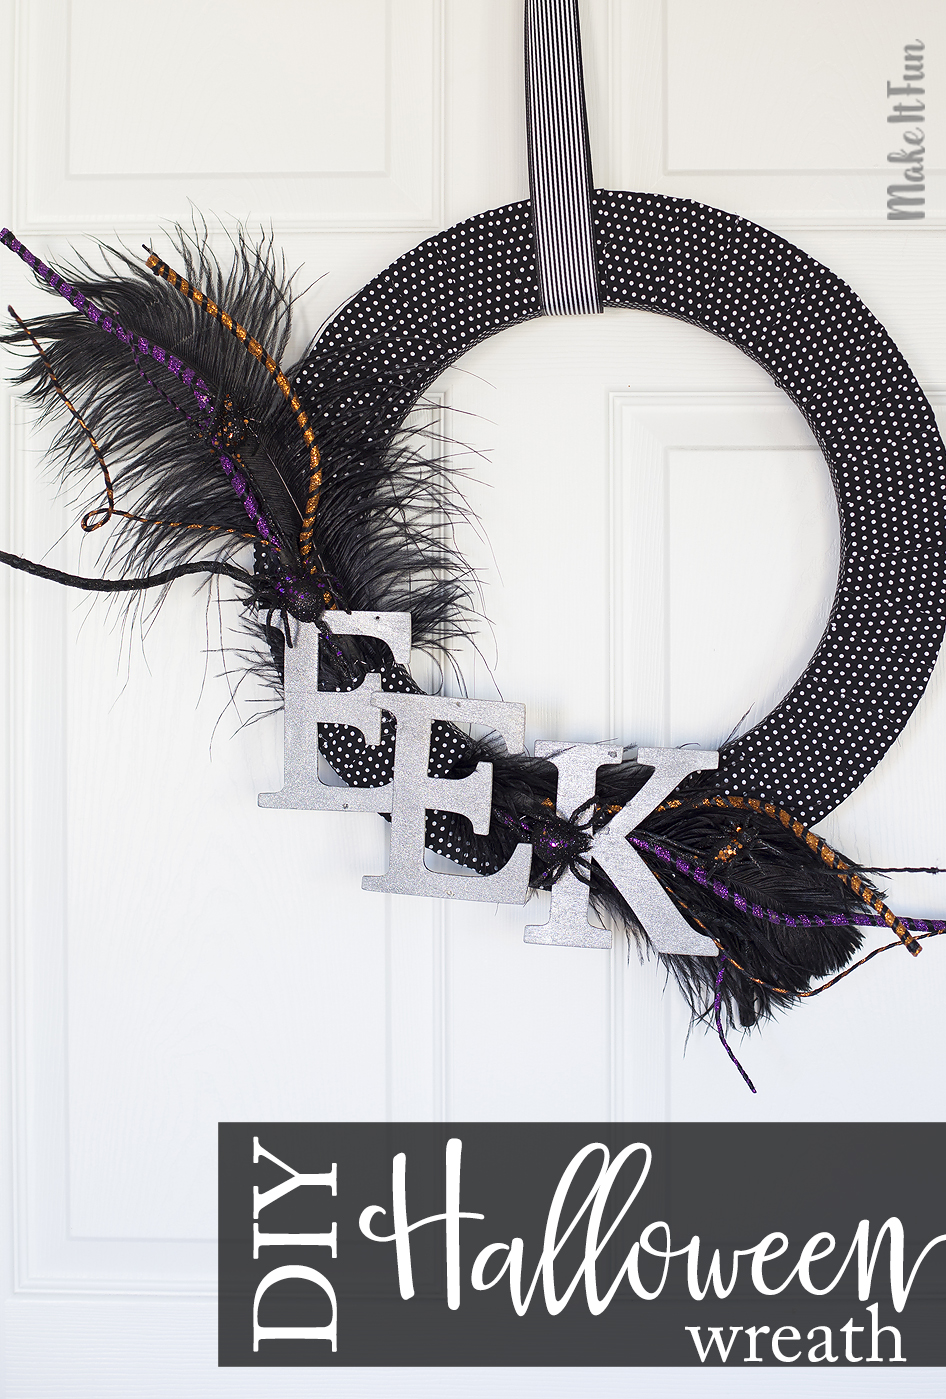
Today I have a beautiful Halloween Wreath to share with you. Not only is it simple to make, but it captures the spookiness of Halloween in such a whimsical and fun way!
Supplies needed to make this project:
- FloraCraft® Make It: Fun® Foam: Wreath (any size)
- 1/2 yd Polka Dot Fabric
- (2) Halloween Flower Stems
- (2) Large Feathers
- Floral Pins
- Wood Letters: E-E-K
- Cutting Mat
- Rotary Cutter
- Metallic Paint
- Sponge Brush
- Spray Glitter

Instructions:
You’ll start by painting your wooden letters with metallic paint.
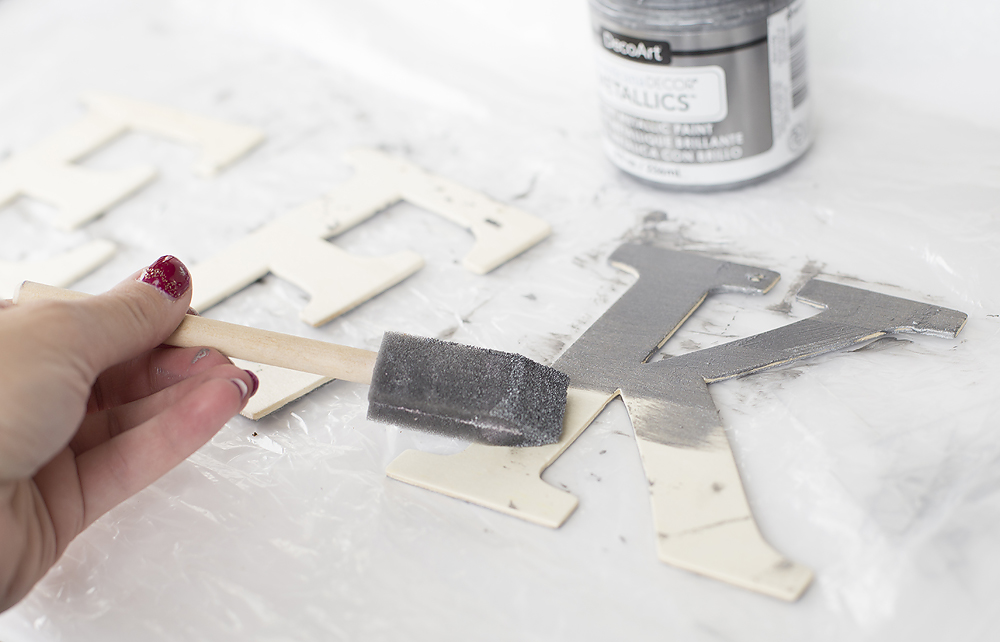
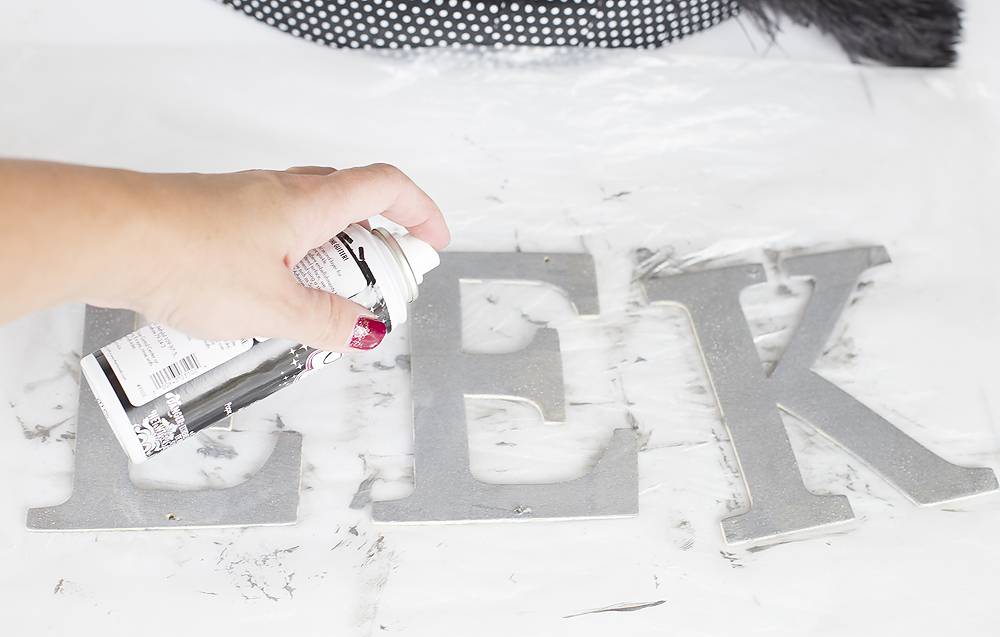
When the paint is dry, you’ll spray them with a light coat of spray glitter. Set aside to dry completely.
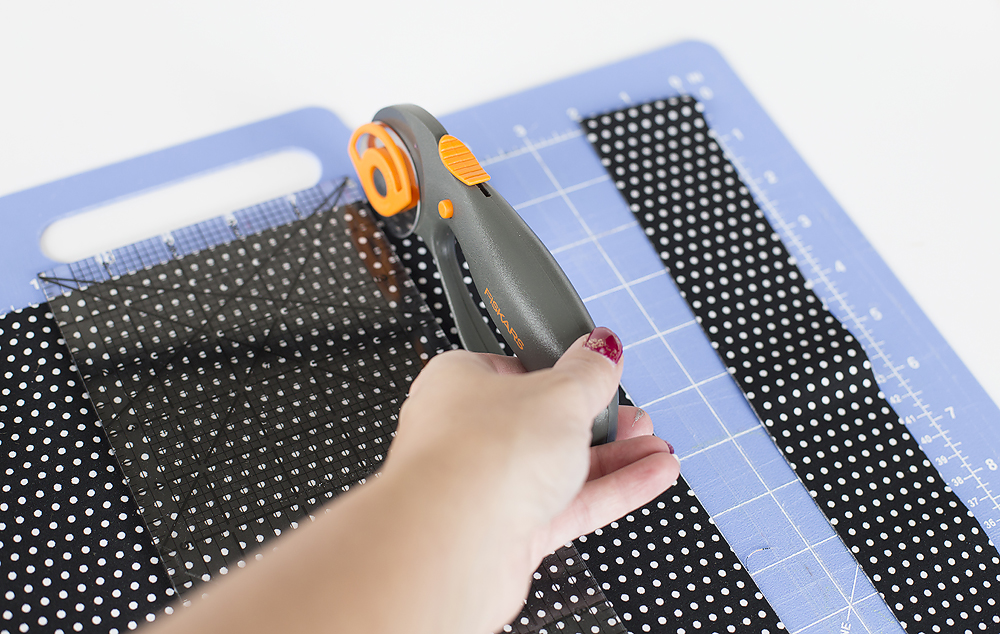
Cut the polka dot fabric into 2″ wide strips of fabric using a cutting mat and rotary cutter.
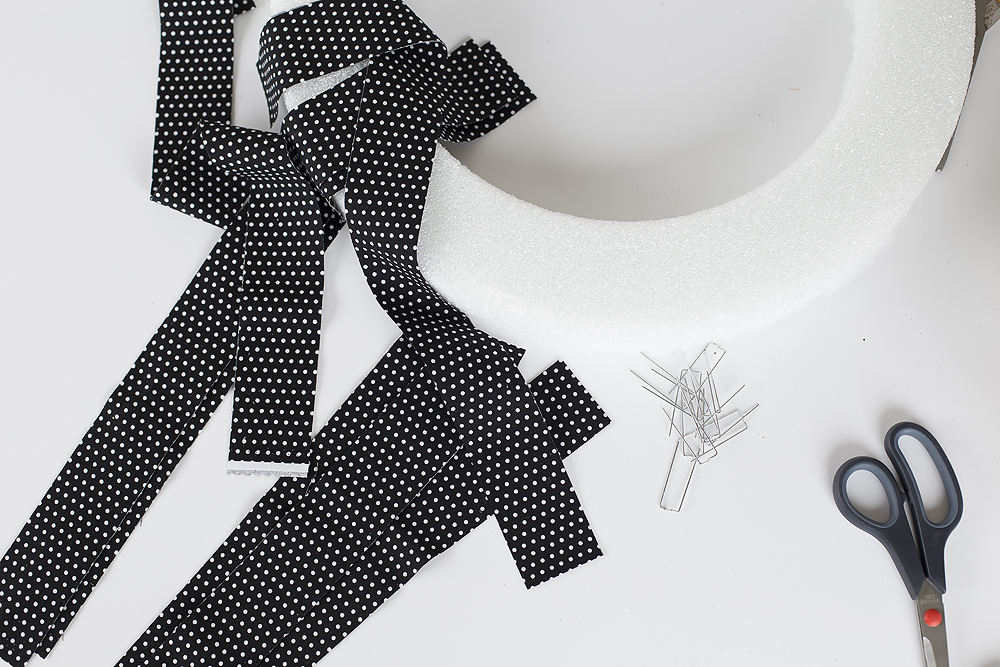
Using floral pins, you’ll start wrapping fabric strips around the wreath form. Continue wrapping fabric strips around the wreath form until it is completely covered.
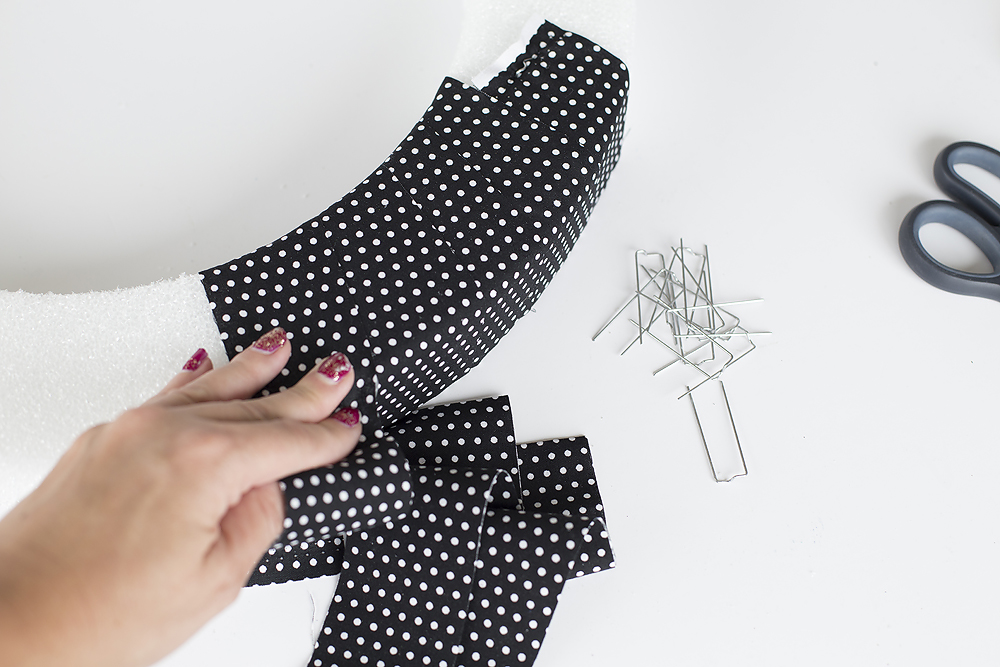
Continue wrapping fabric strips around the wreath form until it is completely covered.
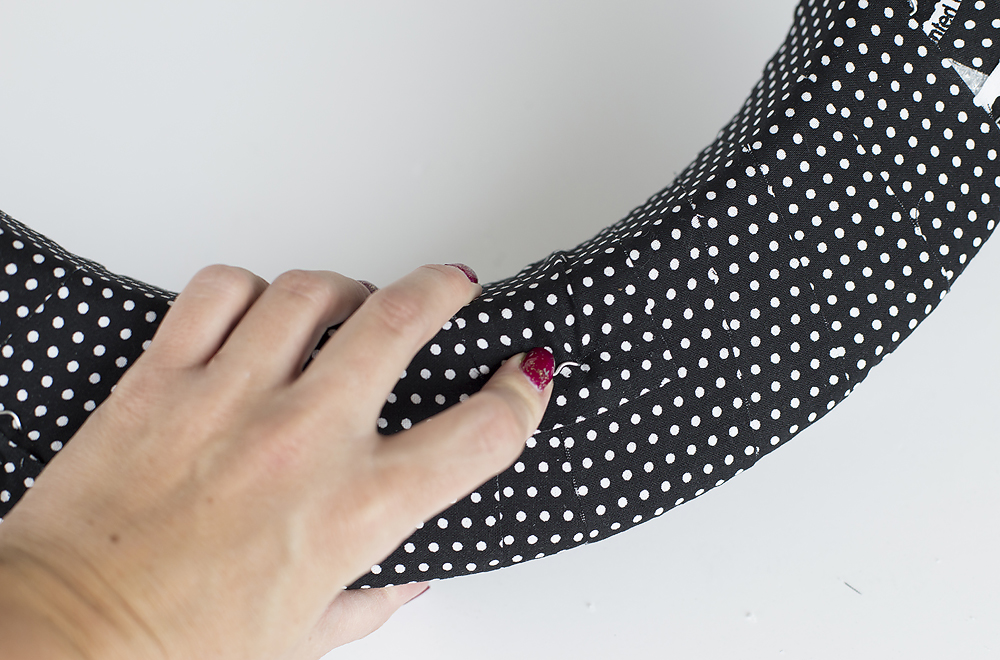
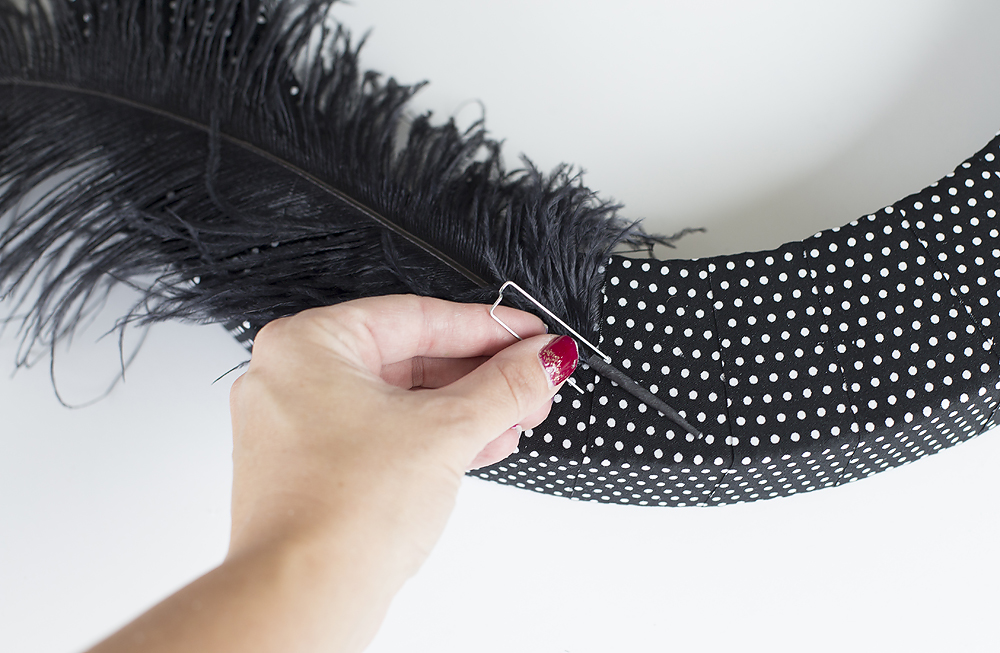
When the entire wreath form is covered with fabric, you’ll attach the large black feathers in a crisscross pattern across the front of the wreath using floral pins.
You’ll attach the Halloween floral stems next. If you can’t find similar stems at the craft store, consider using black, orange, and purple flowers.
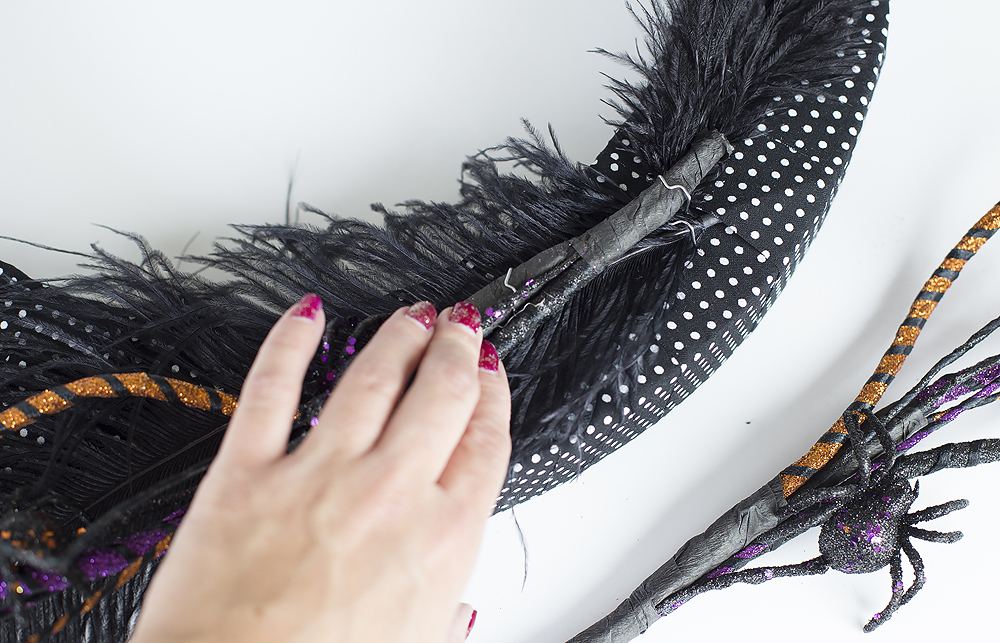

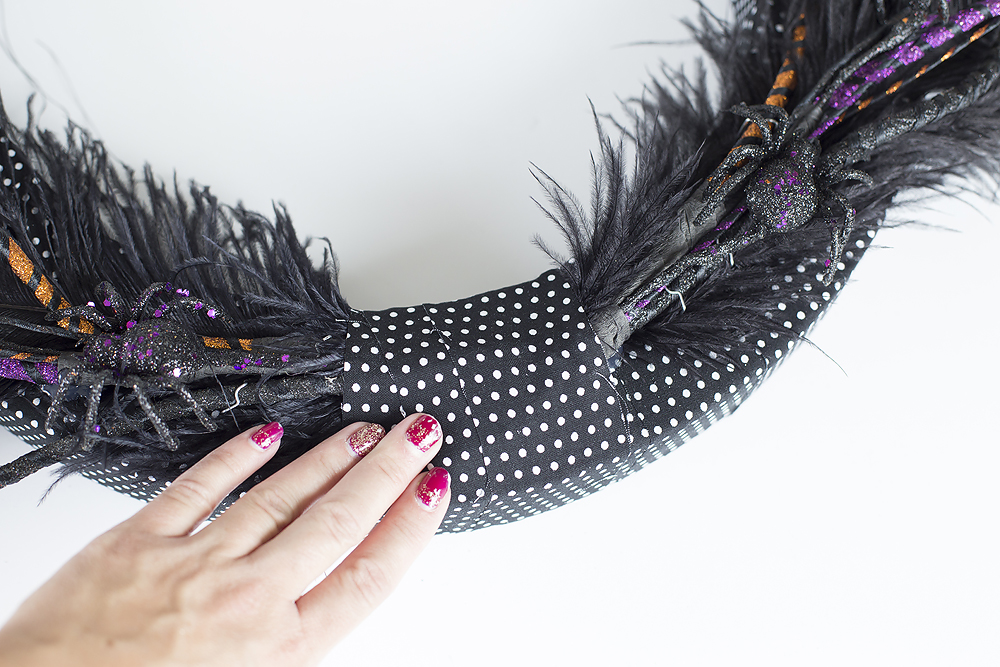
Next you’ll cover the base of the stems and floral pins with some of the extra cut fabric strips.
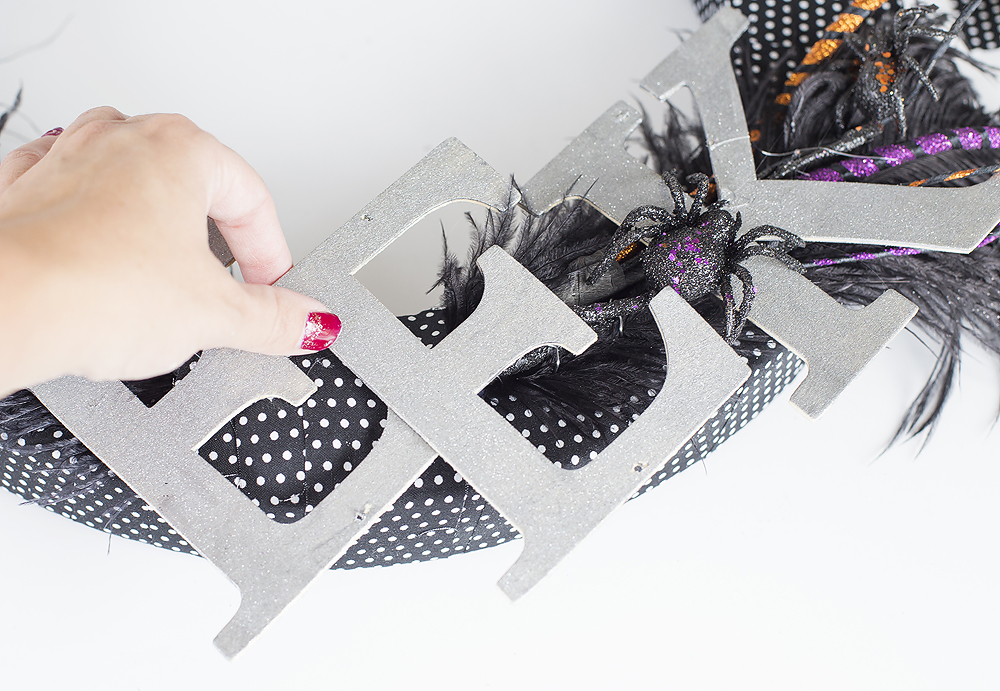
To finish off the wreath, you’ll glue on the wood E-E-K letters to the front of the wreath as shown.
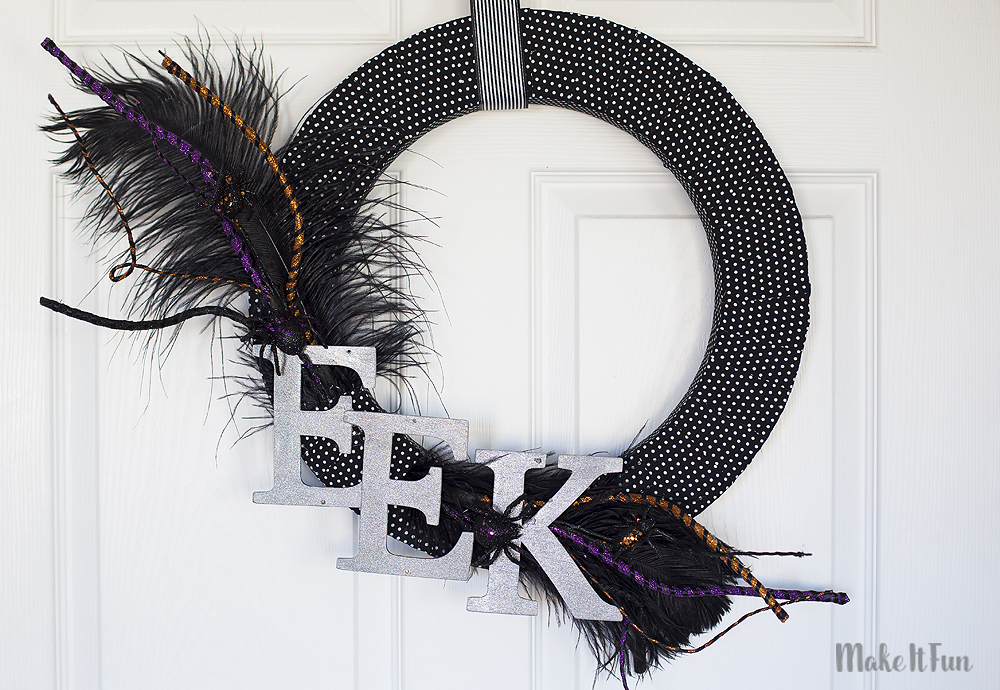
That’s it! Now you have an elegantly spooky Halloween Wreath.

![Marie[1]](https://blog.makeitfuncrafts.com/wp-content/uploads/2016/08/Marie1.png)


Leave a Comment
Want to join the discussion?Feel free to contribute!