
DIY Memo Board
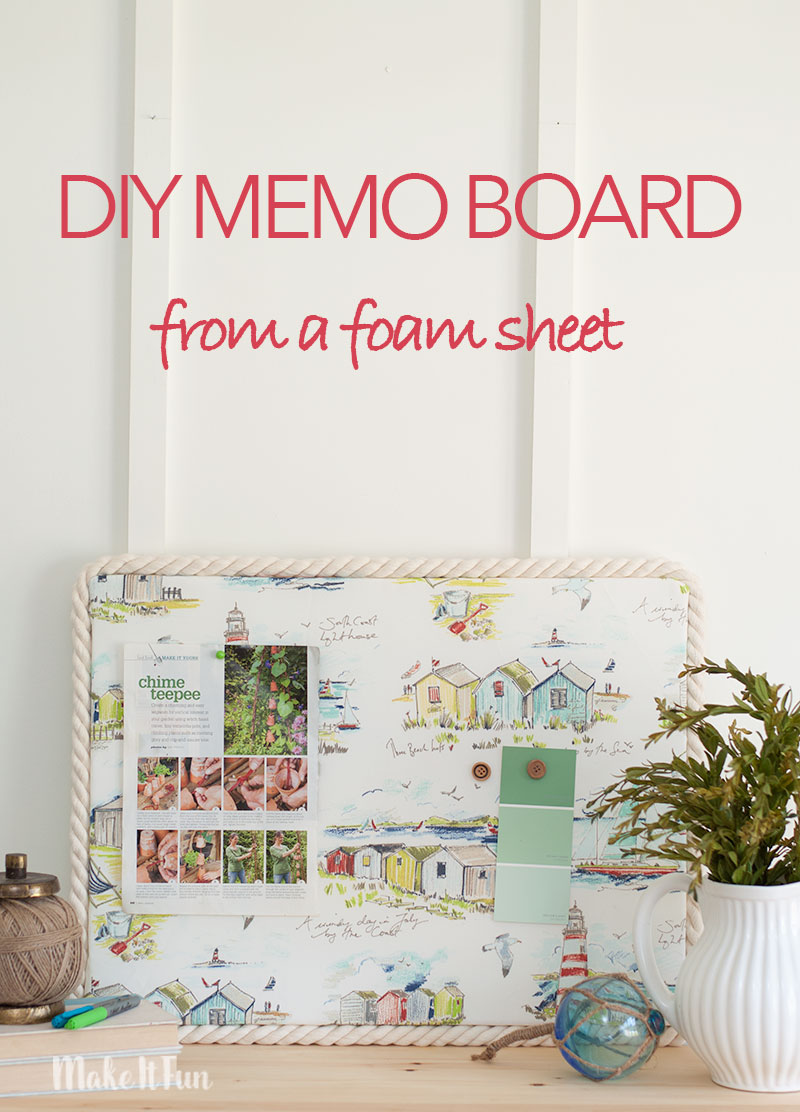
I recently found this amazing coastal themed fabric at JoAnn’s and knew I had to have it. I had no idea what I was going to do with it, but that didn’t matter, it was coming home with me. I finally came up with the idea of making a memo board for my office and I just love how it came out…it’s almost a mix of artwork and organization at the same time!
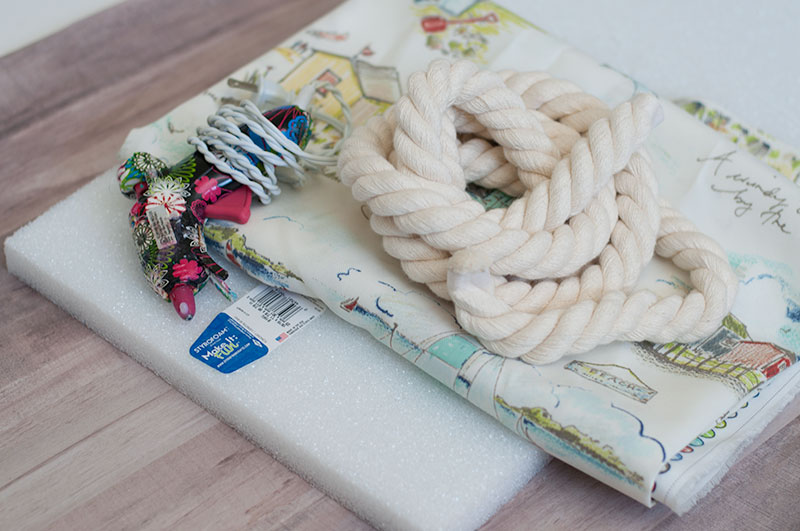
Supplies needed to make this project:
- FloraCraft® Make It: Fun® Foam Sheet: 1 x 12 x 36″
- FloraCraft® Foam Cutter
- Fabric
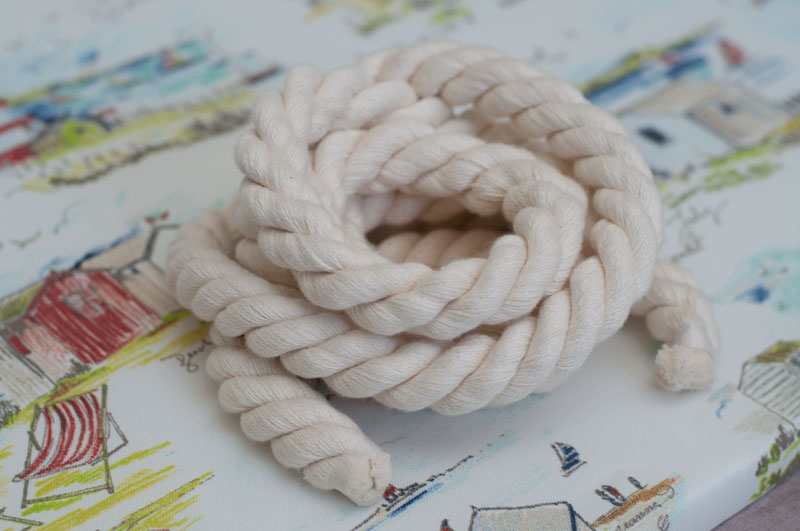
- Large Decorative Rope
- Low-Temp Glue Gun and Glue
- Measuring Tape
Instructions:
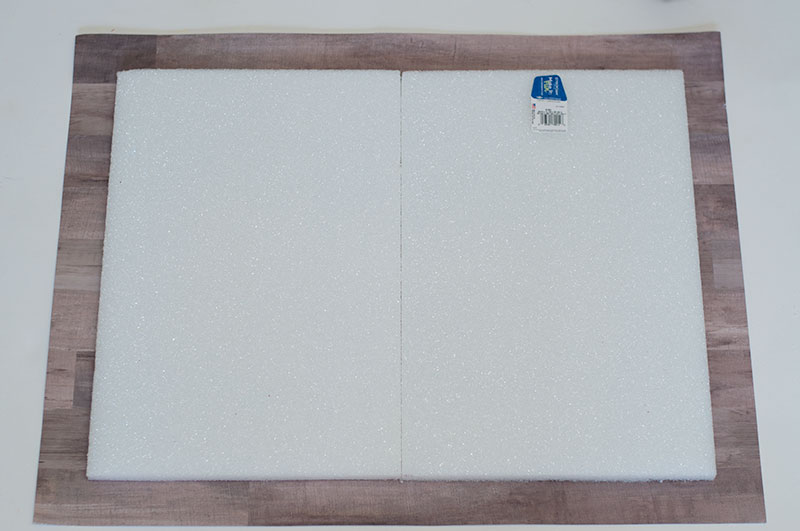
Measure and cut your board in half then place the two halves side by side. Your memo board will measure 24 x 18″ when your done.
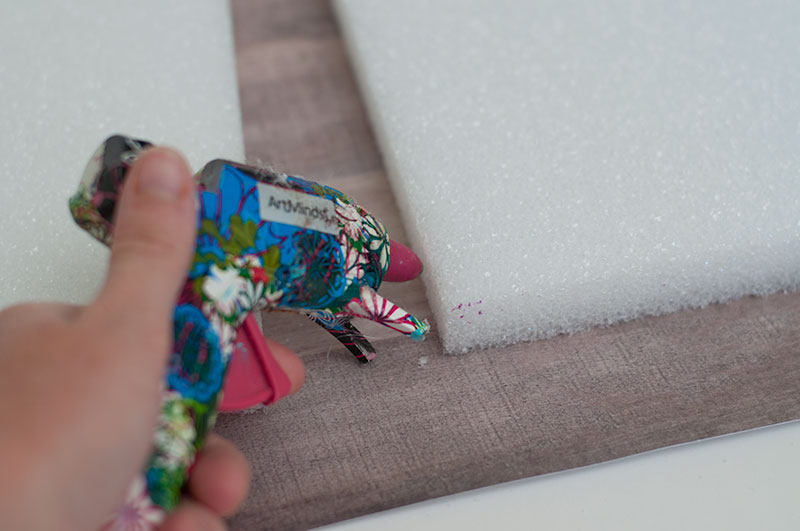
Using a low-temp glue gun, glue the two foam sheets together. You can add toothpicks between the two foam sheets for extra stability.
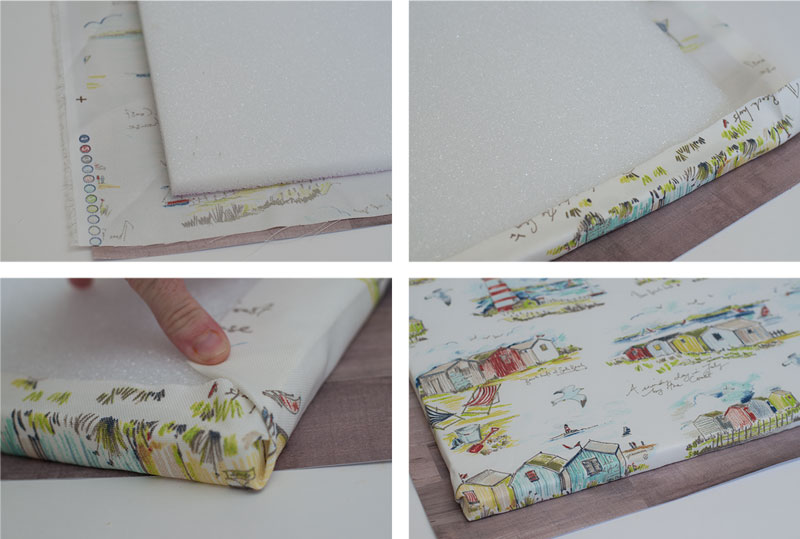
Now it’s time to add this pretty coastal fabric (or whatever fabric you choose)!!
Lay the fabric over the foam. Make sure the pattern is even on both sides, then start cutting down to size. Leave about 2 inches extra on all sides.

Flip over and start gluing into place. For the corners, wrap it like a present and glue to secure. Simple as that!
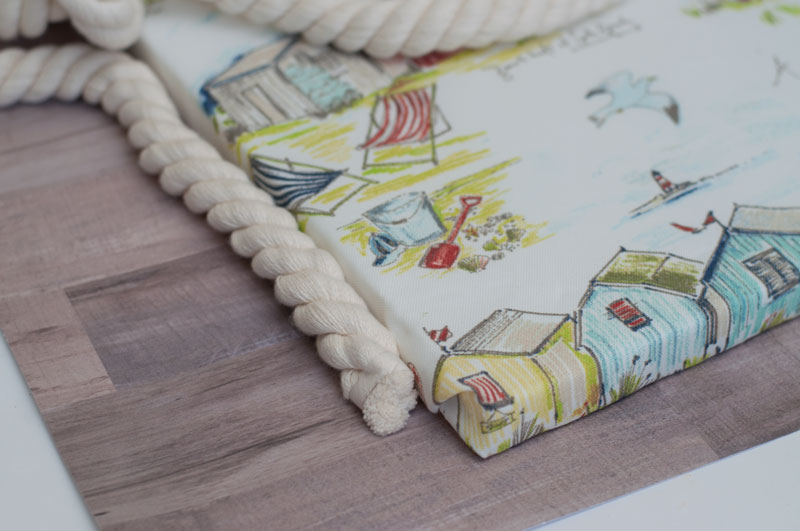
To finish the project, I decided to add a rope border to the memo board.
Start on the side and work your way around gluing the rope to the board as you go. Make sure to pull the rope tight for a clean finish.
That’s all there is to it! A personalized memo board done in about 15 minutes. I can see making a Star Wars or Princess themed one for the kids.
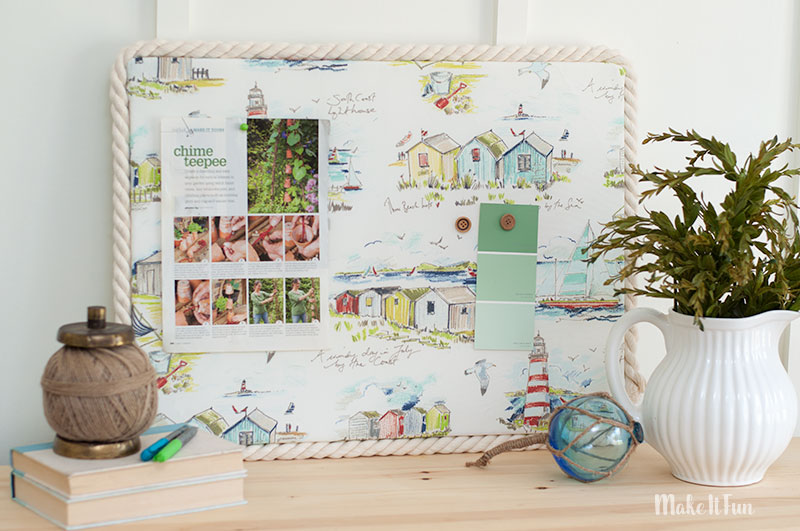
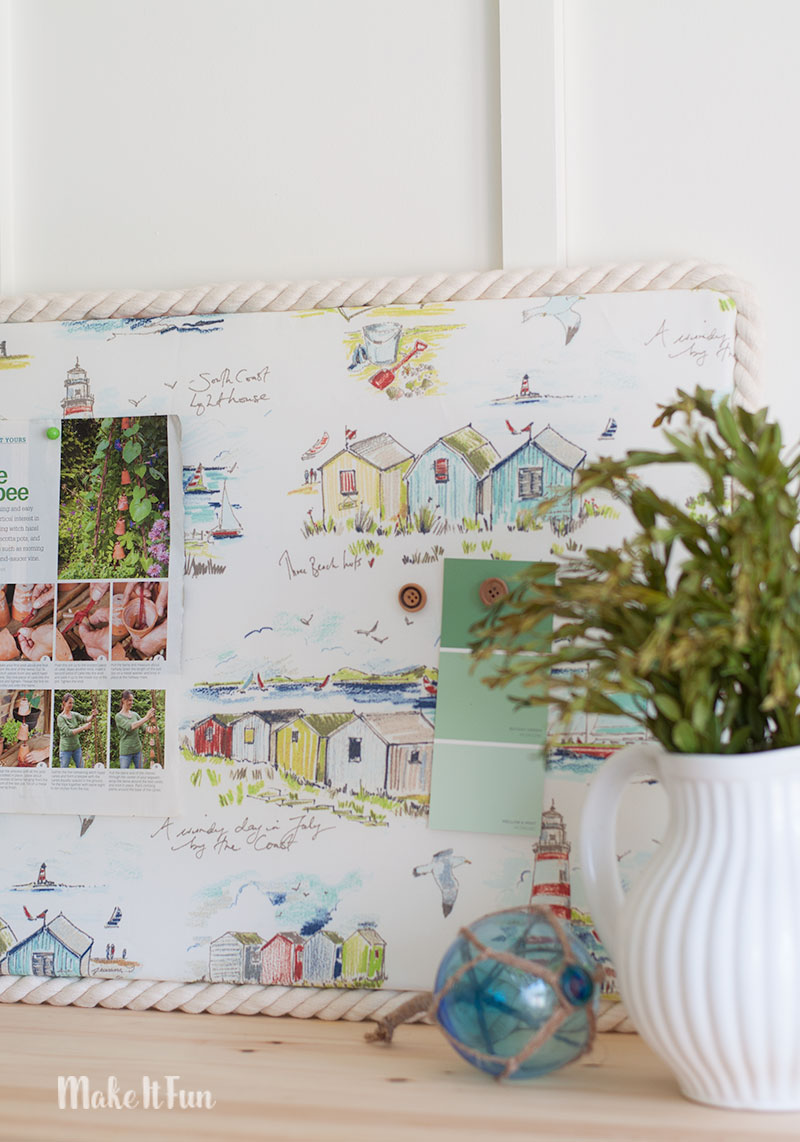
I’m using mine to hang up paint chips and inspiration from magazines. This will help keep my office a little more organized!


Really want make this bulletin board And the wreath for most seasons on this page.