
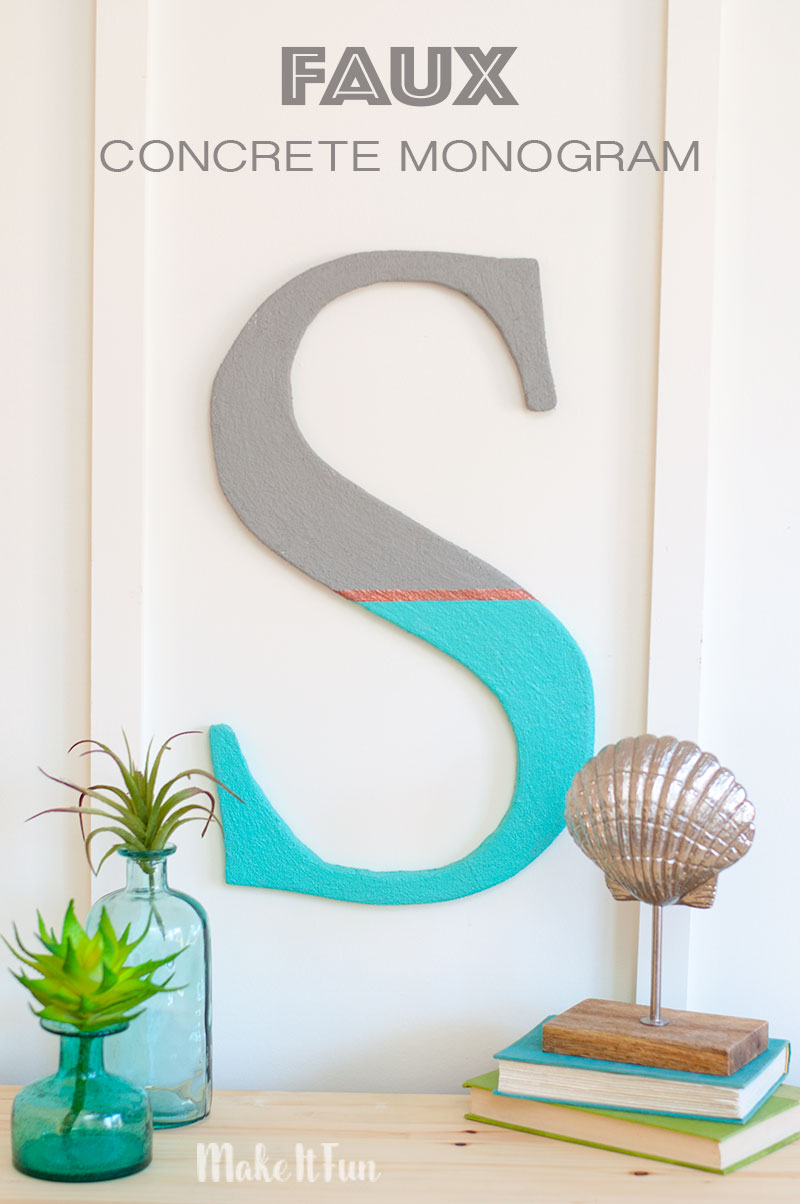
Faux Concrete Monogram
I am so happy we have a little break from the holidays and I can start working on more home decor crafts for the house! I’m giving my craft room a makeover and I wanted to add some things to the walls. So I decided to make a giant DIY Monogram for the wall. I had some concrete paint that I got a couple months ago but I haven’t had a project to use it with it yet, so I thought this would be perfect!
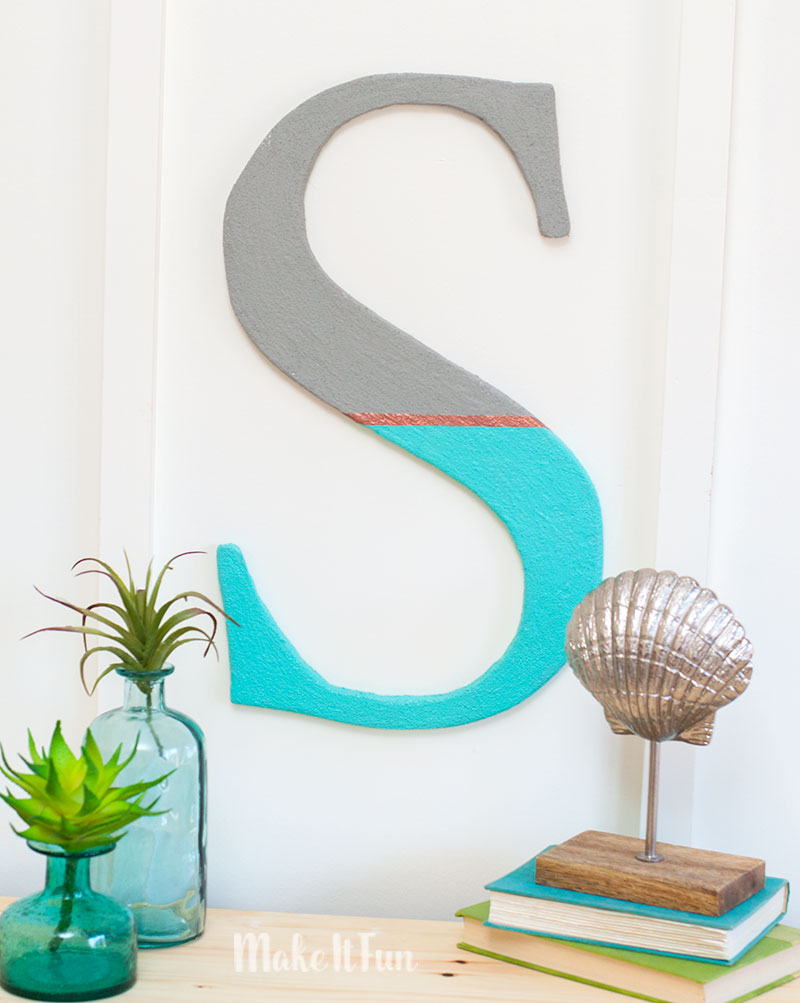
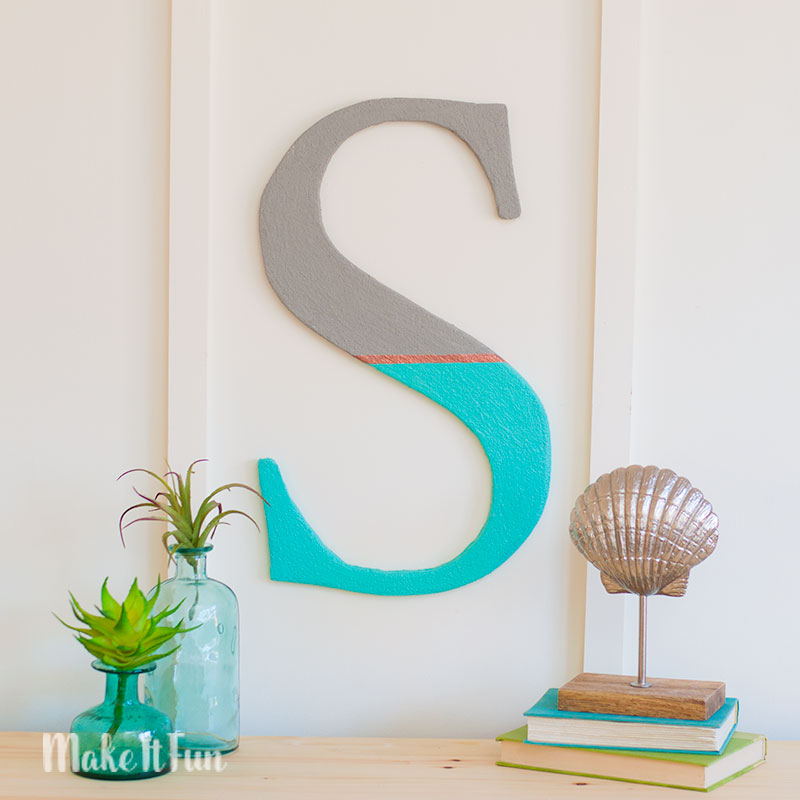
I now have a concrete monogram on the wall and the best part, it’s light as a feather! Woohoo!
Supplies needed to make this project:
- FloraCraft® Make It: Fun® Foam: Sheet 1/2″ x 12″ x 36″
- FloraCraft Smooth Finish® Paintable Coating
- FloraCraft® StyroCutter® Plus
- Monogram Template (from online or a cutting machine like a Cricut® or Silhouette®)
- Sharpie Marker
- Faux Concrete Paint
- Acrylic Paint (I chose turquoise)
- Painter’s Tape
- Copper Leafing Pen
- Straight Pins
- Permanent Marker
- Paintbrush
- Fine-Grit Sandpaper
Instructions:
First, create your template. I pulled out my Silhouette Cameo to cut out my monogram template, but as always with these crafts you can print a template from online to whatever size you want. I made my monogram about 19″ tall.
Next, trace the template onto your foam sheet. I used some straight pins to help keep it in place and traced it out with a sharpie.

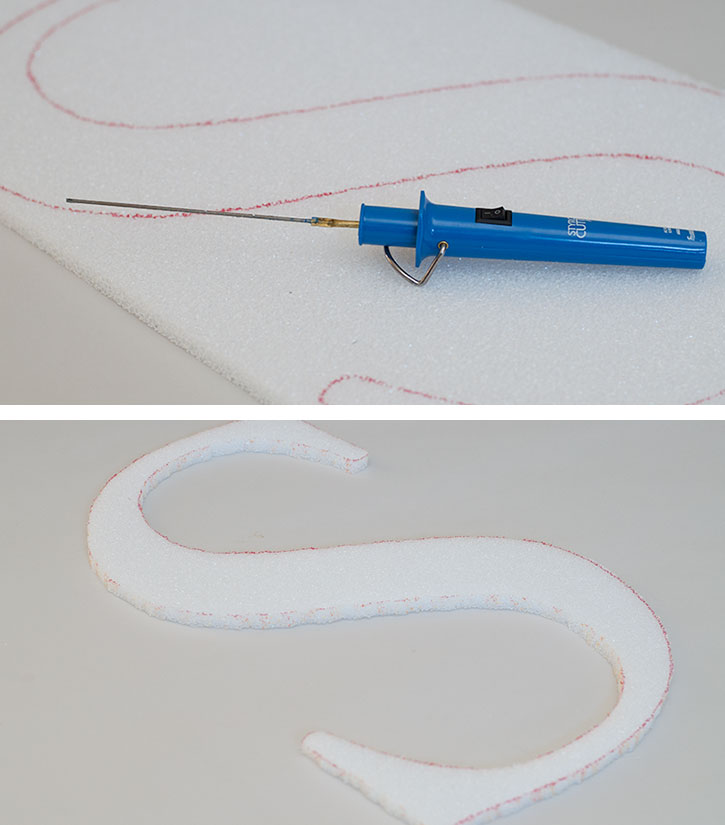
Now, cut it out! I pulled out my trusty StyroCutter Plus to cut out my monogram. Be sure to read the packaging instructions carefully before using this tool…it get’s really hot! I started at the top, working my way around. Just gently guide the cutter around the foam and let the tool do the work. If the wand is bending, you’re pressing too hard. It cuts the foam perfectly.
Tip: You can lightly go around the sides with some fine-grit sandpaper to smooth the edges if needed.
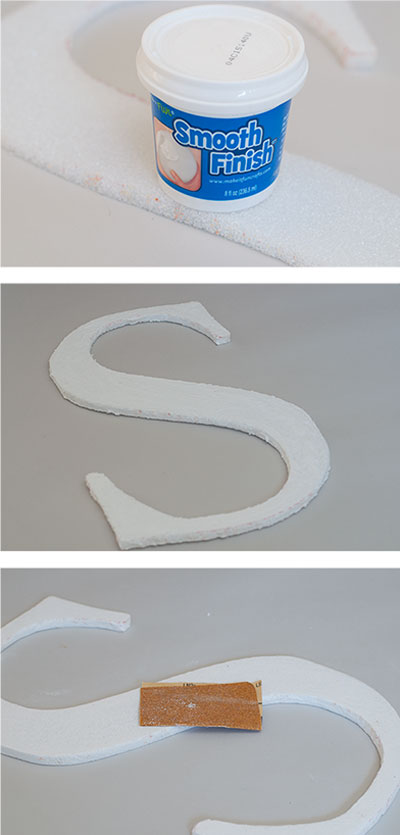
Now it’s time to add your smooth finish to create a paintable surface. I used my fingers and pressed it into the foam. For this project, I only used one coat of the smooth finish. Once you’re finished let it dry for 3 -4 hours.
After it had dried completely, I lightly went over again with some sandpaper.
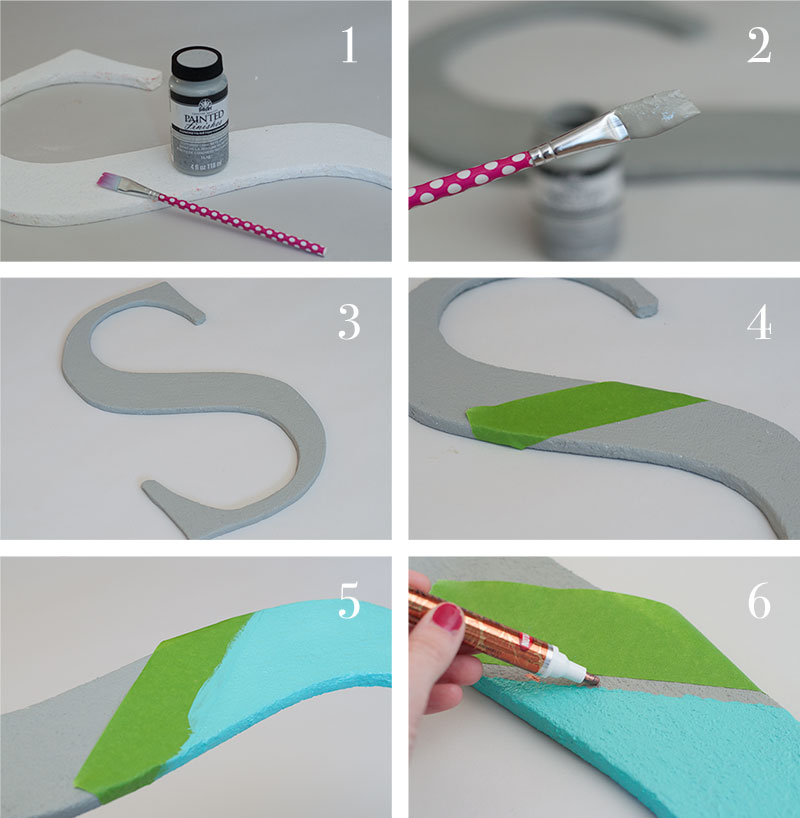
Next, add paint! I used faux concrete paint from Plaid, but any stone gray should work. I only needed one coat for this project, it goes on pretty thick. I love that it actually looks like concrete and it has a grainy texture to it.
When it dried, I felt I needed to add a little something extra to match my decor so I added some coastal blue and a touch of copper.
Now, this is a statement piece when you walk into the room! I really just wanted a GIANT piece for this space and this saved me a ton of money!
I added a couple command strips to the back to hang it on the wall…it’s so lightweight! I use those for all my wall decor projects using foam!
There are so many ways you can make your own custom monogram, but I just loved the concrete look. I’m really thinking I’m going to make something that says “Seaside” the same way in my den area. It will be awesome! I’ll keep you posted.


Definitely gonna give this a try!!!