
Teach Me! – Cake Color Game
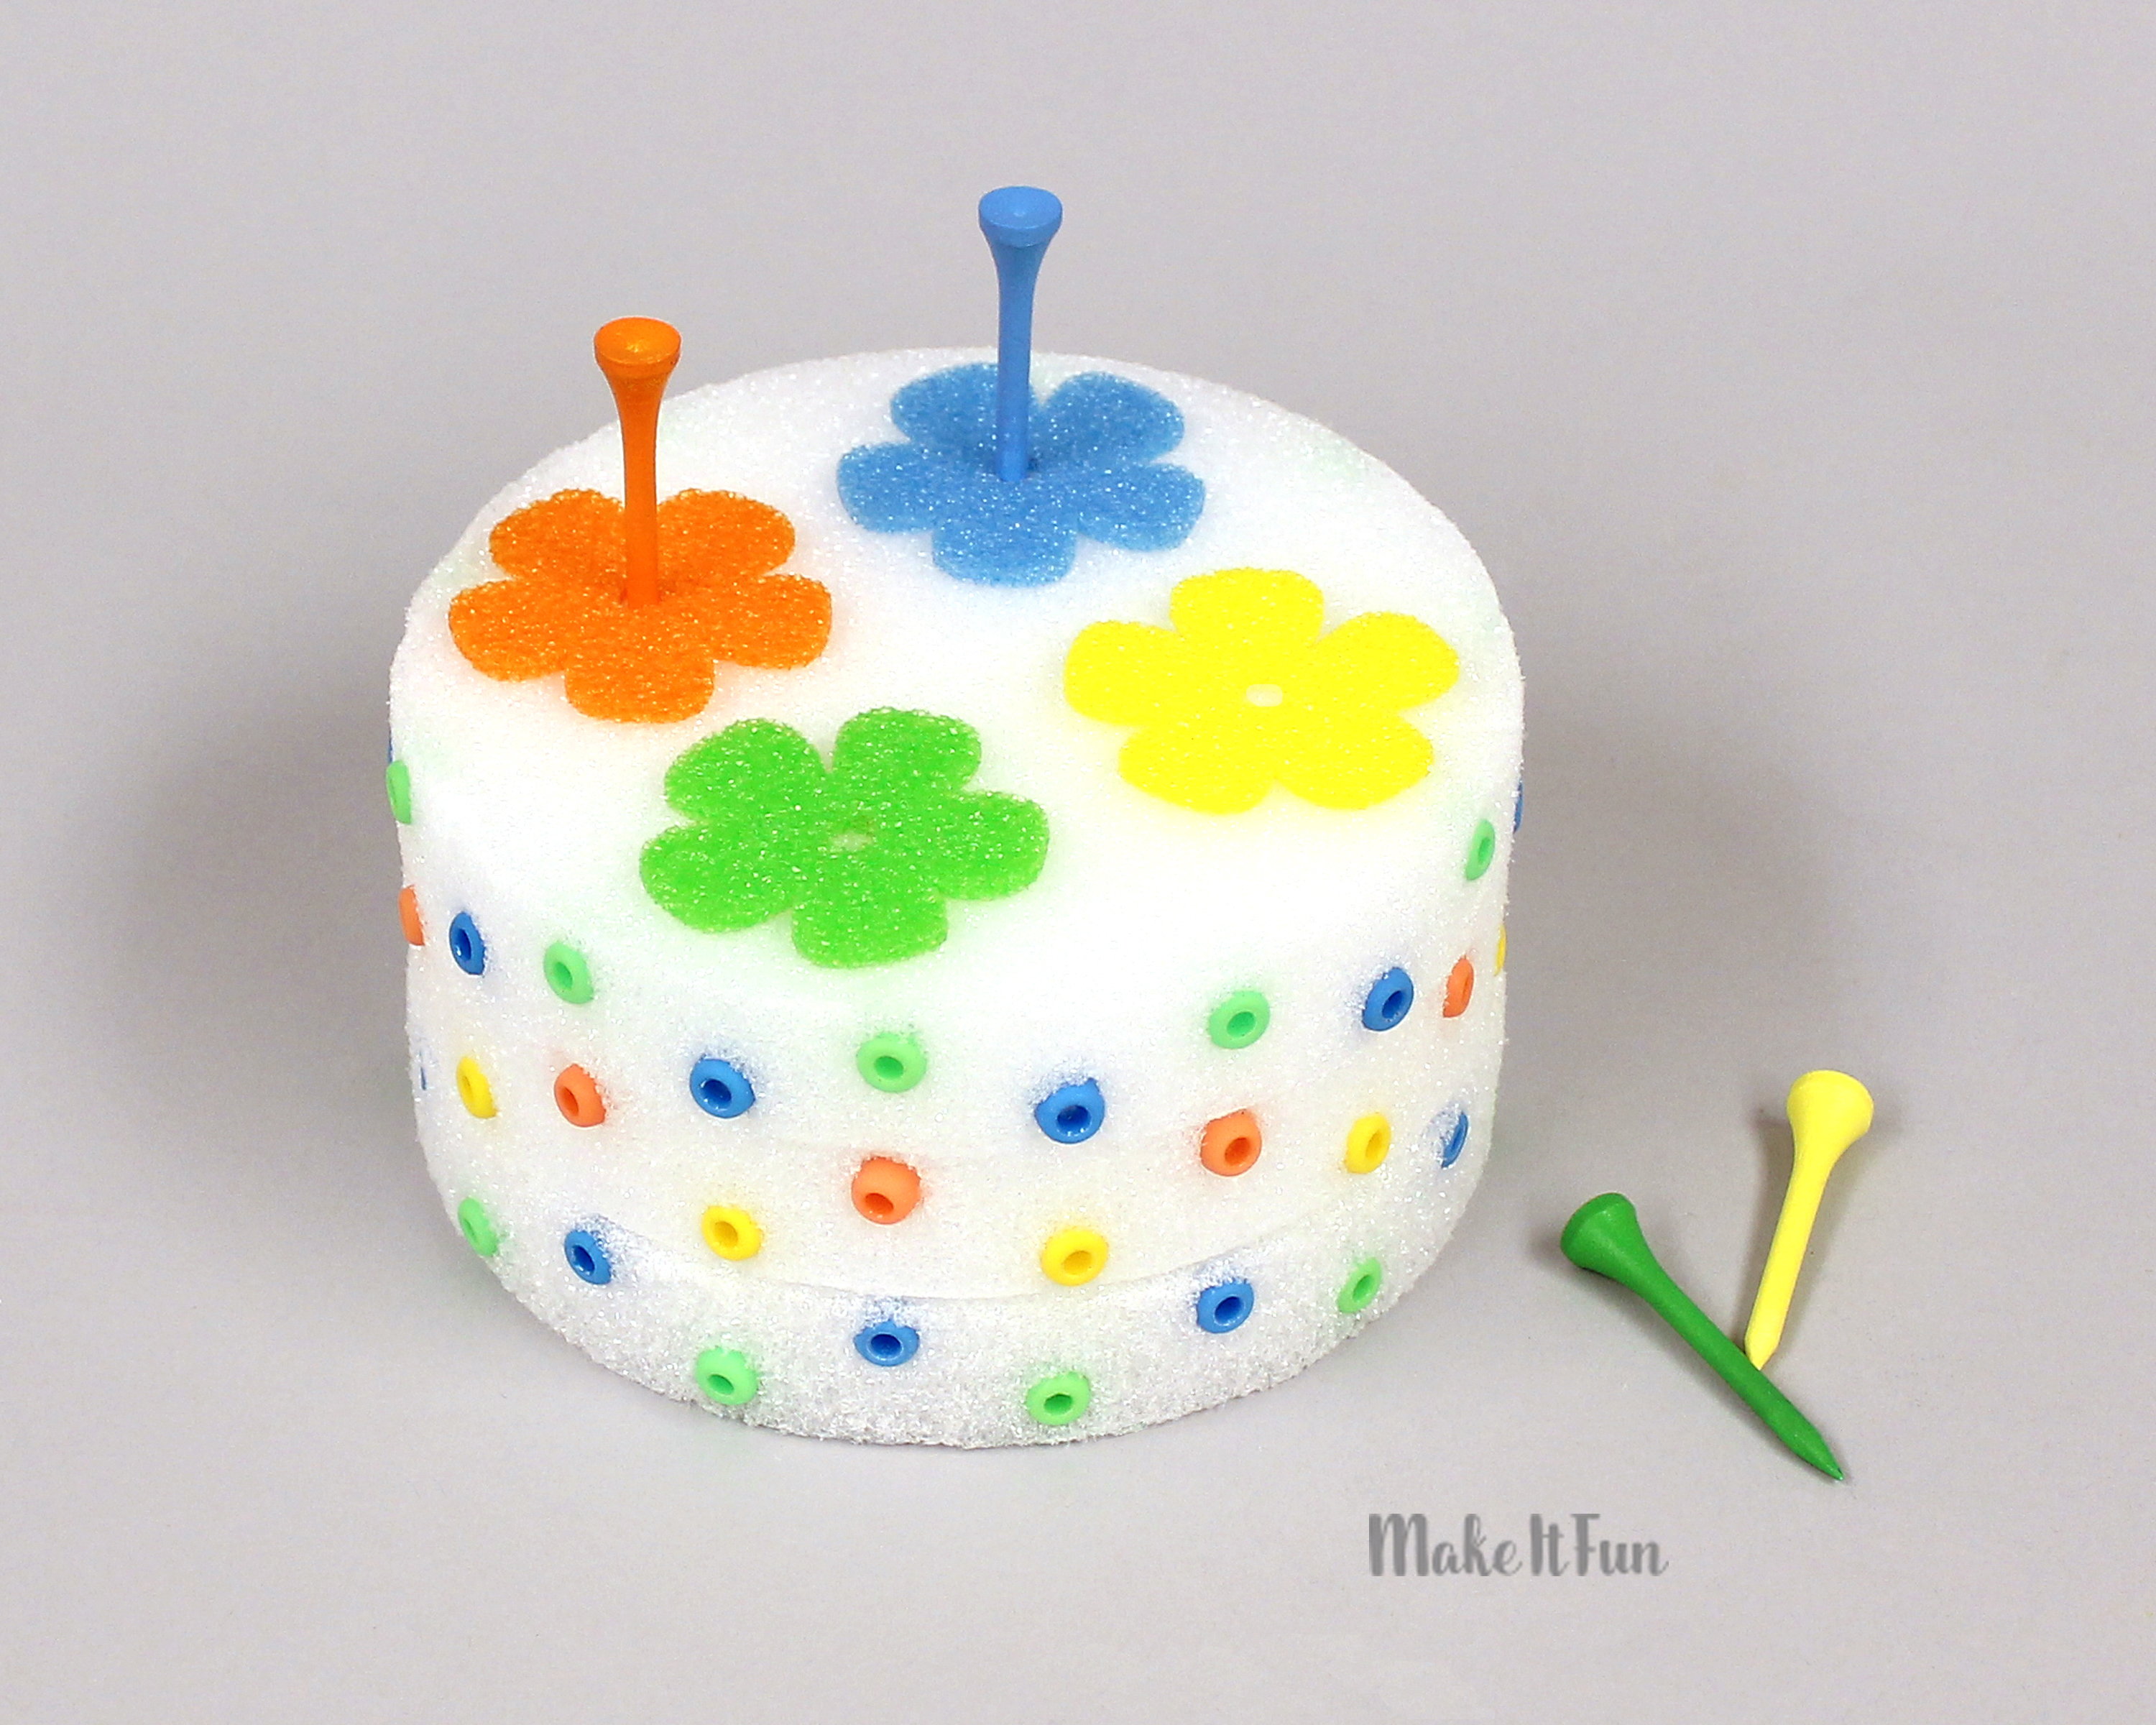
Early childhood and preschool teachers can tell you how important matching games are for little minds! And this educational project includes the learning that occurs from the hands-on activity in making the game, as well as in playing it by matching, counting and handling the golf tee ‘candles’! In less than an hour your child can create this brightly-colored cake game!
Supplies needed to make this project:
For Child:
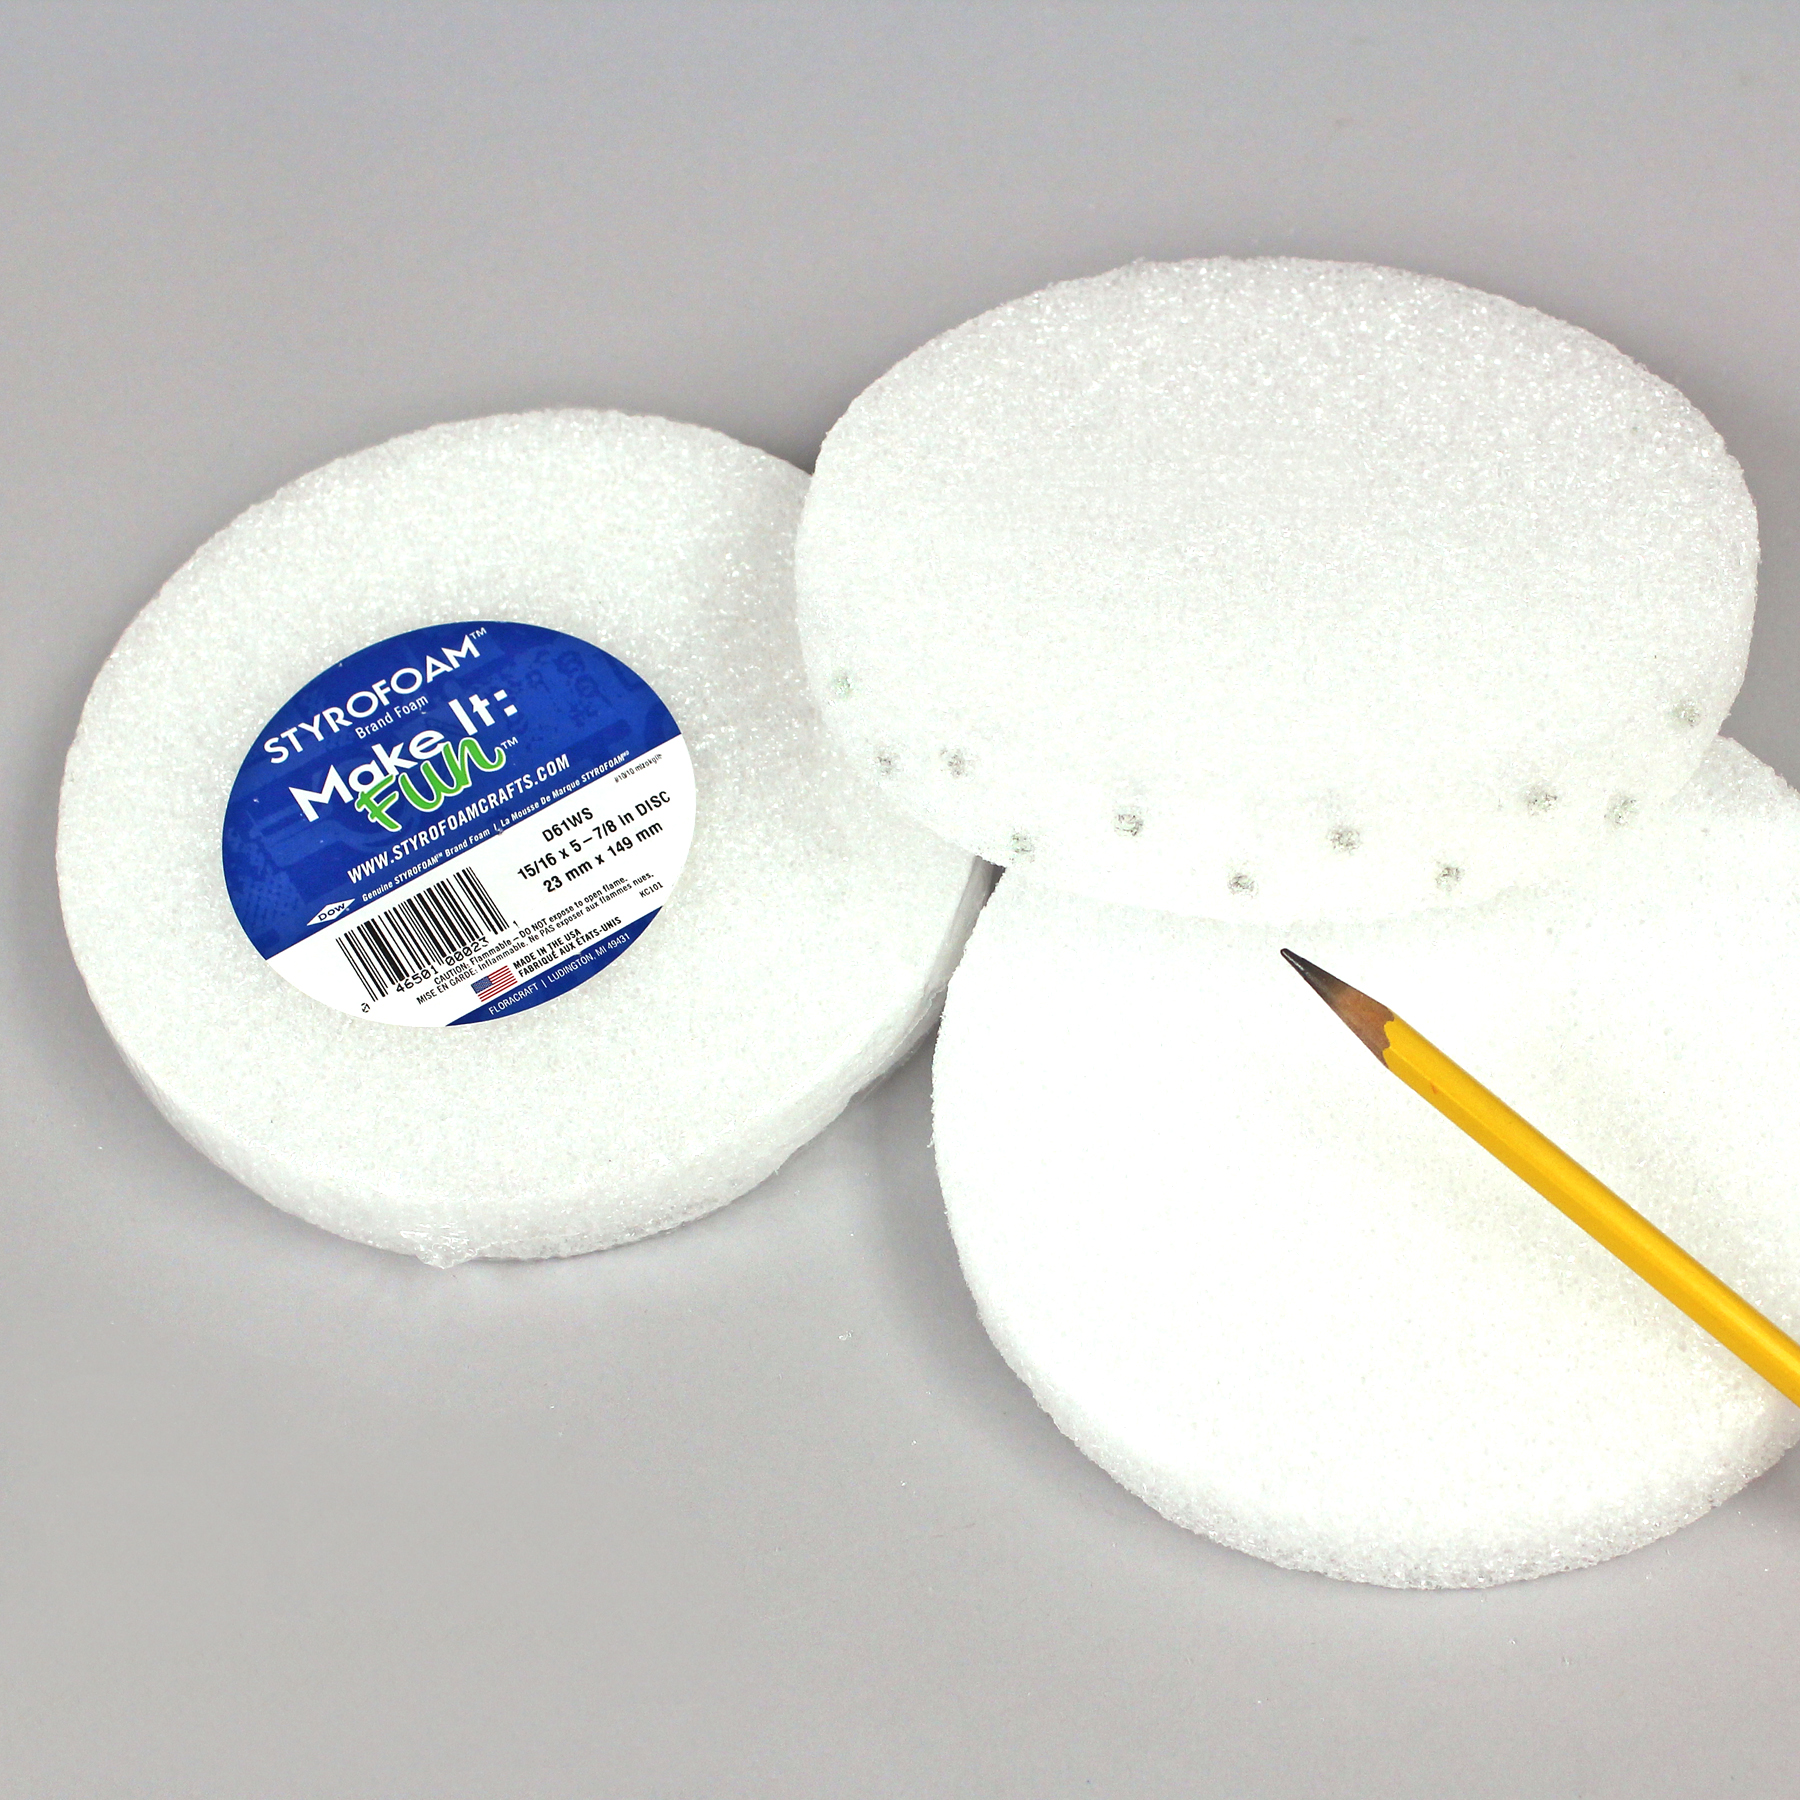
- (3) FloraCraft® Make It: Fun® Foam: Discs, 6″
- (4) Foam Flower Stickers, (in colors you’d like students to learn)
- (4) Golf Tees (colors to match flowers –If not available, purchase white tees to paint)
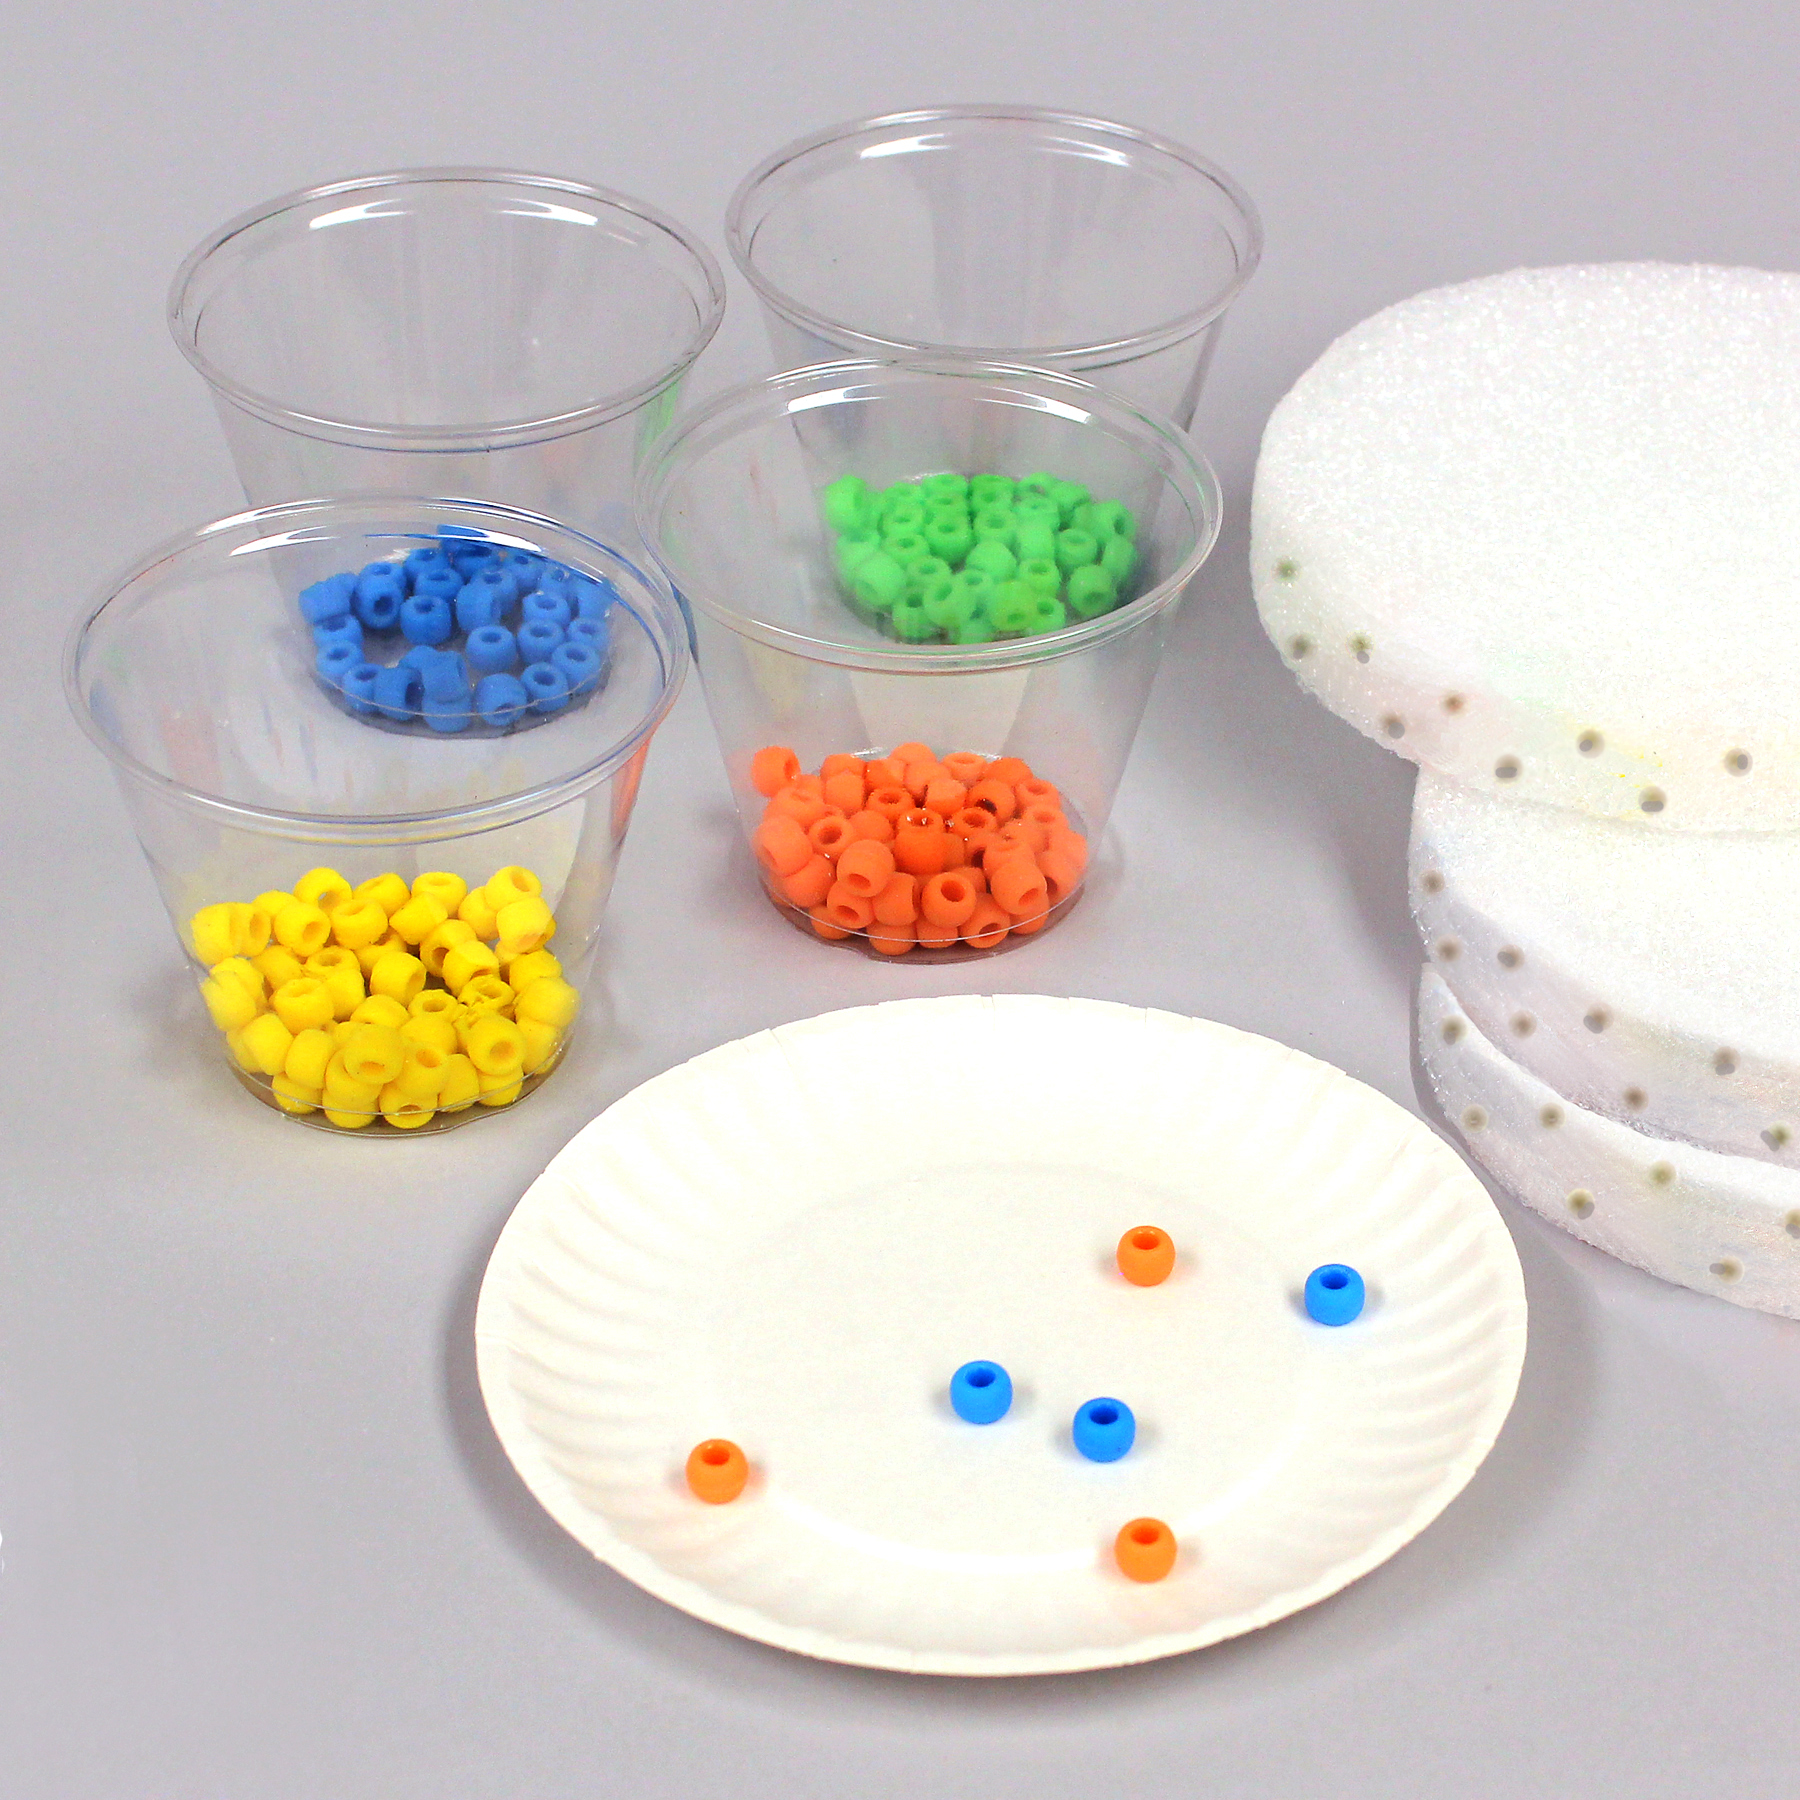
- (6) Pony Beads (assorted colors to match flowers and golf tees)
- (1) Paper Plate
- (4) Small Plastic Cups (to hold beads)
For Parent or Teacher:
- Low-Temp Glue Gun
- 1/4″ Paper Punch
- Pencil
- Ruler
- Ziploc Bag (to hold cake and tees)
If painting golf tees:
- Fine Sandpaper
- Acrylic Paint (four colors to match flowers, such as Green, Blue, Orange and Yellow)
- Scrap Foam Piece (to hold golf tees while drying)
- Paper Plate
- Medium Paintbrush
- Paper Towels
- Container of Water
Instructions:
Before working with the child
If you want the pony beads to be evenly distributed on the edge of the cake, you’ll need to mark the edges of the foam discs with a pencil. If it doesn’t matter to you, the child can randomly place beads.
To mark edges, insert a pencil into the edge about 1/4″ down from the top, to make a small (about 1/4″ deep) indention/mark. Then, 1″ away, mark about 1/4″ up from the bottom. Continue marking all around edge, every 1″, alternating top and bottom.
Do this part with the child
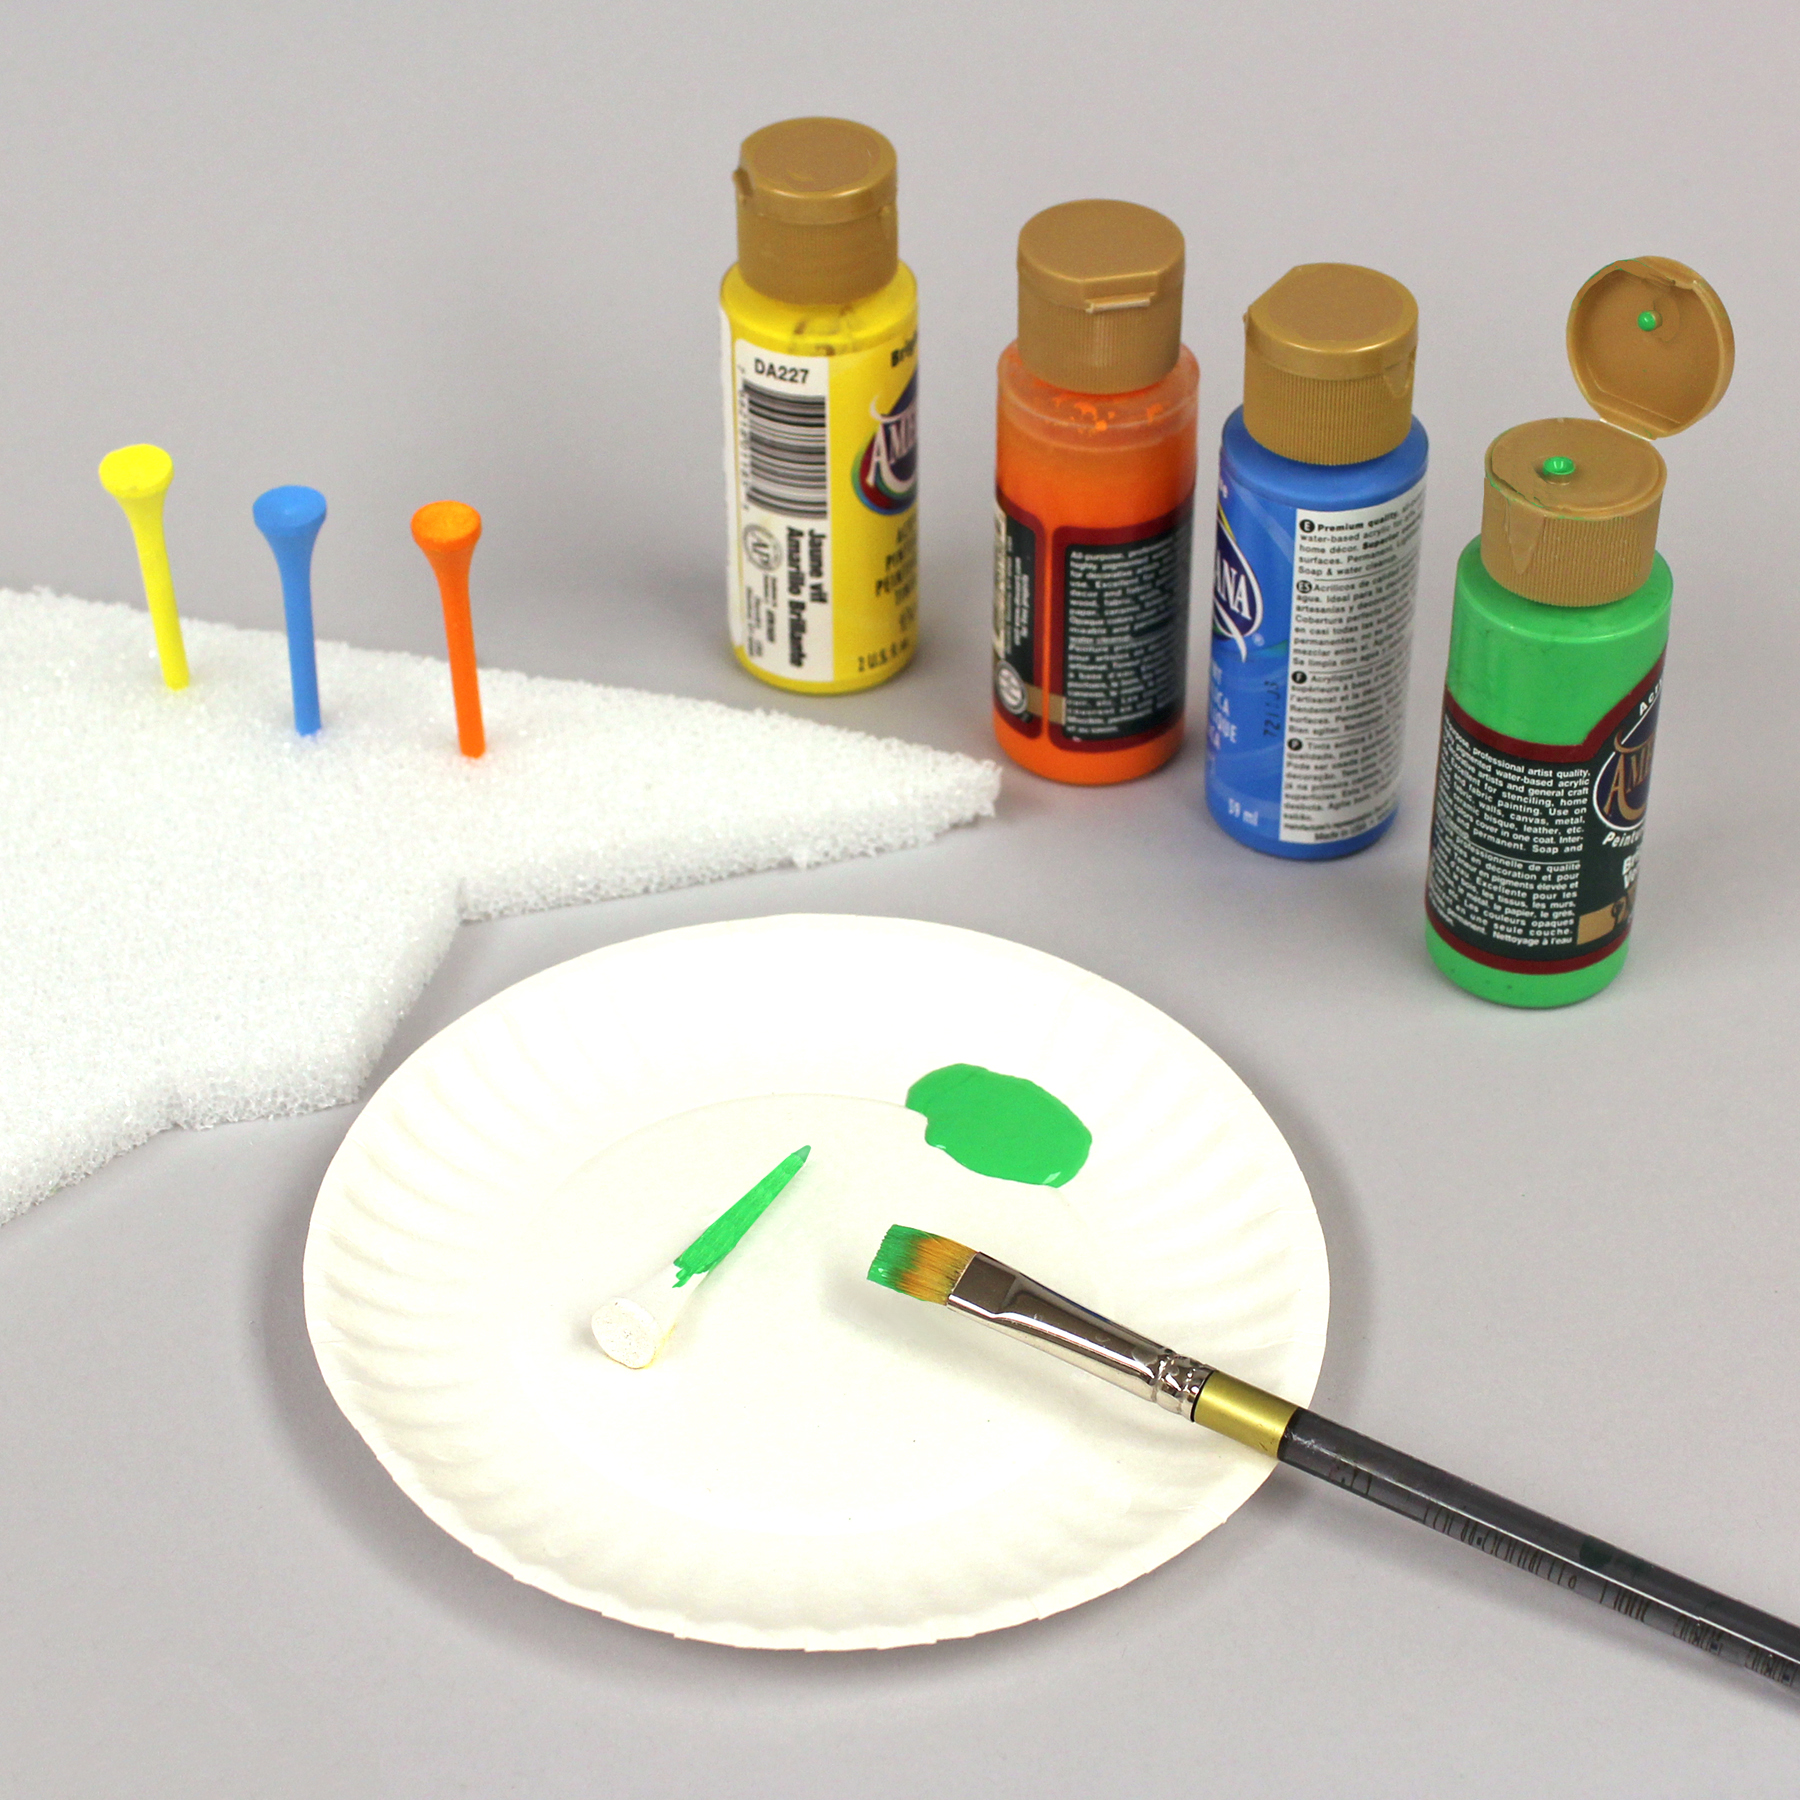
If golf tees that match the flower colors are not available and you decide to paint them, lightly sand them with fine sandpaper (to rough up the smooth finish so that the paint won’t easily scratch off). Acrylic paint is water based so it cleans up with water, but when it dries, it’s permanent and won’t come off of clothes.
After sanding, wipe off the golf tee to remove the dust. Then squeeze a small circle of paint onto the paper plate and paint the pointed bottom of the tee while holding the top. Insert the top of the tee into the scrap of foam to hold until dry. Then hold the bottom of the tee to paint the top and insert the bottom into the scrap foam so that the top can dry. Repeat for all the golf tees, washing and drying the brush in water and on the paper towel between colors.
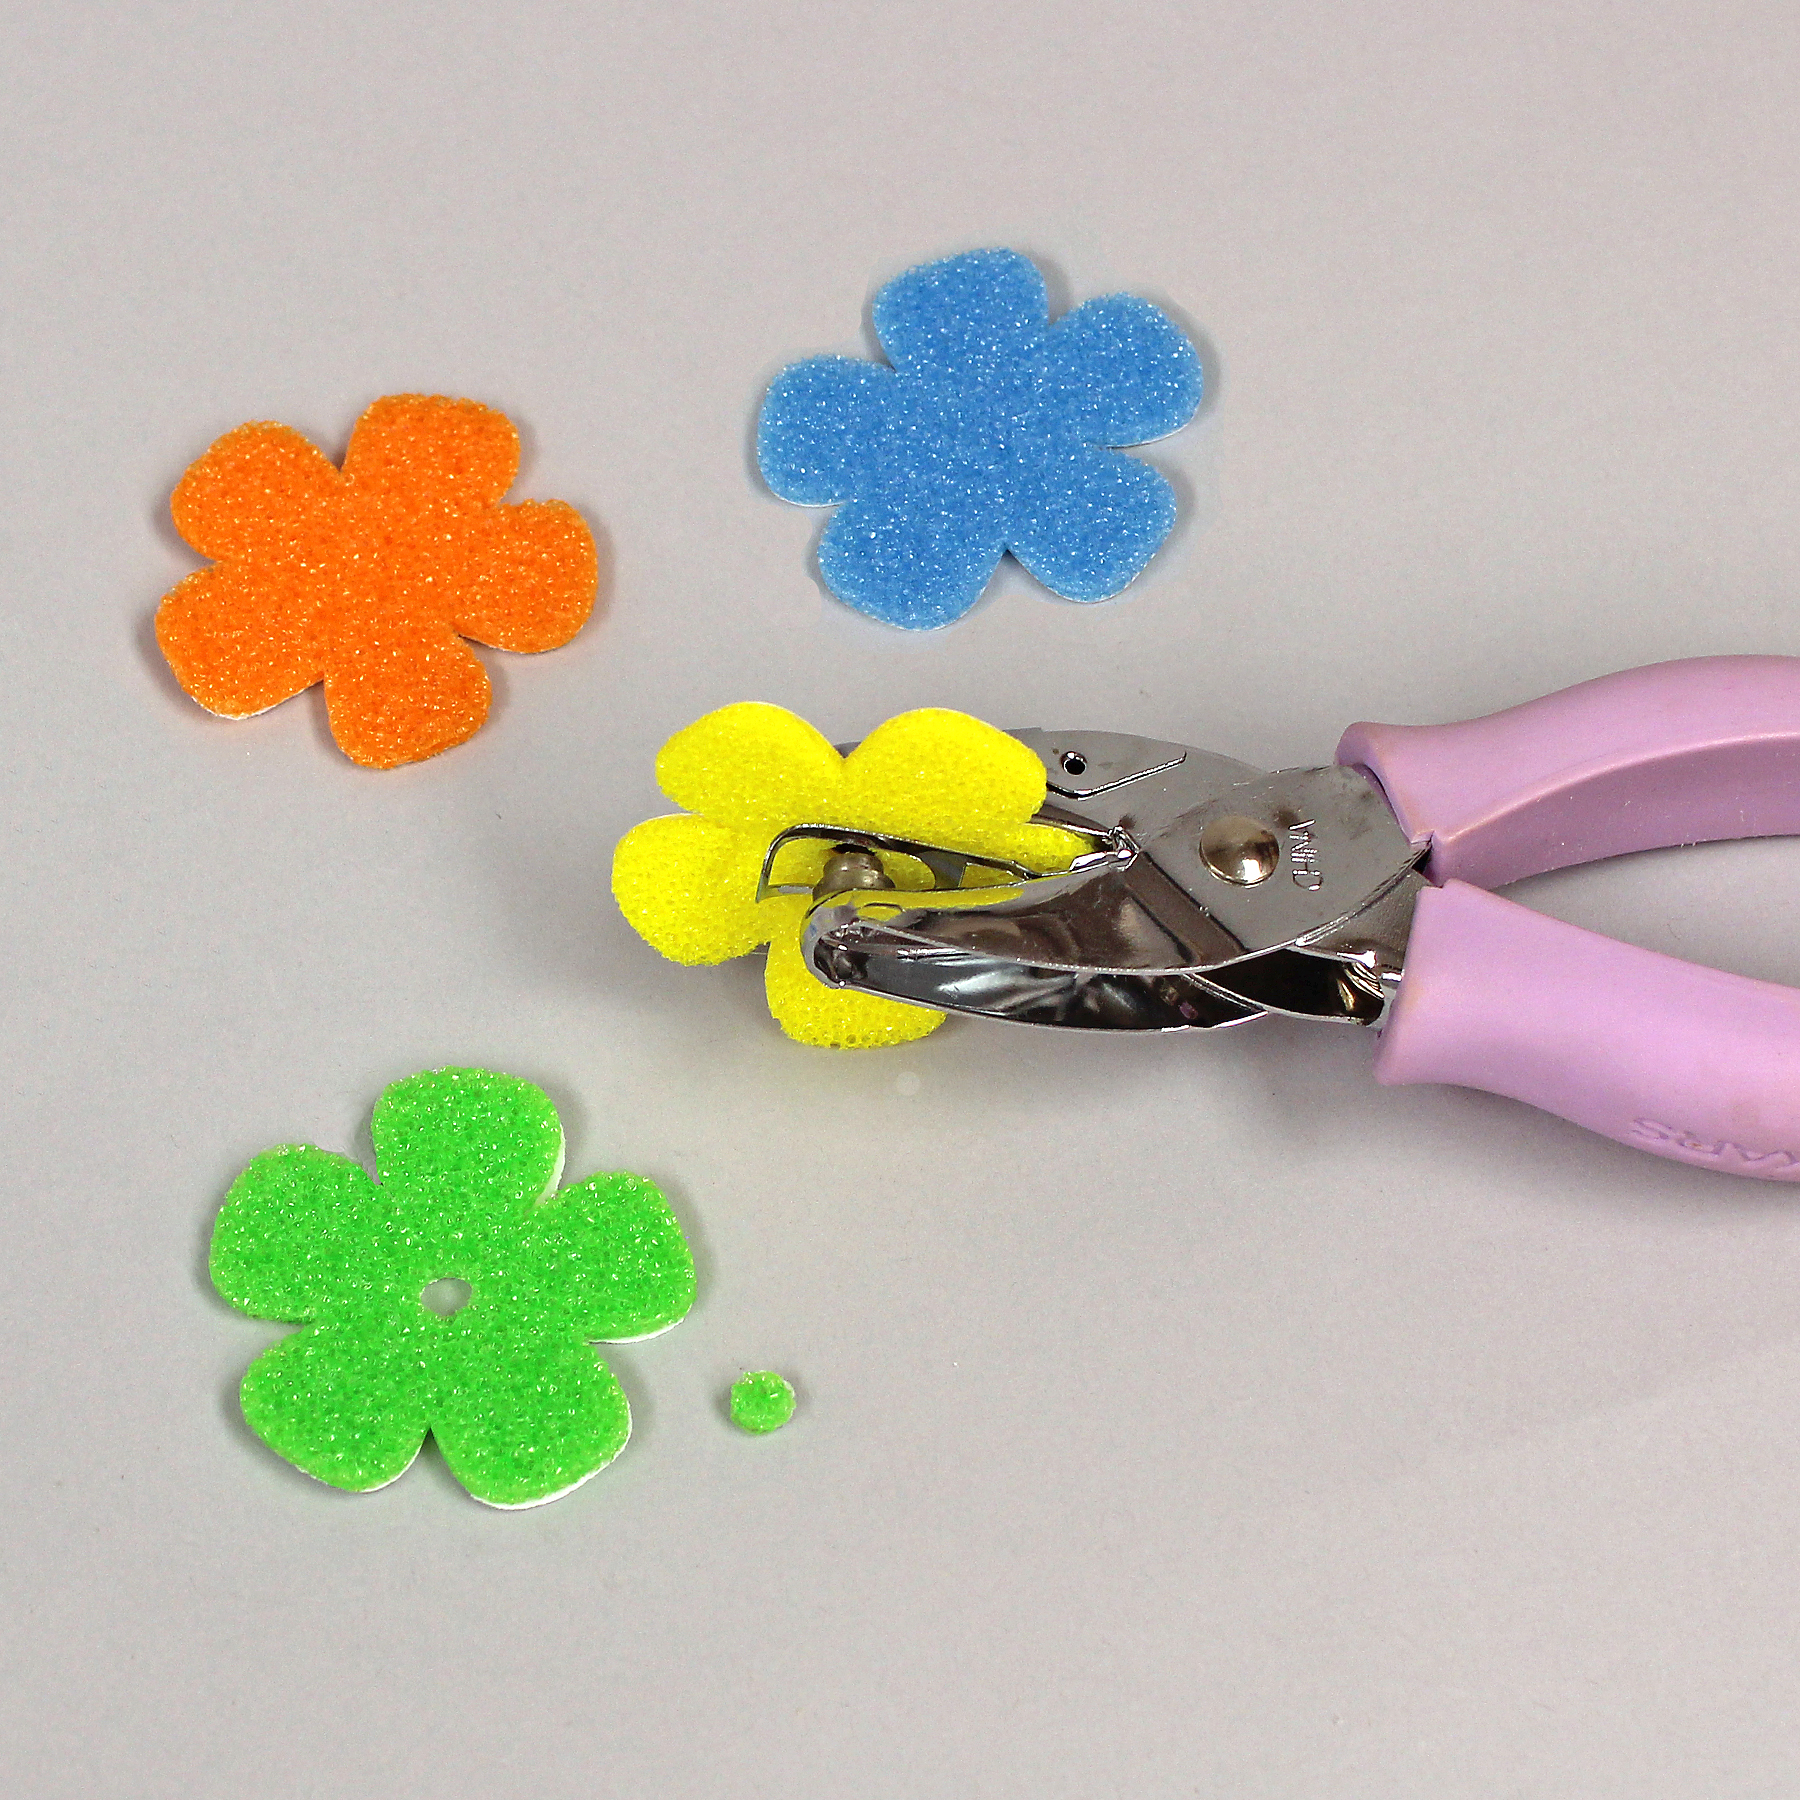
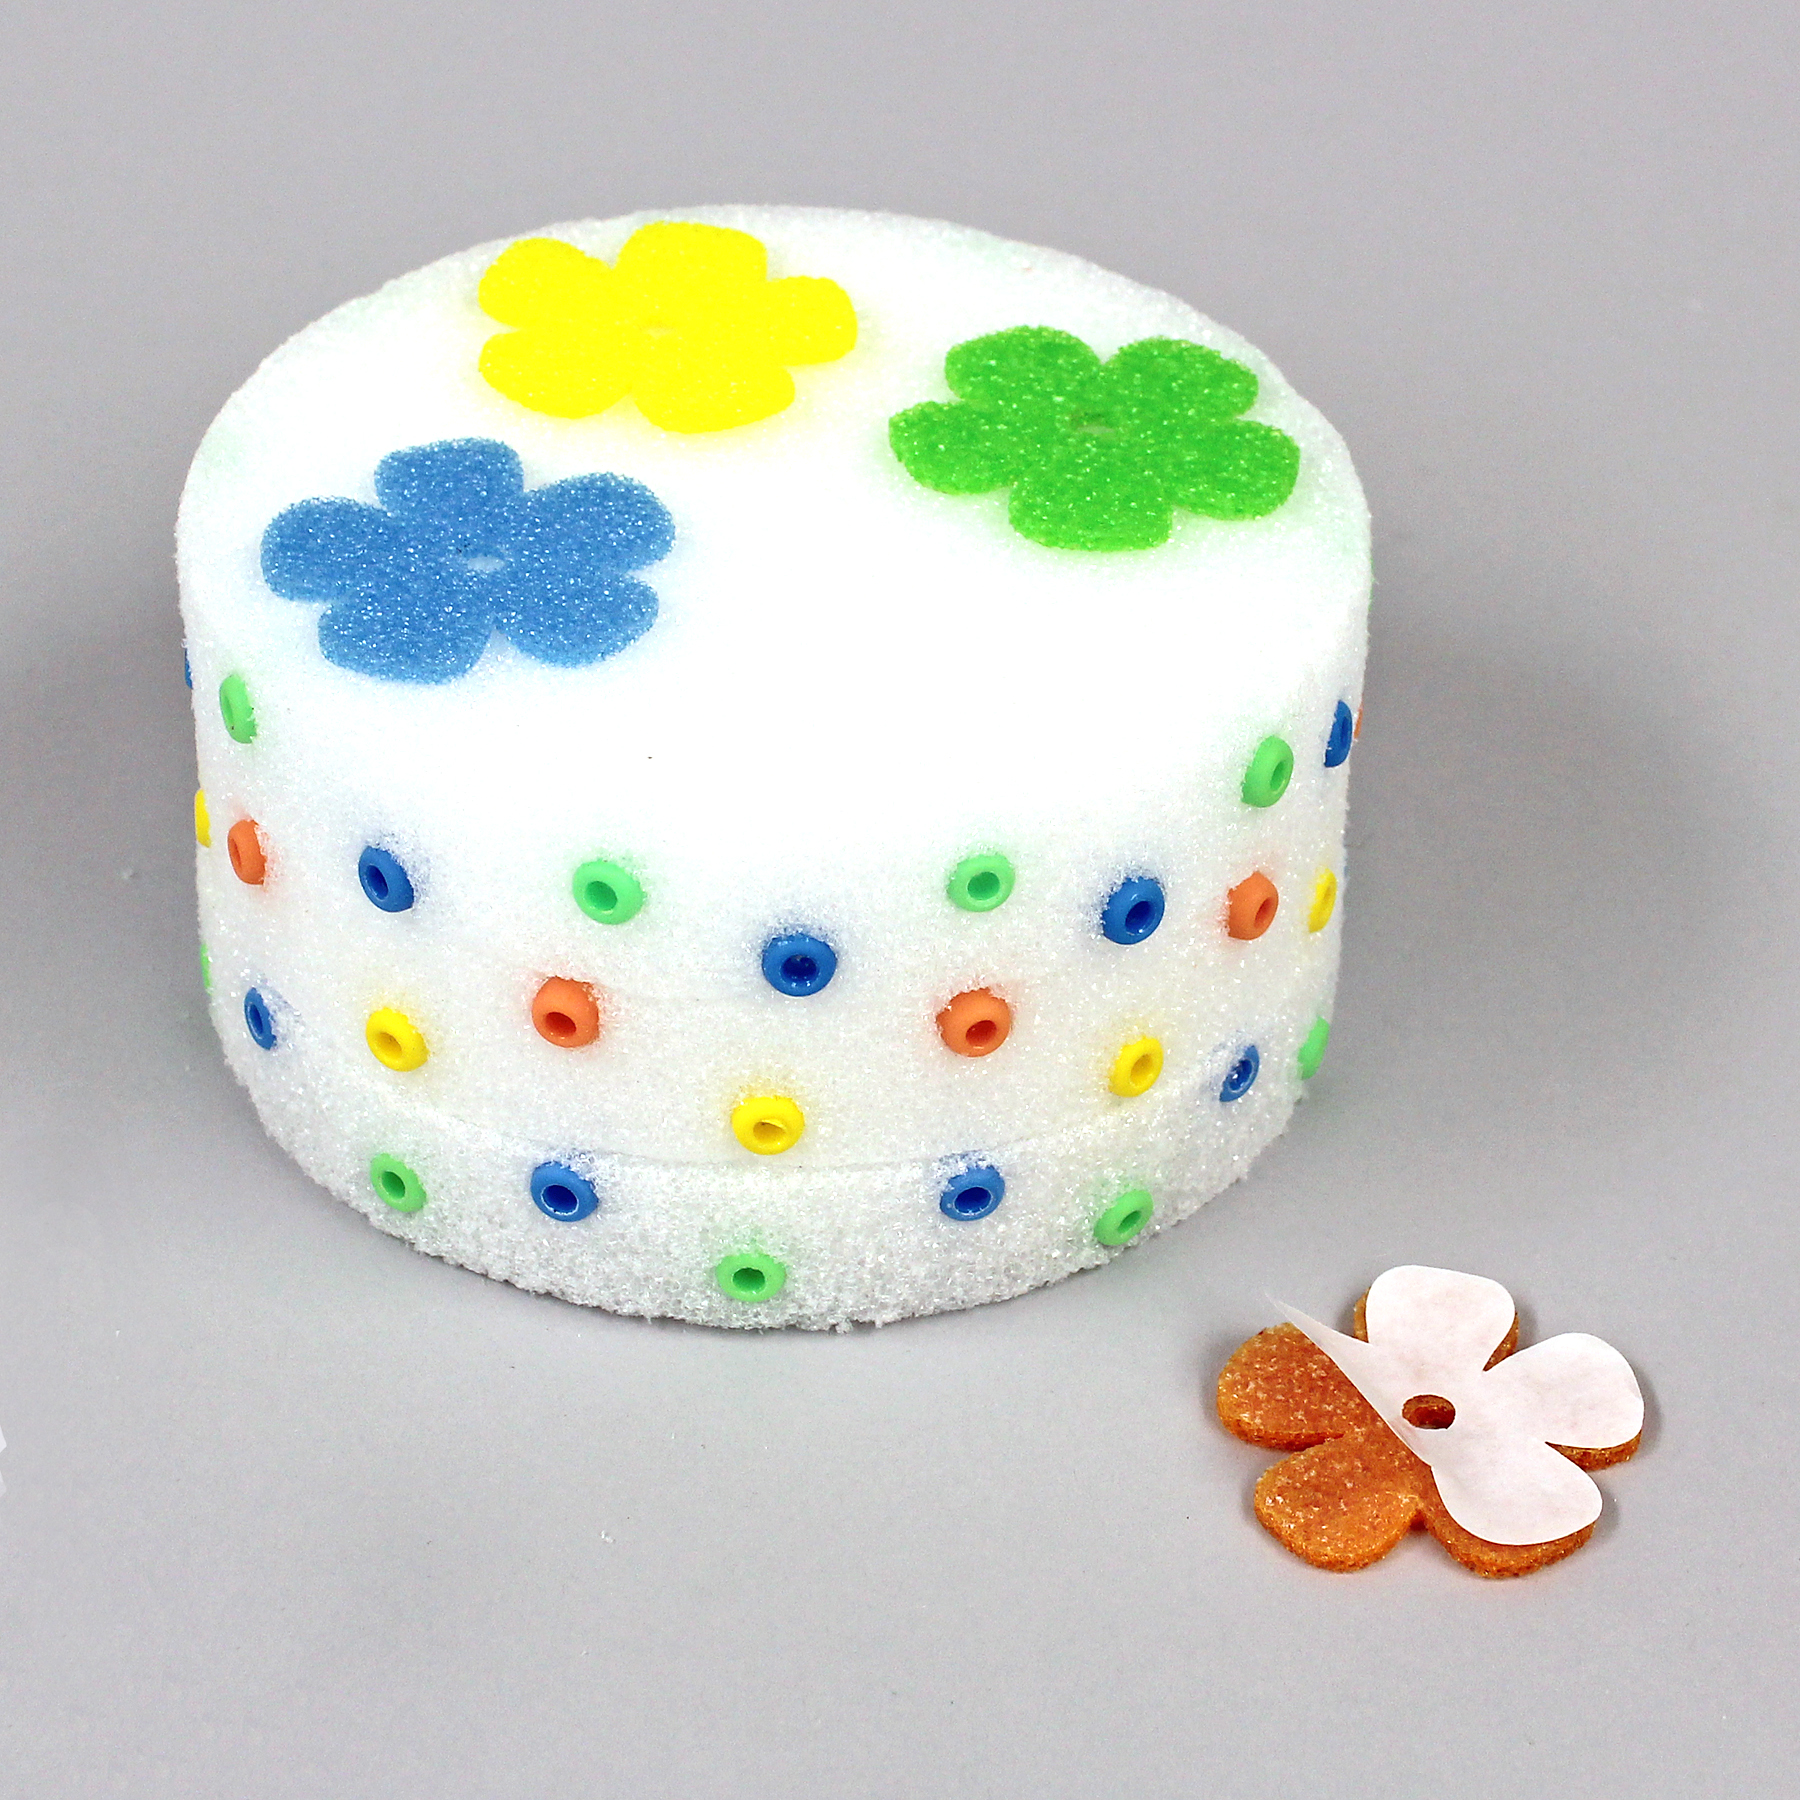
Use the paper punch to make holes in the centers of the flower stickers.
Put beads in cups next to the paper plate (to hold the beads while working) and three foam discs. (Wait to set out flowers and golf tees.)
Show the child that there are three layers to this pretend cake, that can be decorated with pretend sprinkle candies, that are really plastic beads and cannot be eaten. Demonstrate how to choose the colors they’d like by picking up a few beads from the containers and setting them on the plate so that they don’t roll onto the floor. If you have a particular way you’d like the colors selected, describe that now, such as creating a “pattern” from 2, 3 or 4 colors by alternating them. If not, perhaps you can suggest that they try to use lots of color to show “variety”. Mention that they are making a “design” on the sides.
Explain that the holes in the beads should show and that they press on the holes to push in the beads, not the sides of the beads. (You may want to insert a bead side-ways so they see the difference.)
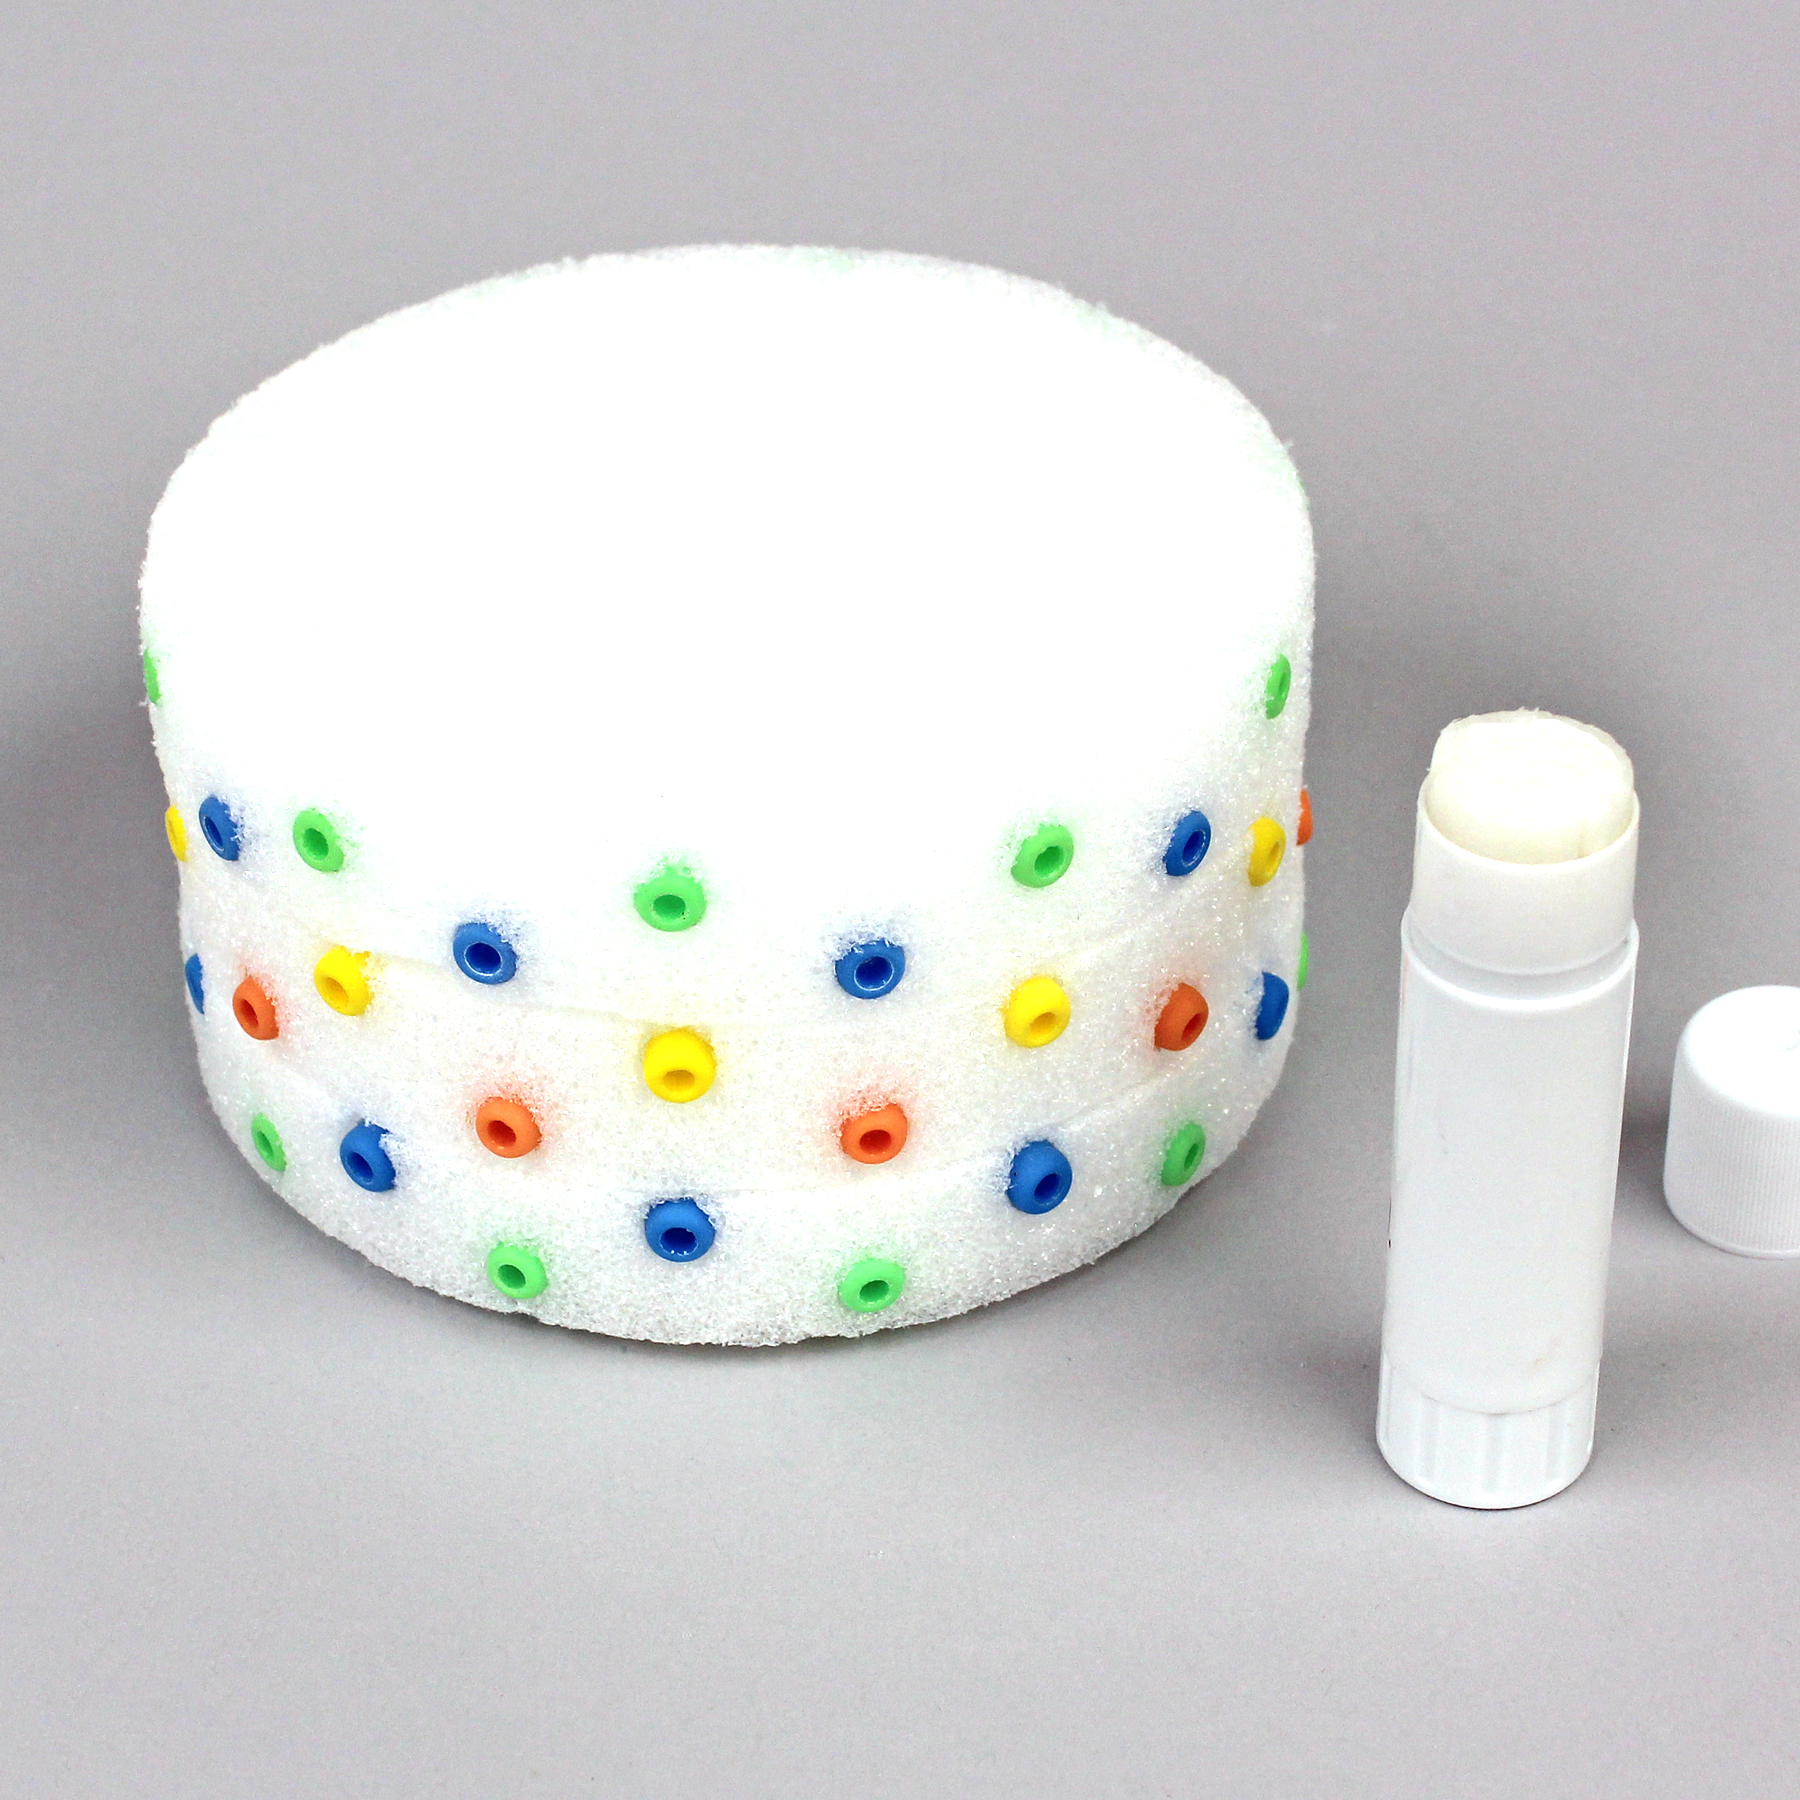
Demonstrate how to start pushing a bead into the mark on the edge of the foam disc with their thumb and forefinger – and then how to continue pushing with their finger. Explain that once a bead goes into the foam that it shouldn’t be taken out – that if it needs to be removed, that you will help them do that and replace the bead (giving you a chance to use the glue gun as explained in the TIPS). Have the child insert the beads.
Help the child plan how the three layers should be stacked. Demonstrate how the child should apply a generous amount of glue stick to the top of the bottom layer and set the middle layer onto it. Similarly apply glue stick to the top of the middle layer and set the top layer onto it.
Take flower stickers to the work area and demonstrate how to remove the paper liner. Have the child attach four flower stickers to the top of the cake to represent frosting.
Explain that the golf tees are pretend candles and that you’ll put them into the cake this first time (so that you can determine how far to press them in). Then, they may take them in and out but shouldn’t push them too far into the cake, because candles should stick up from the cake.
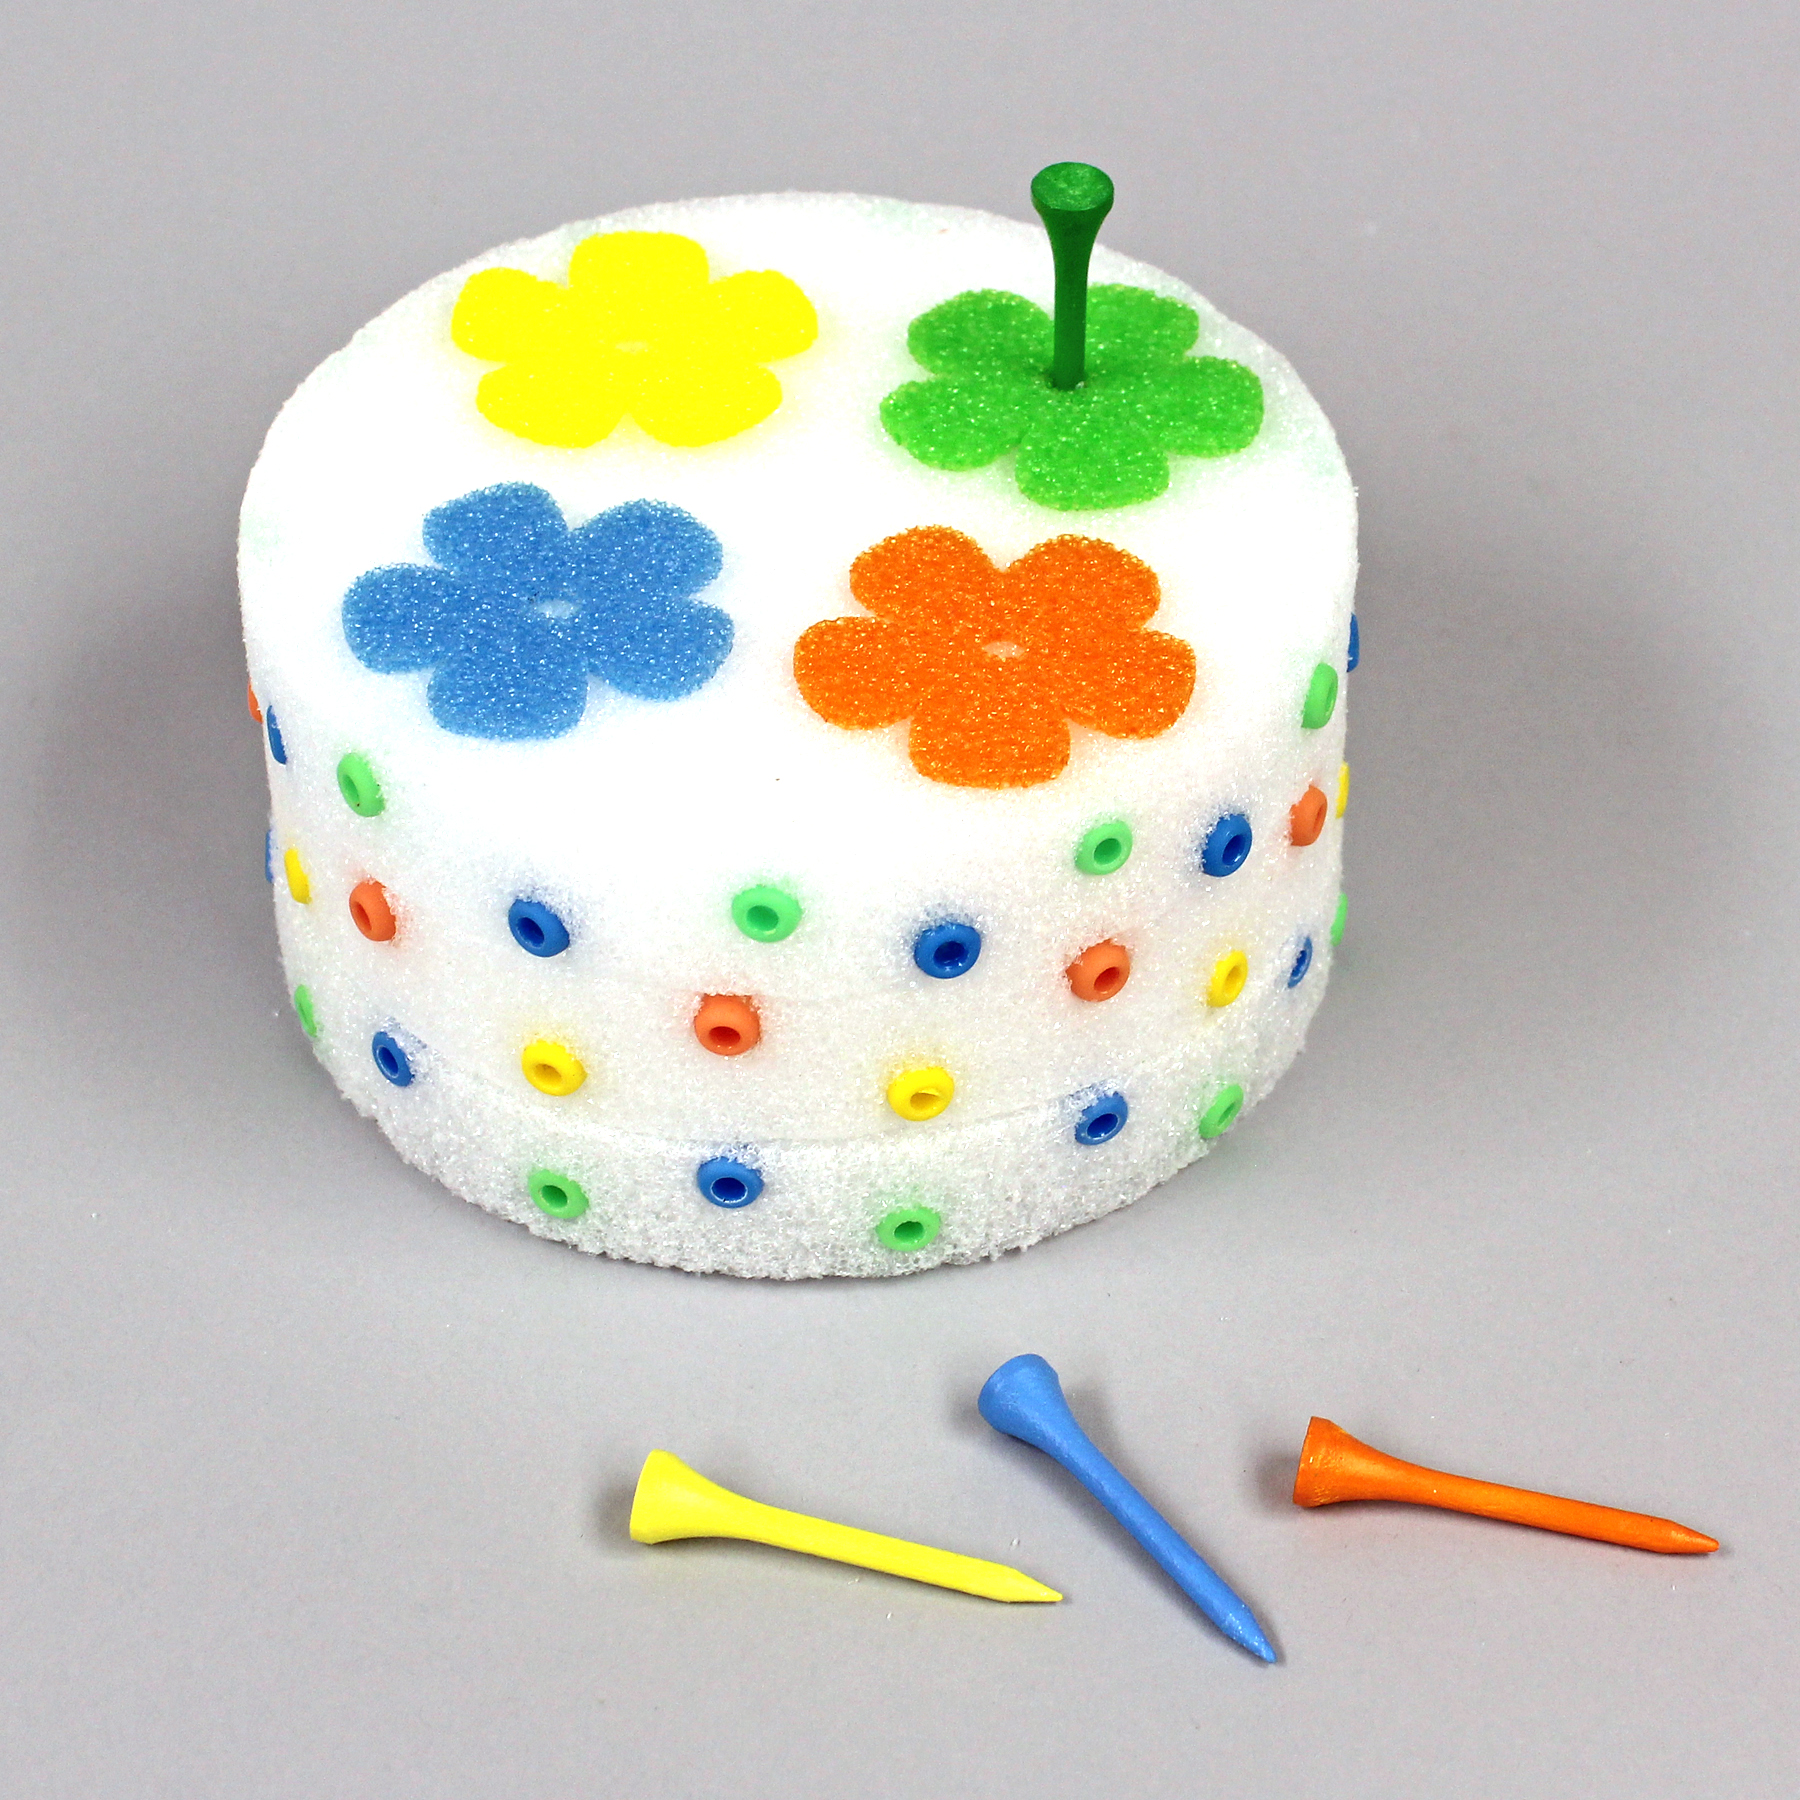
Play with the cake with the child, matching the candles with the flowers, pointing to the bead-candy colors that match, counting candle-tees and bead-candy. Give them the plastic bag, to put everything into the bag, after they’re finished.
Tips & Ideas:
- If any beads need to be removed, use a toothpick to pick them out. Then, add a dot of glue to the new bead and insert it into the foam hole. (New beads stay in well, but if any are removed, the replacements may fall out.
- Depending on the age of the child, change the number of flowers/tees on top to reflect the correct age of the most recent or next birthday being celebrated.
- Use for a speaking and listening project – The child can hold the cake and tell about their birthday.
- To teach color theory, use primary color beads and flowers. Then paint the golf tees the secondary colors.
More…
For more information on this project and other learning activities, click here to visit the Make It: Fun Learning Center.


Leave a Comment
Want to join the discussion?Feel free to contribute!