
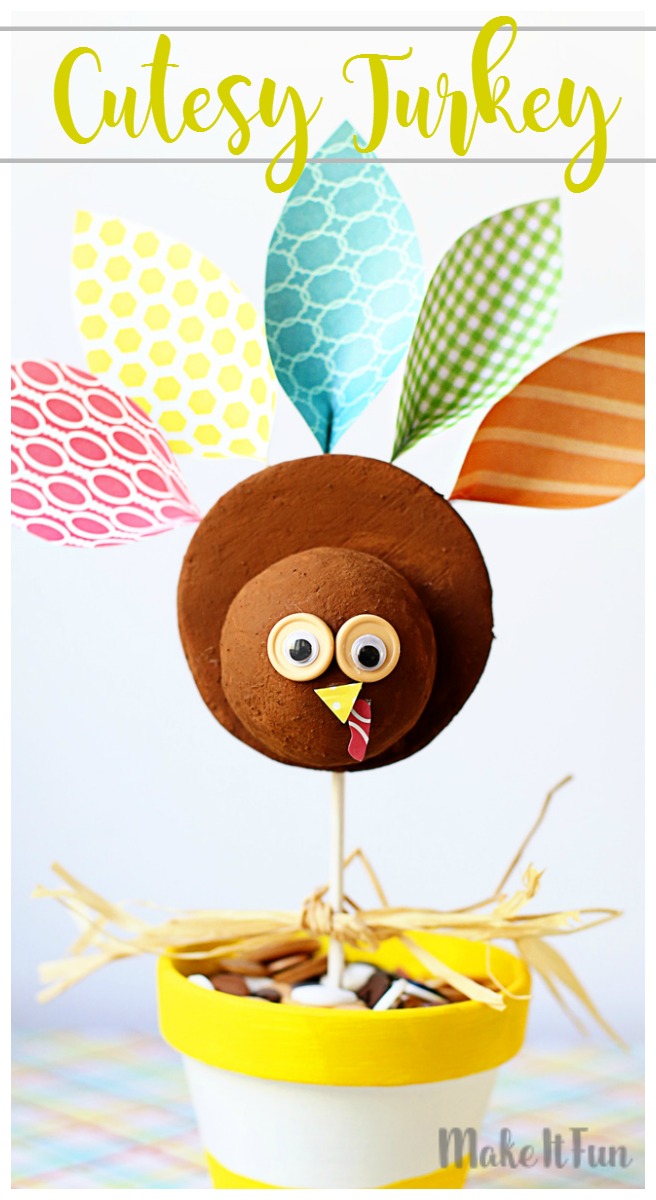
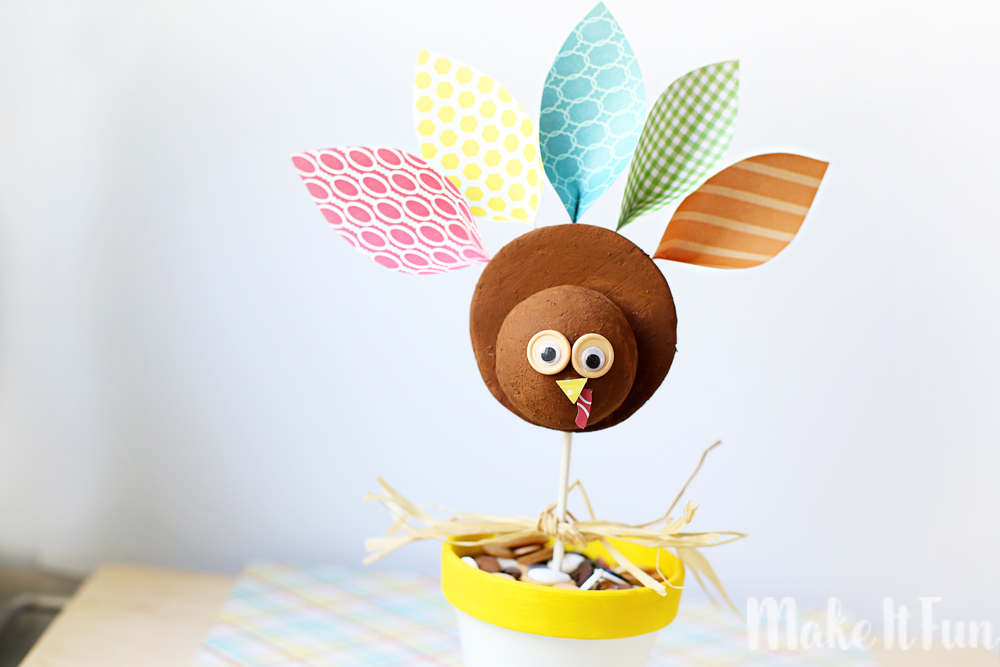
Cutesy Turkey
Hi Everyone! I’m Mandy from Sugar Bee Crafts, here again with another Cutesy Craft Idea!! Did you catch the tutorial for the Cutesy Bats? I love them and have them sitting on a shelf, and as I was admiring them I realized that I could make a turkey version for Thanksgiving – and so I did!
I just love this Cutesy Turkey and it’s fun to have him out on display. I also think that it would be fun to make several and use them as placeholders for a fun table setting, or as gifts for friends and neighbors. Or maybe turn it into a kids craft and have the child write different things they’re thankful for on the feathers. So many options with this project!
Let’s get started!
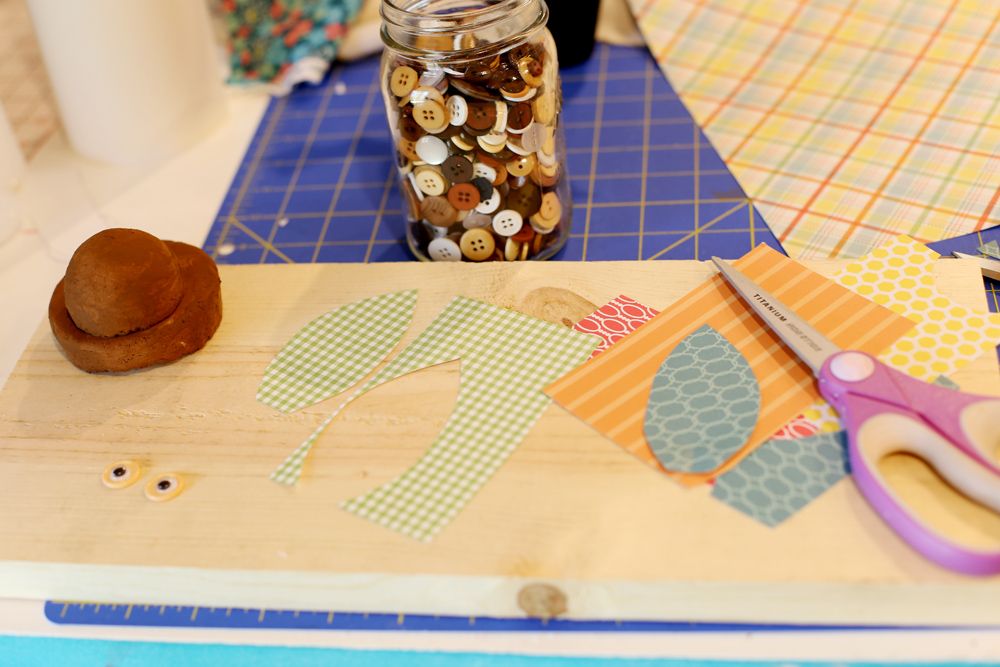
Supplies needed to make this project:
- FloraCraft® Make It: Fun® Foam: 2” Ball (or preferred size for your turkey)
- FloraCraft® Make It: Fun® Foam: Cone (in desired size)
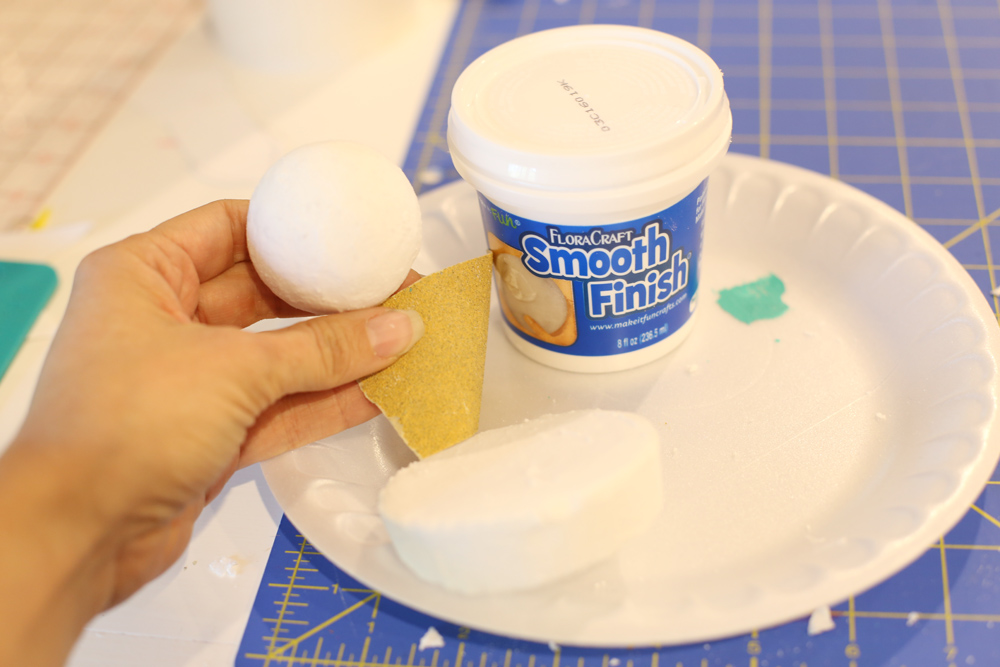
- FloraCraft Smooth Finish®
- Various Colors of Scrapbook Paper
- Buttons and Googly Eyes
- Small Flower Pot
- Thin Dowel Rods
- Acrylic Paint: Brown, Yellow (or whatever color you want your pot)
- Low-Temp Glue Gun & Glue
Instructions:
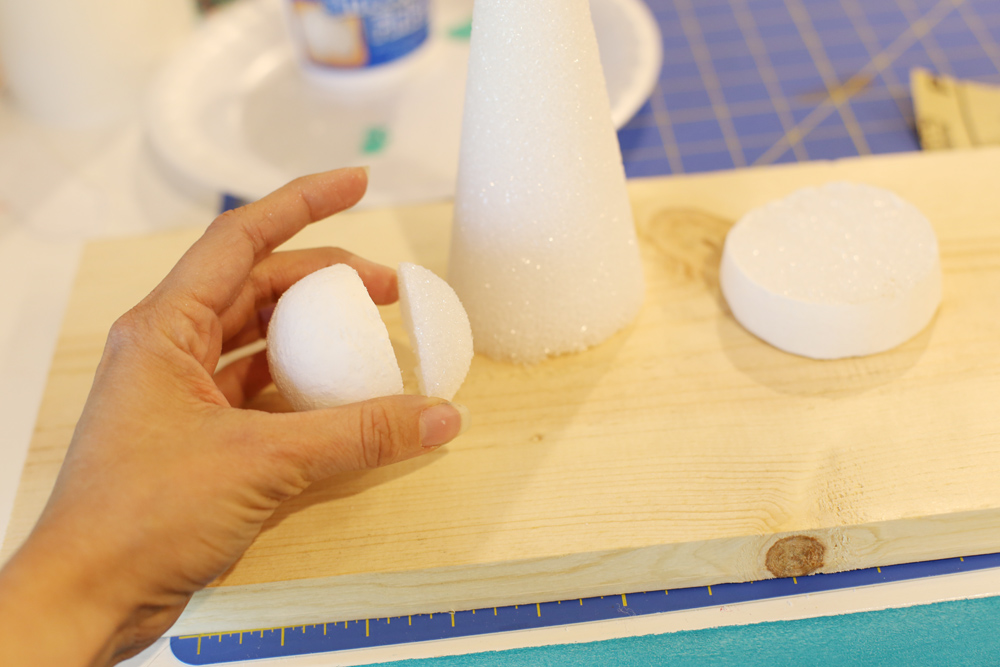
First prepare your pieces. Cut about 1/3 of the ball off, and cut the bottom 1 inch off the cone. This will give you the shapes for the turkey. An alternate option would be to use a small disc shape instead of the cone, but that is what I had on hand.
Next use Smooth Finish to fill in the foam cells. I LOVE LOVE LOVE smooth finish! Did you know that after it dries you can even sand it to make it smoother? It’s true!
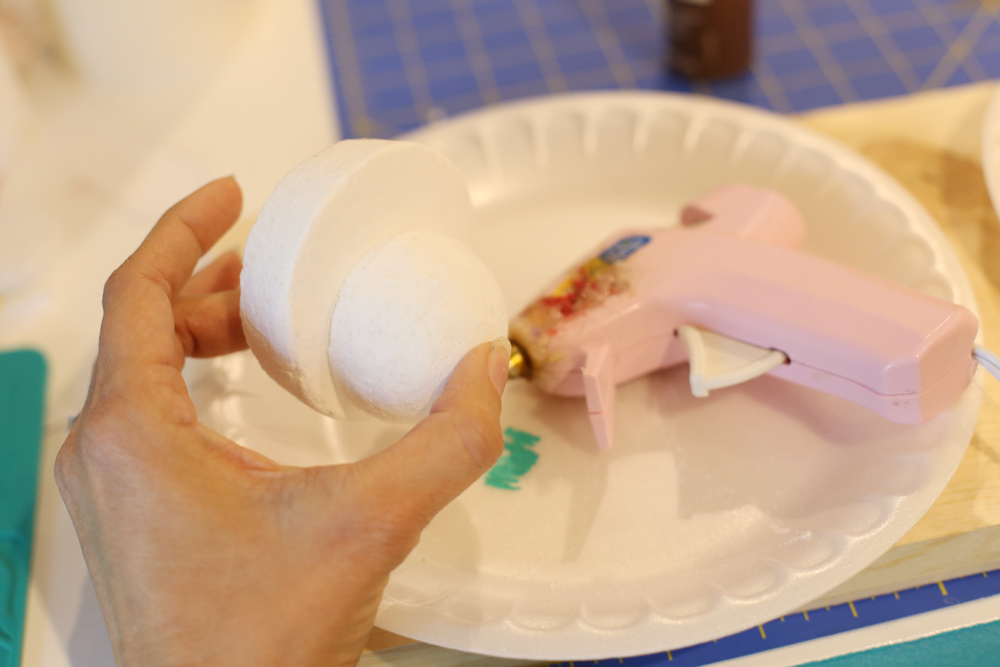
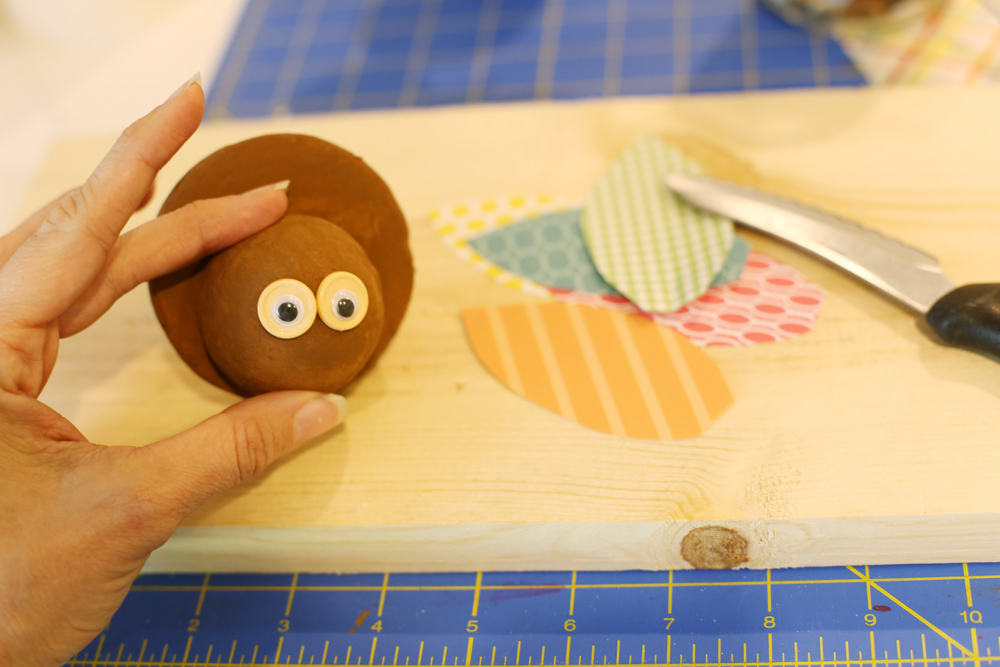
Once the pieces are smooth, you can adhere the circle to the cone bottom as shown below.
Once your turkey body is assembled, paint with brown paint. I used 1 coat of craft paint and then let dry. Meanwhile, cut feather shapes out of the scrapbook paper.
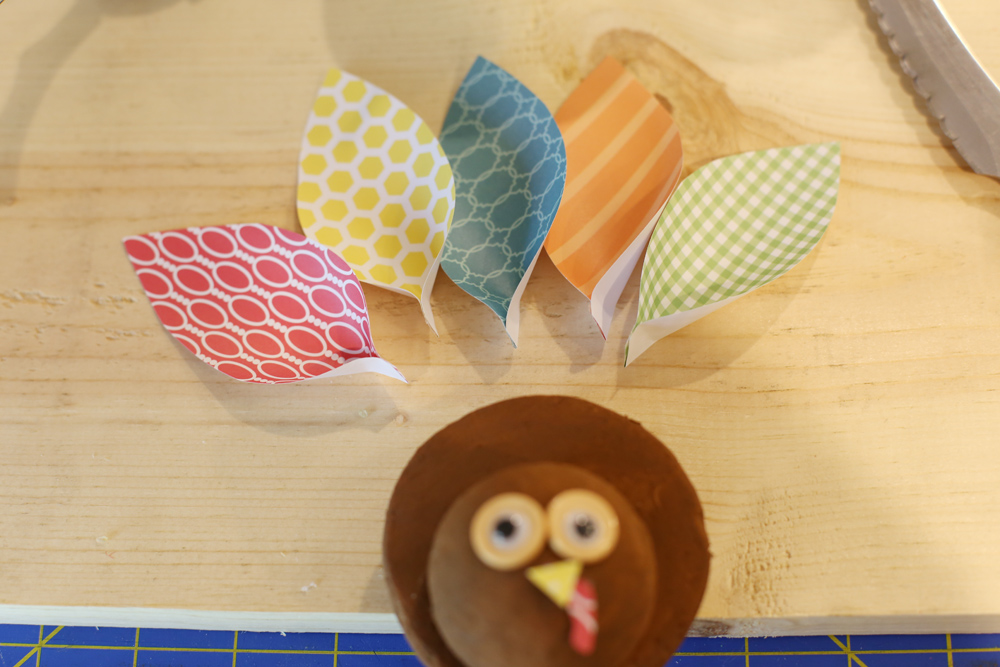
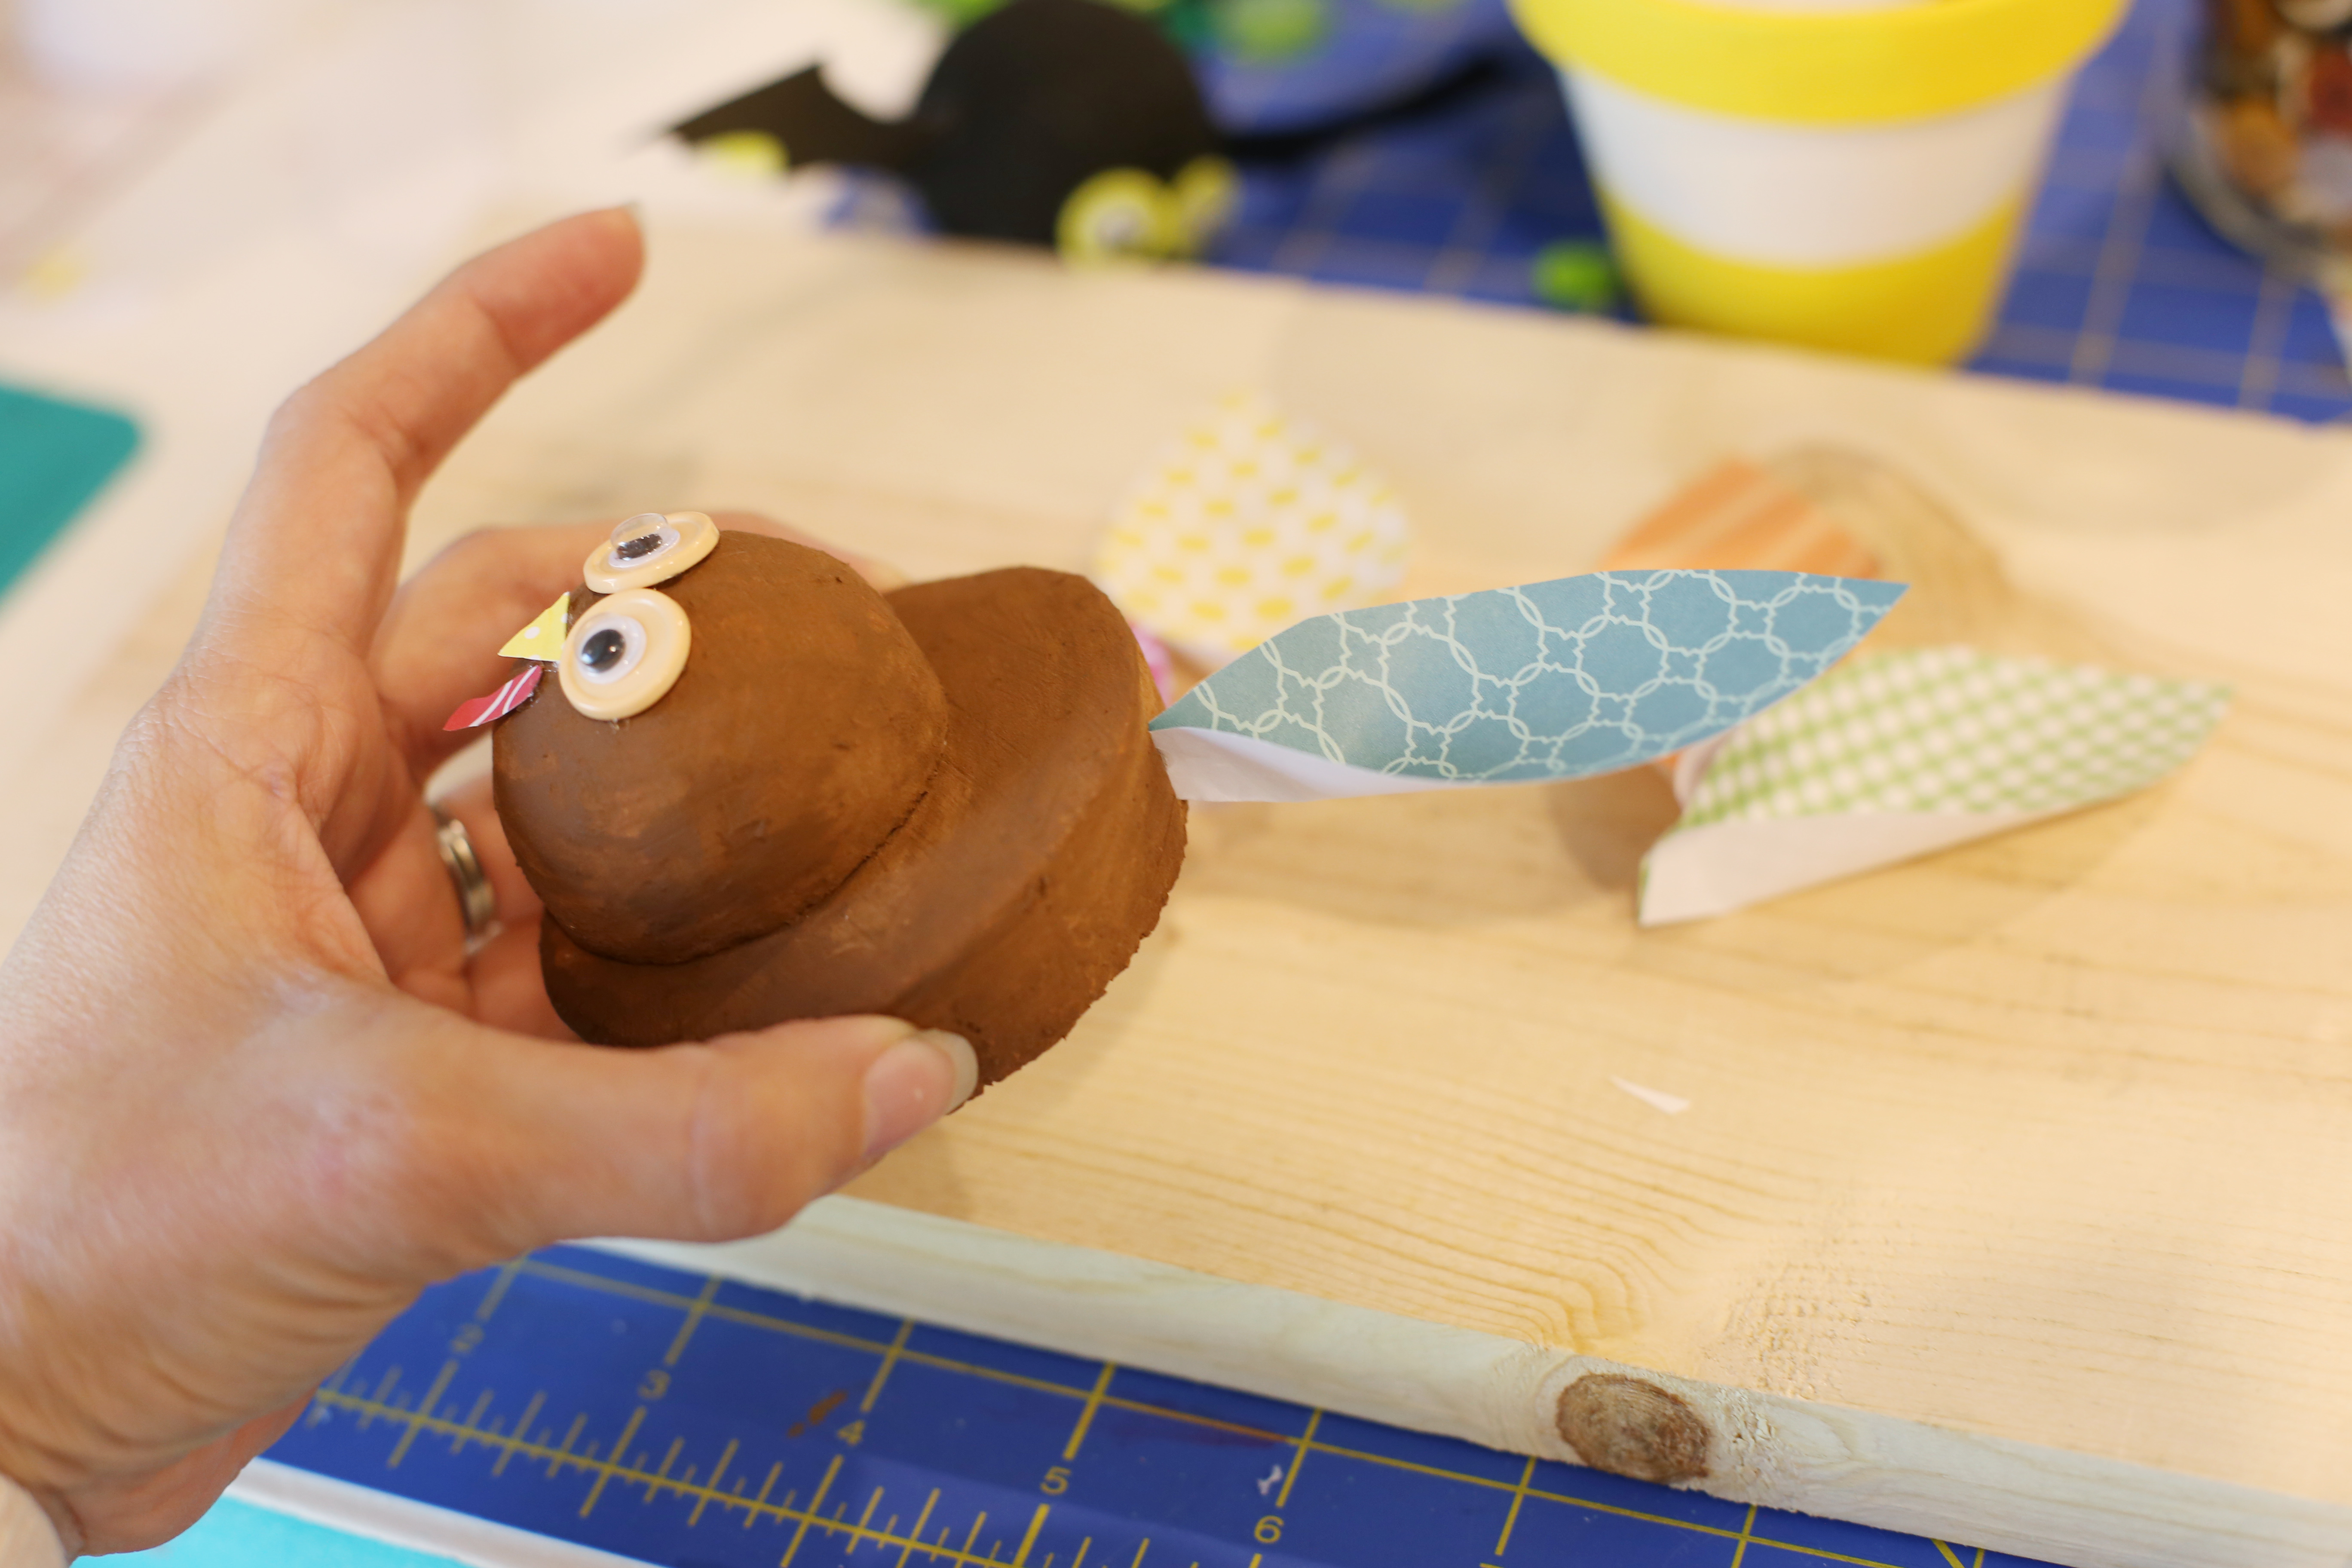
Glue googly eyes onto two small buttons. Attach the buttons to the front of the ball to create the turkey face. You can also add a beak and waddle.
Now on to the feathers! Pinch the bottoms of the feathers and secure with glue to give it dimension. Arrange in the color order you prefer.
Using a knife or flat tool, press a slit into the top of the foam slice as shown below.
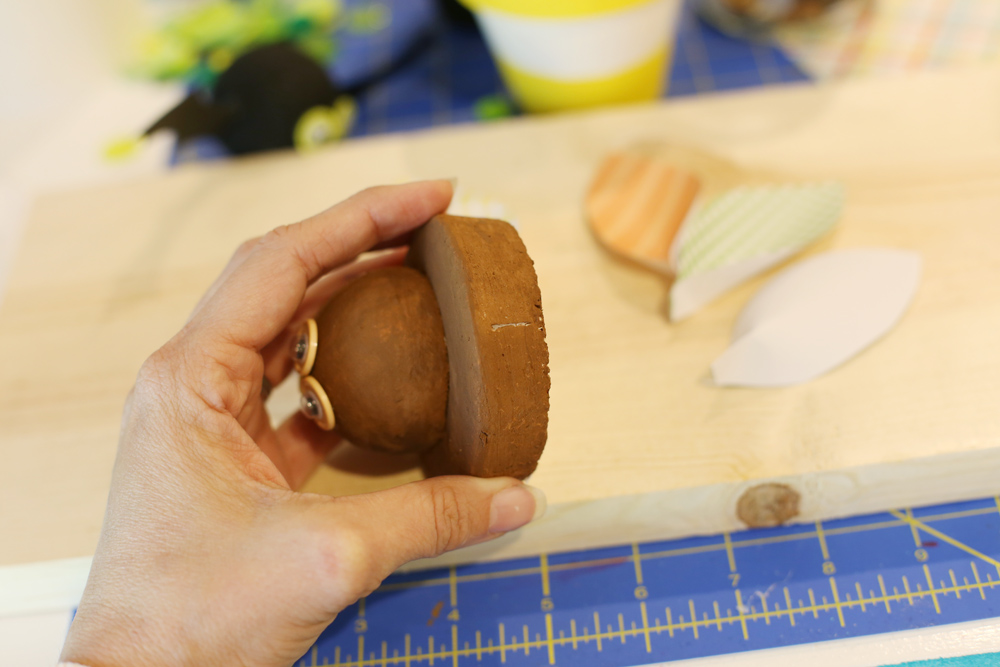
Place a small amount of glue on the folded end of the feather, then slide it into the slit. Repeat for all the feathers.
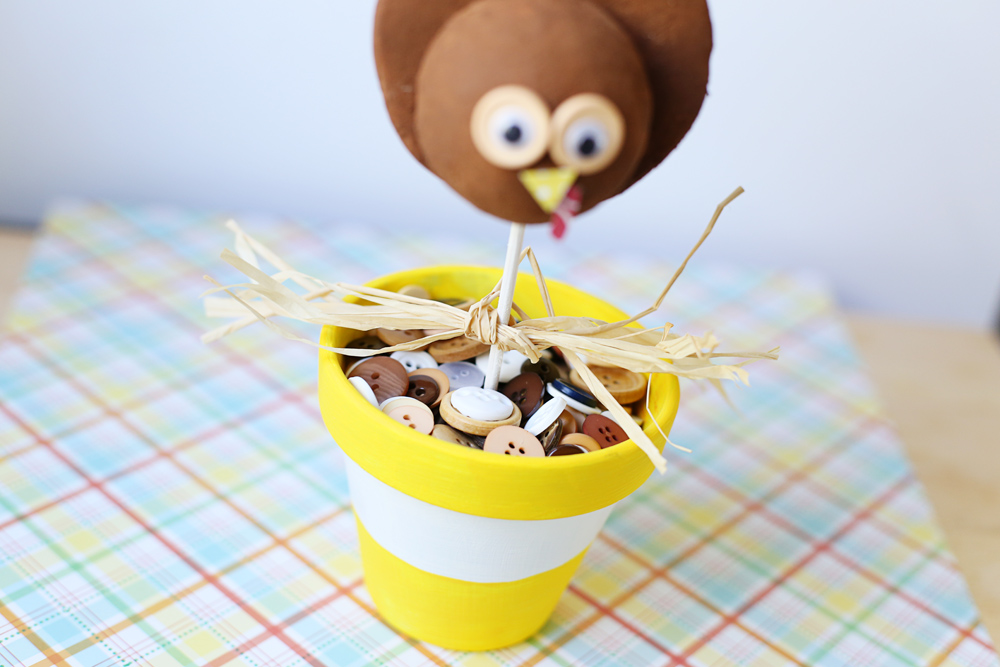
They will stand up on their own and look way cute the way they are, or you can create a topiary! Push one end of the dowel rod into the bottom of the turkey and the other end into a scrap piece of foam inside the pot (I painted my pot yellow and white). Top the pot with buttons or other filler. Optional: tie raffia around the dowel rod.
And that’s it!! Enjoy your Cutesy Turkey!


Leave a Comment
Want to join the discussion?Feel free to contribute!