
Teach Me! – Spider Spelling
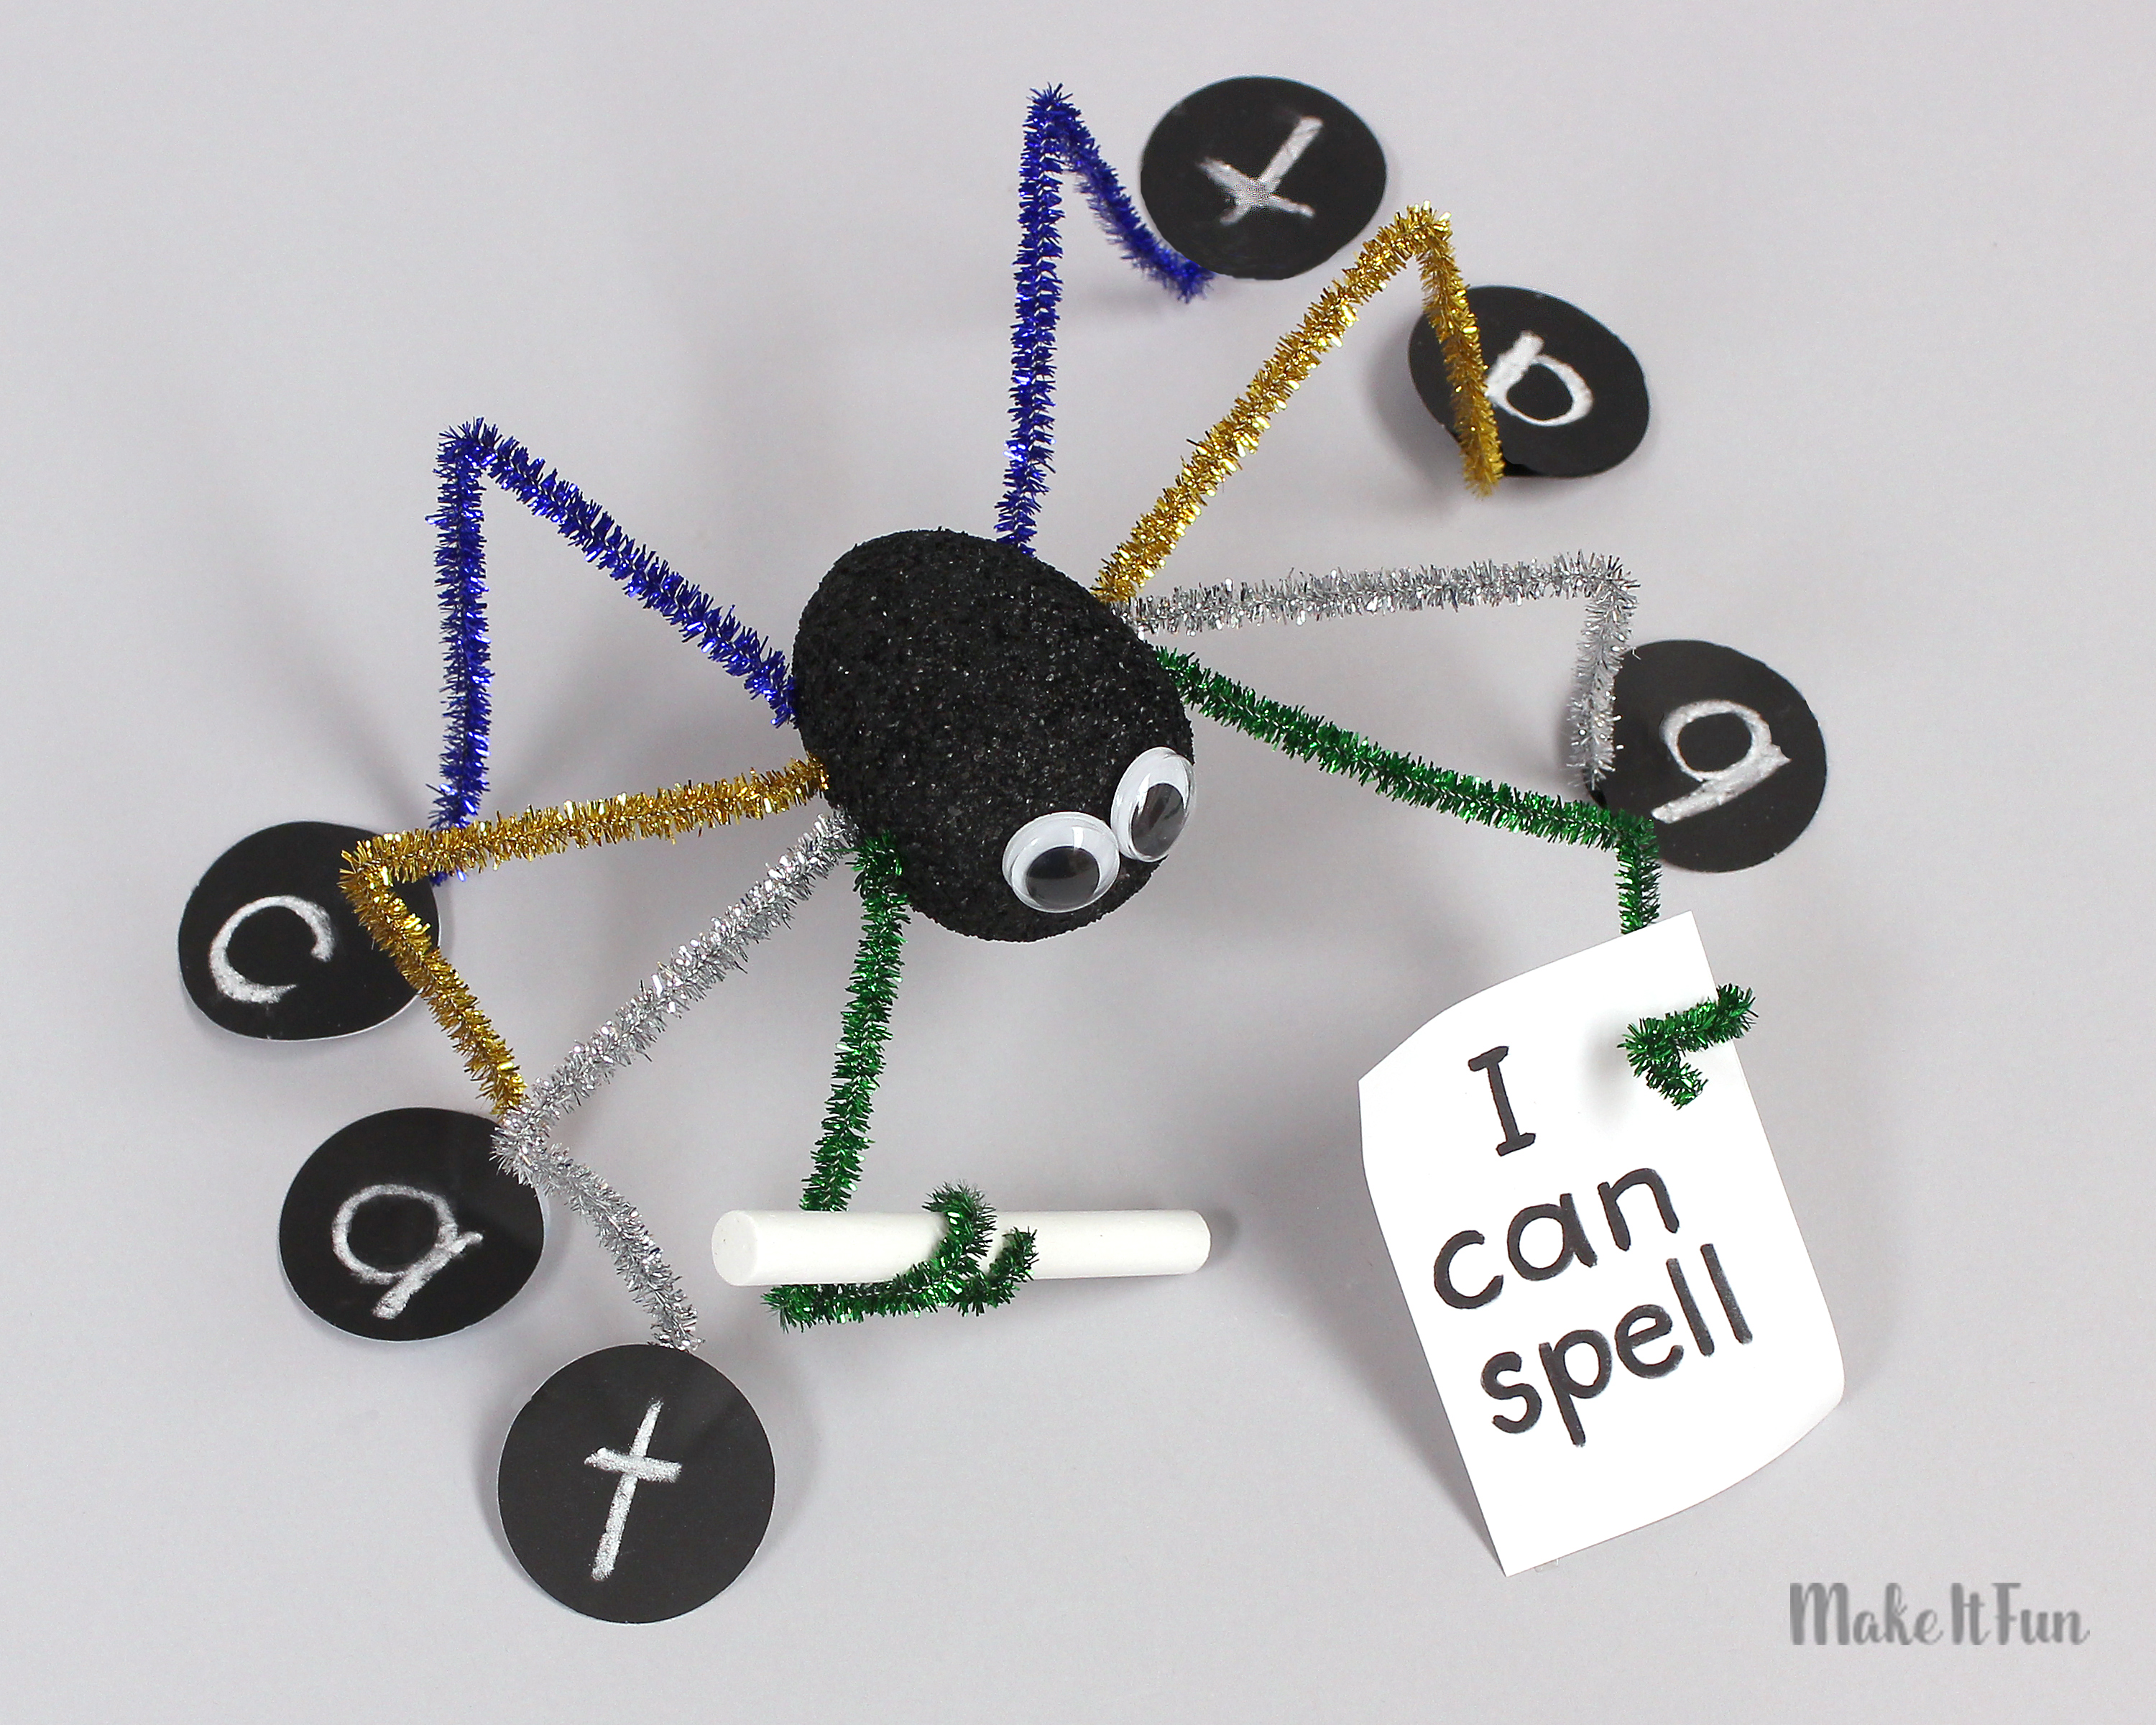
This spider is such a fun (and educational) project that your kindergartner or first grader will be thrilled to make. And with Halloween coming up, I think the timing is perfect! In under an hour, kids can make spiders with chalkboard feet that give them a great place to practice spelling words (while you’ve helped them reach important educational standards and goals!)
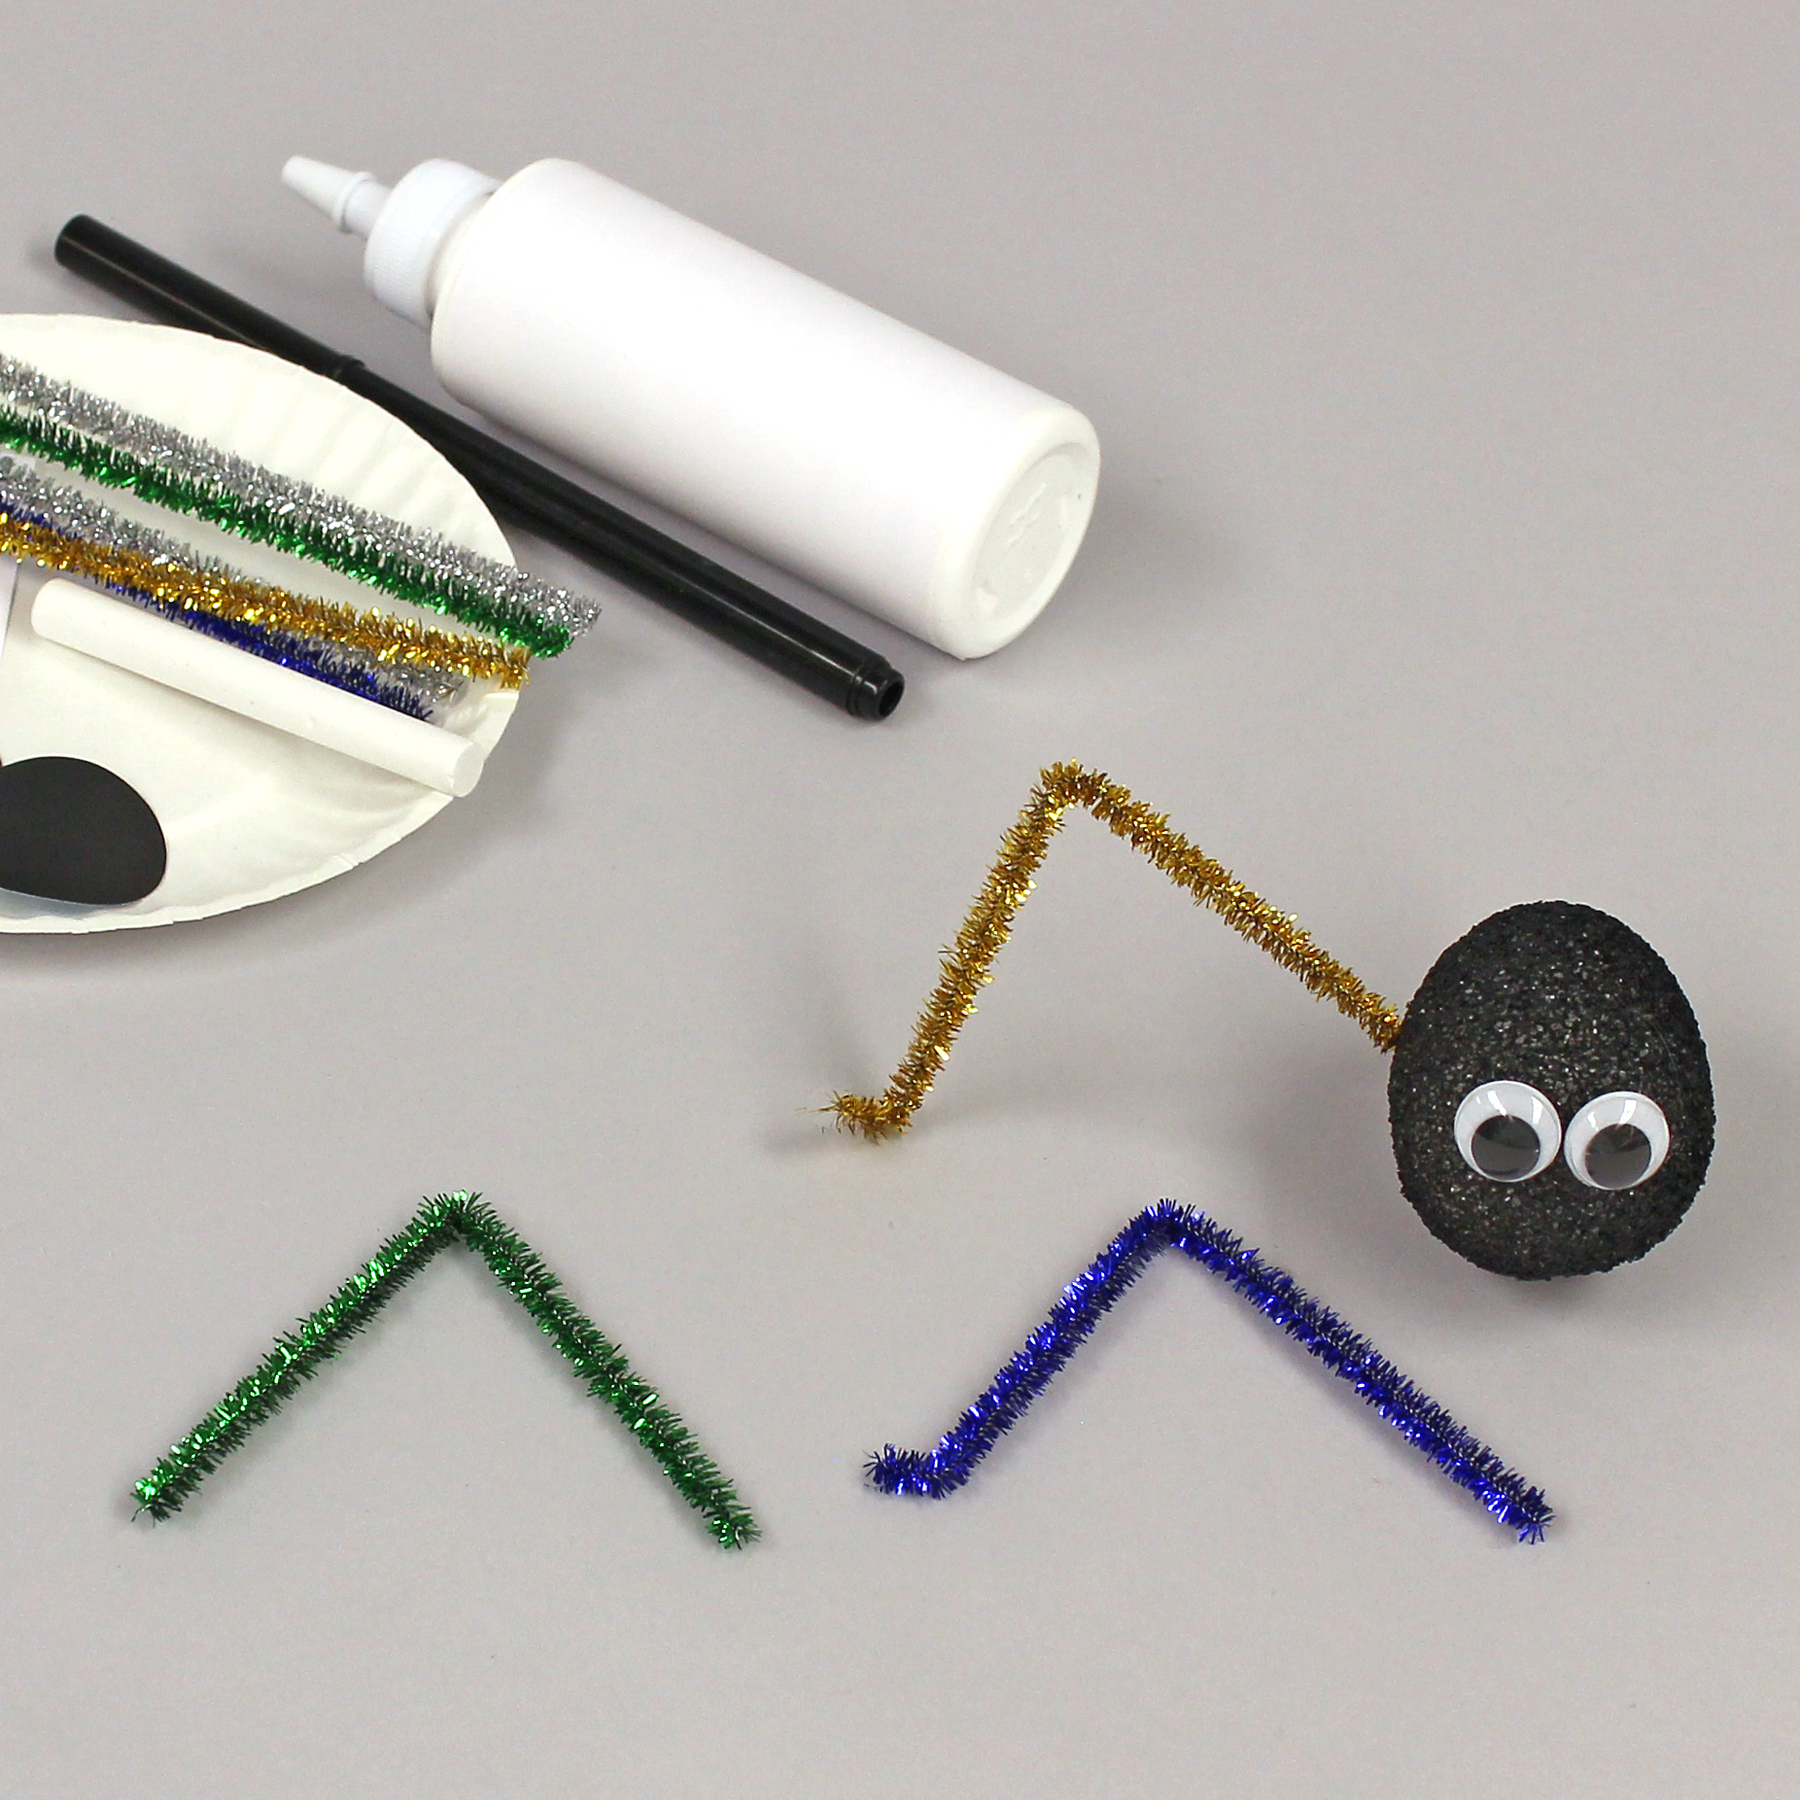
Supplies needed to make this project:
For Child:
- FloraCraft® Make It: Fun® Foam: Egg, 2 1/2″
- Tinsel Chenille Stems: Green, Blue, Gold and Silver
- Two 15mm Wiggle Eyes
- Cardstock: White, 2″ x 3″
- White Chalk
- (6) 1-1/2″ Chalkboard Paper Circles (See For Parent or Teacher)
- Tacky Glue
- Washable Black Fine Line Felt Tip Marker
- Paper Plate
- Large Ziploc® Bag
For Parent or Teacher:
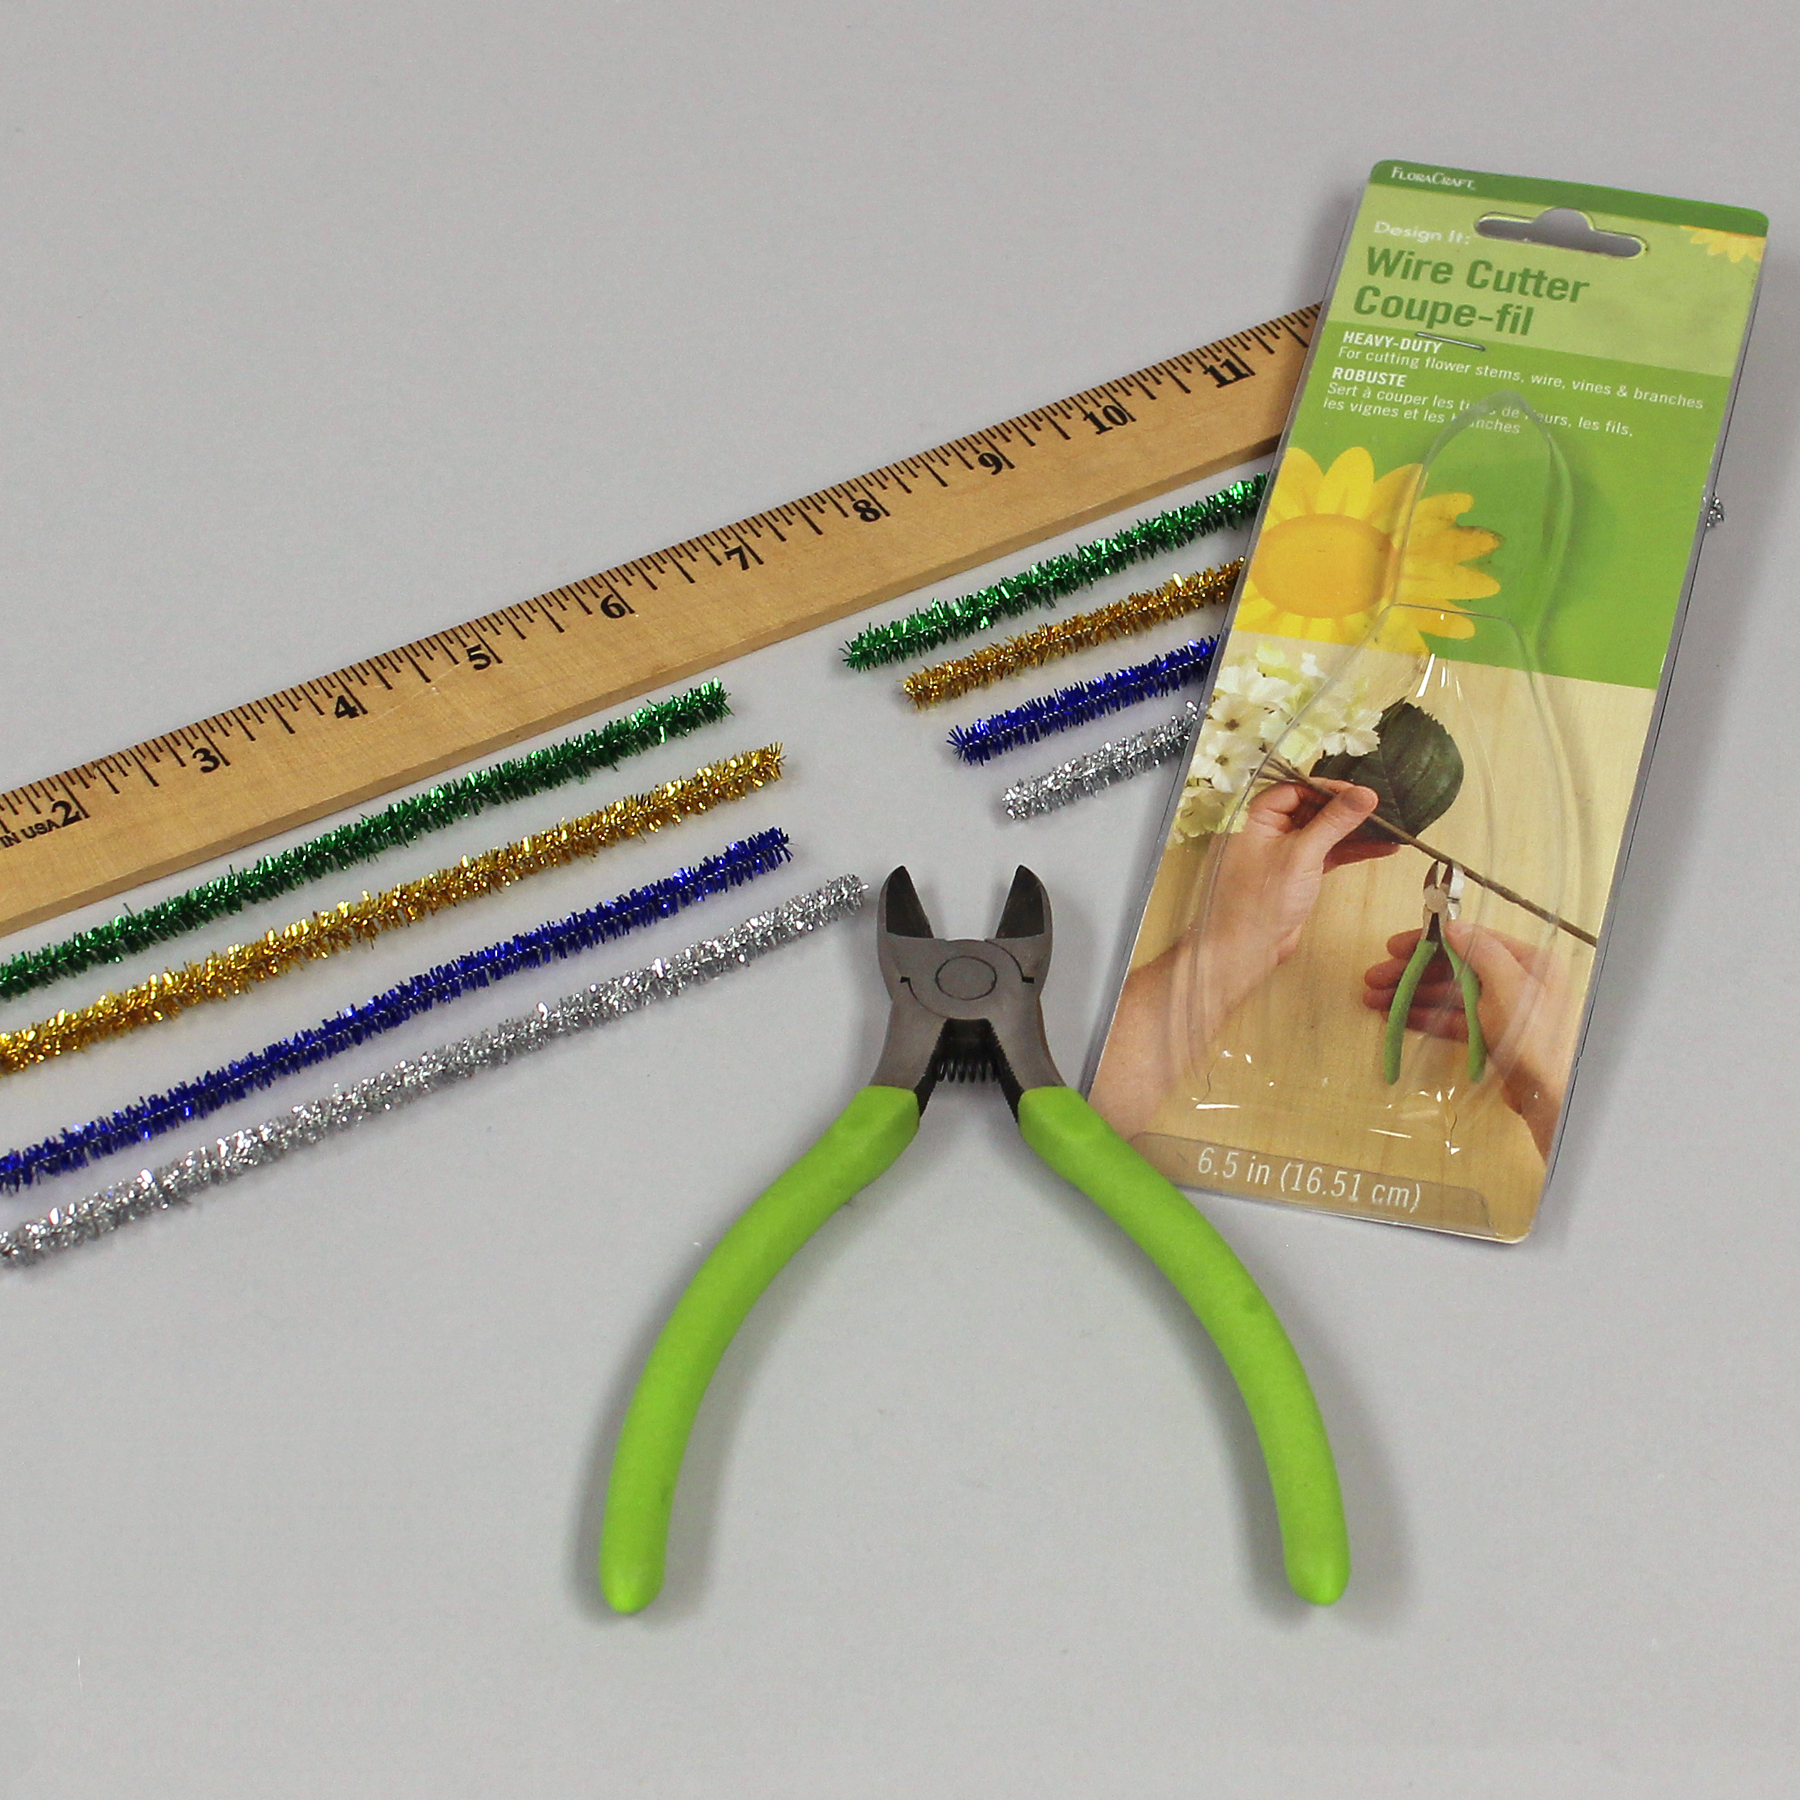
- FloraCraft® Design It:® Wire Cutter
- Chalkboard Paper (sheet or roll): 3″ x 5″
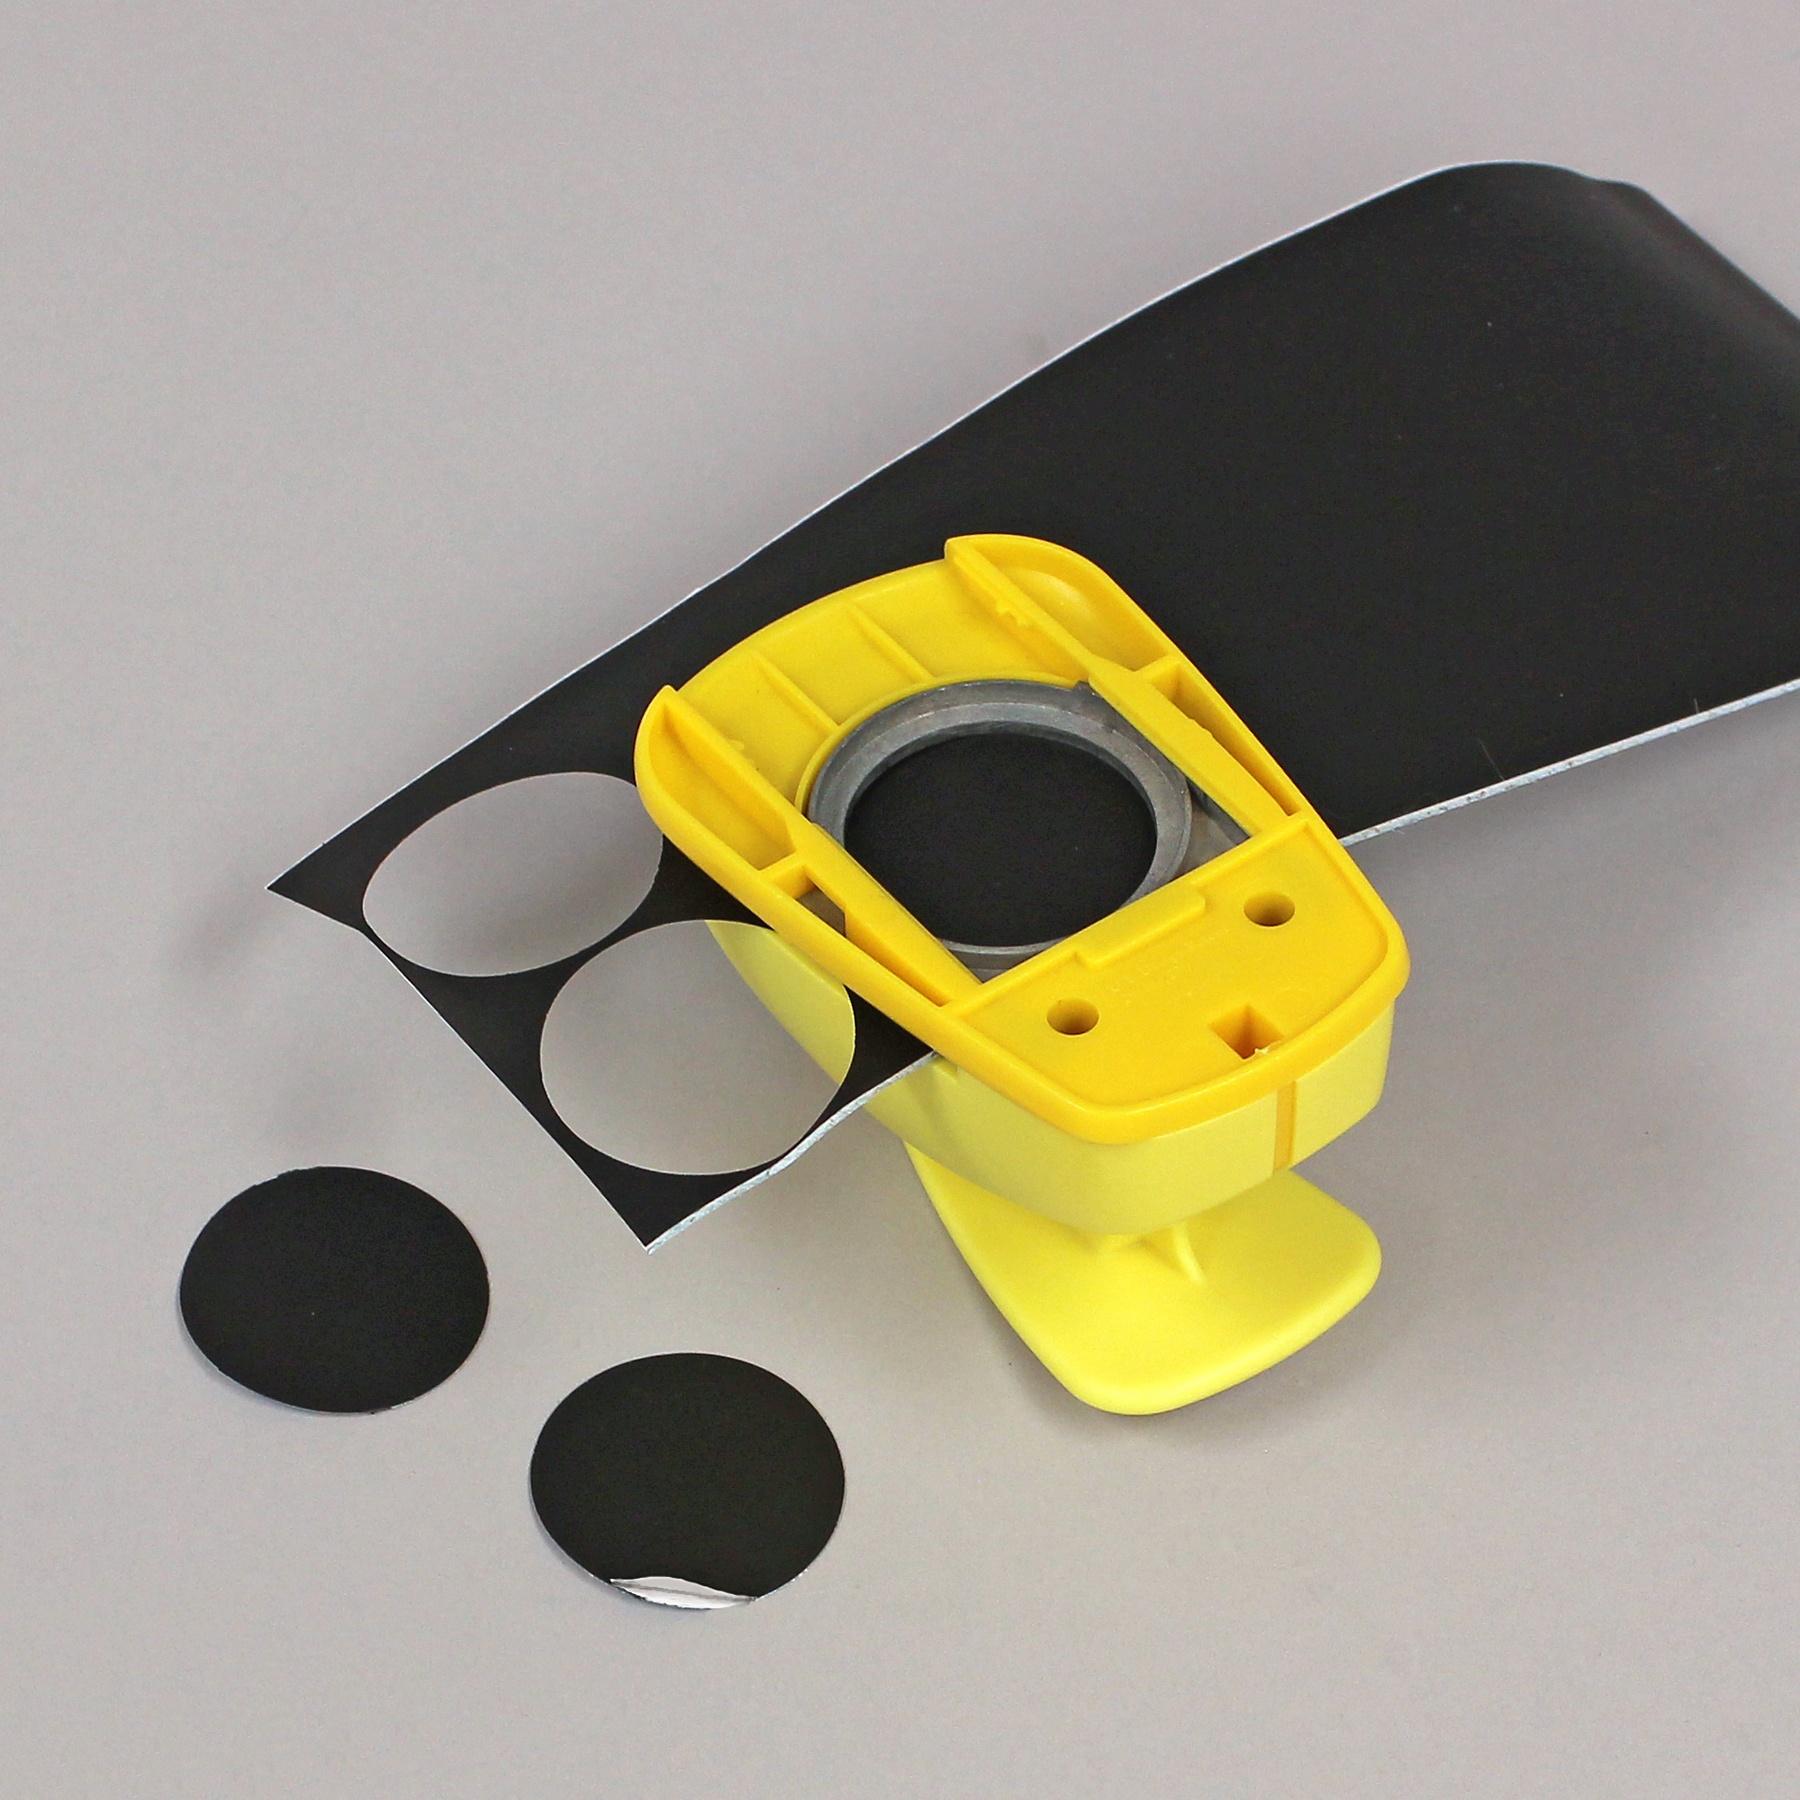
- 1-1/2″ Diameter Circle Punch
- Acrylic Paint: Black
- Paintbrush: 1″ Chisel Tip
- Toothpick
- Scrap Piece of Foam (to hold egg while drying)
- Low-Temp Glue Gun & Glue
- Craft Knife
- Scissors
- Pencil
- Ruler
- Paper towels
- Water
Instructions:
Before working with the child
If you’re making this with more than one child, determine the materials you’ll need.
Insert a toothpick into the small end of a foam egg and paint it with black acrylic paint. Set the end of the toothpick into a scrap of foam to dry

Use a ruler and wire cutter to measure and cut in half the green, blue, gold and silver tinsel stems, to create eight 6″ lengths.
Use the 1-1/2″ paper punch to punch out six circles from chalkboard paper. Use your fingernail or a craft knife blade to help you peel back about 1/4″ along the edge of each circle. Crease the release paper so that it doesn’t flip back again. This gives the child a place to insert the tinsel stems.
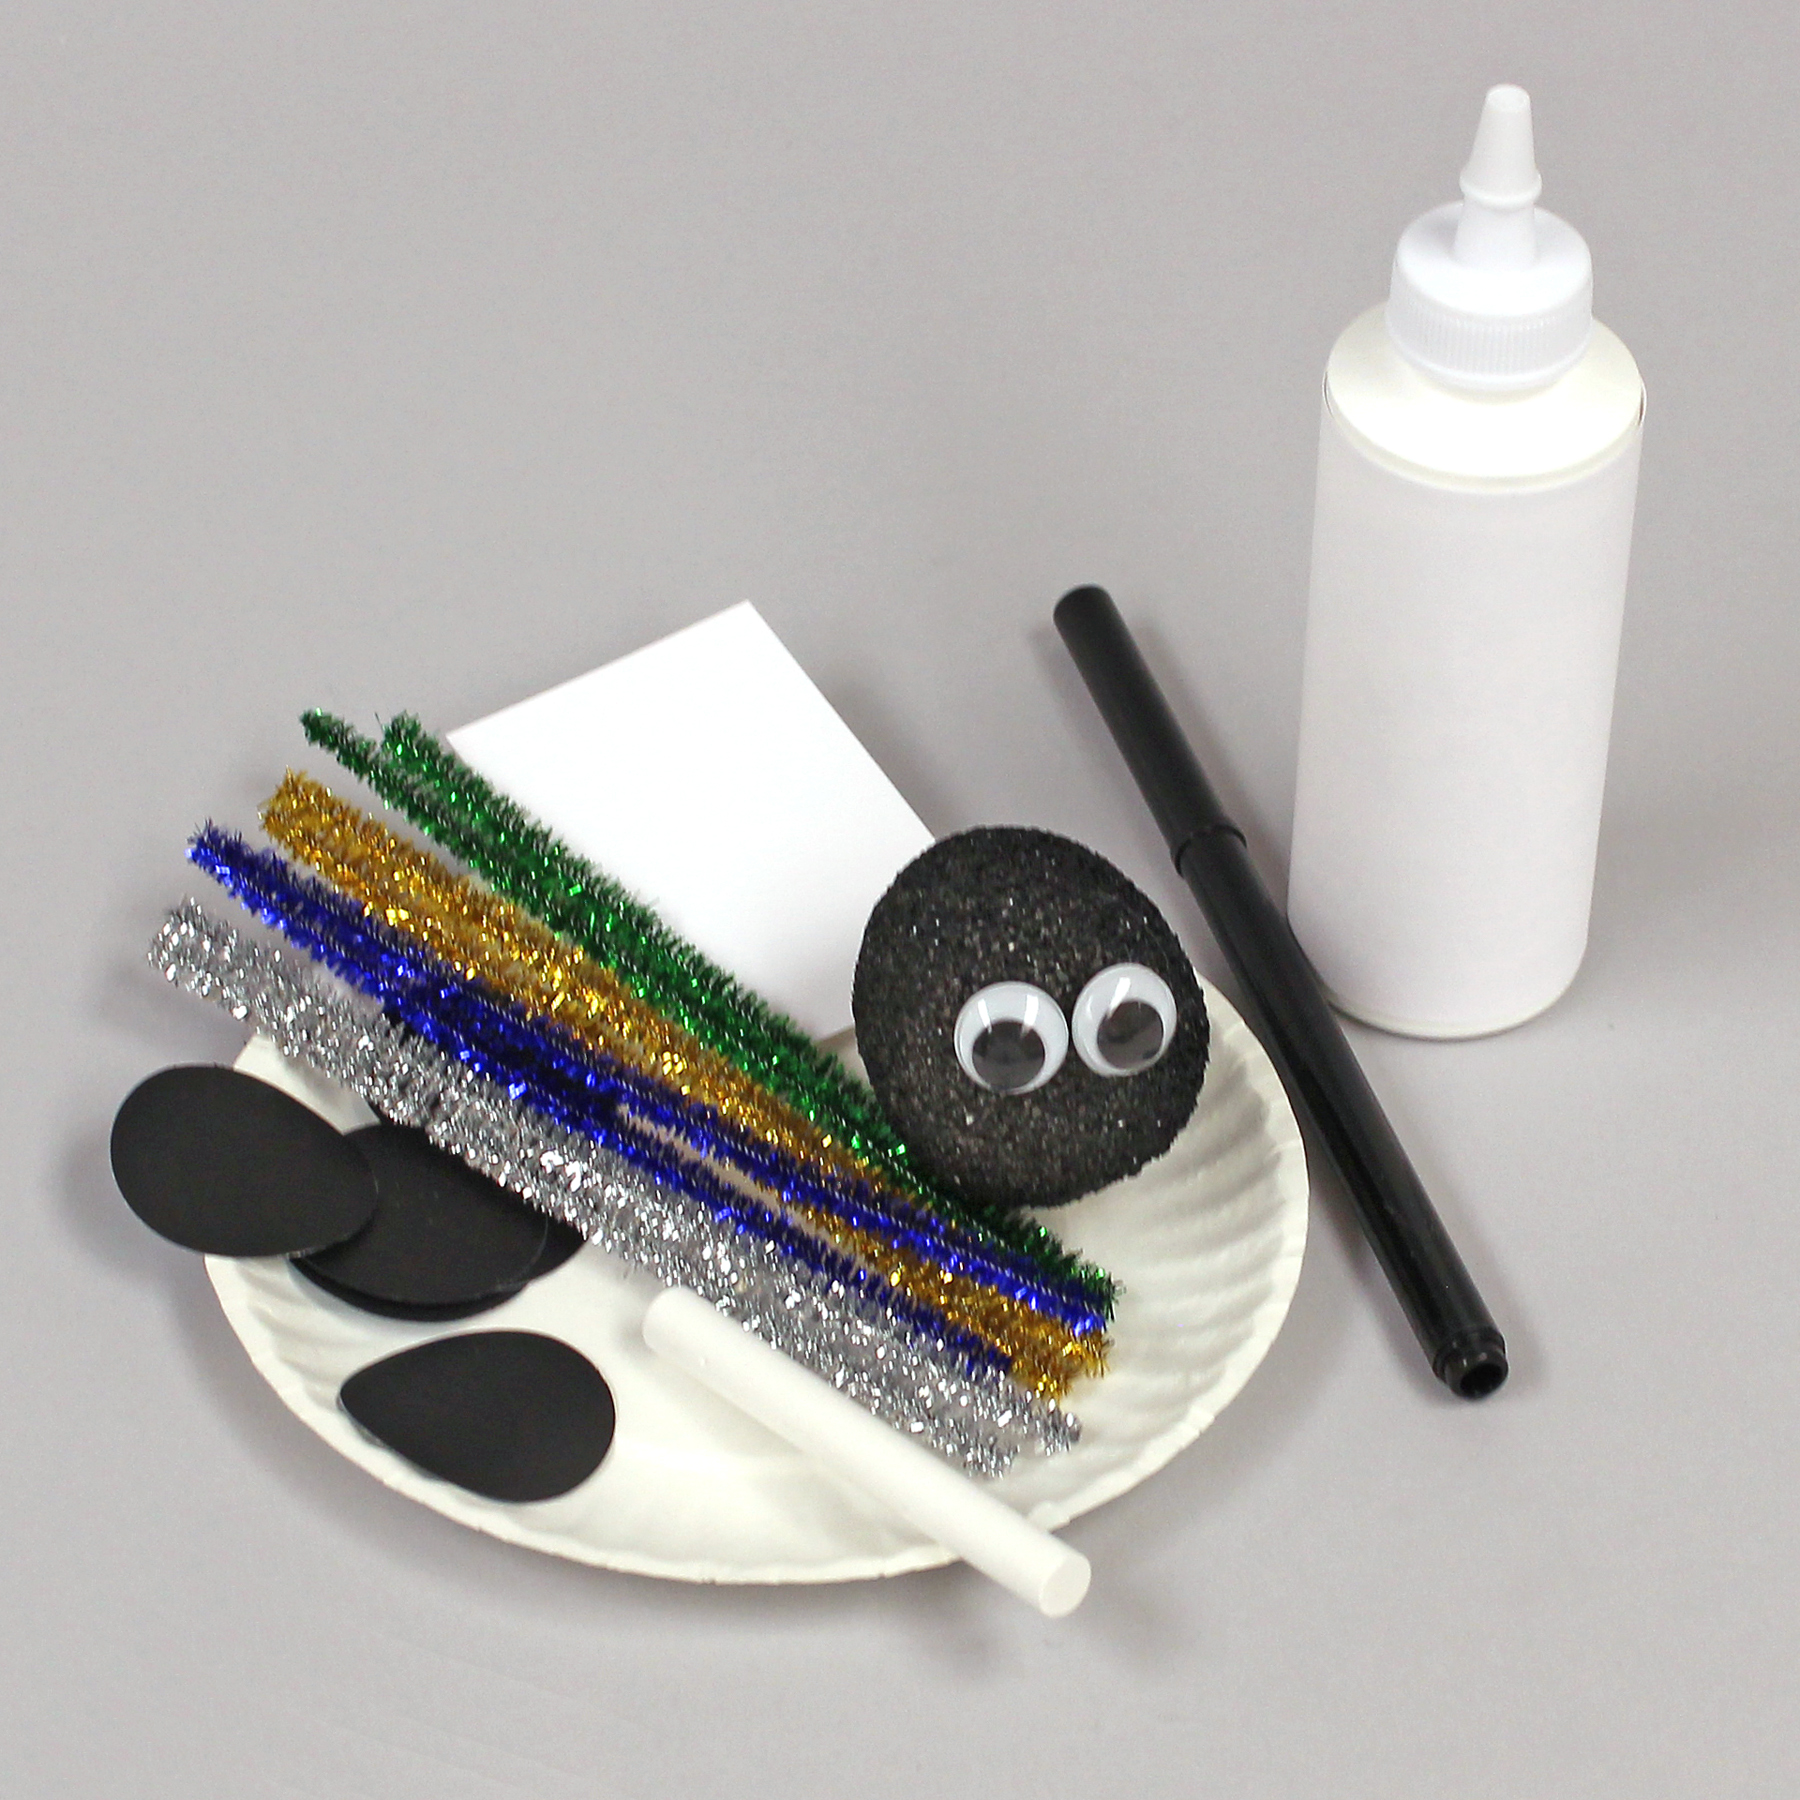
Use scissors to cut a 2″ x 3″ piece of cardstock. Use a glue gun to glue two wiggle eyes to the large end of each student’s egg. Prepare the work area by setting an egg with eyes, six chalkboard paper circles, chalk, cardstock, marker, and two of each of four colors of eight tinsel stems on a paper plate. Beside the plate, set a glue bottle.
Do this part with the child
Explain that the feet of the spider are circles of chalkboard paper and they should not remove the release paper backing. (Maybe you want to let the child use the chalk to write on a circle, so they can see how it works.) Explain that the chenille stems need to remain straight for now.
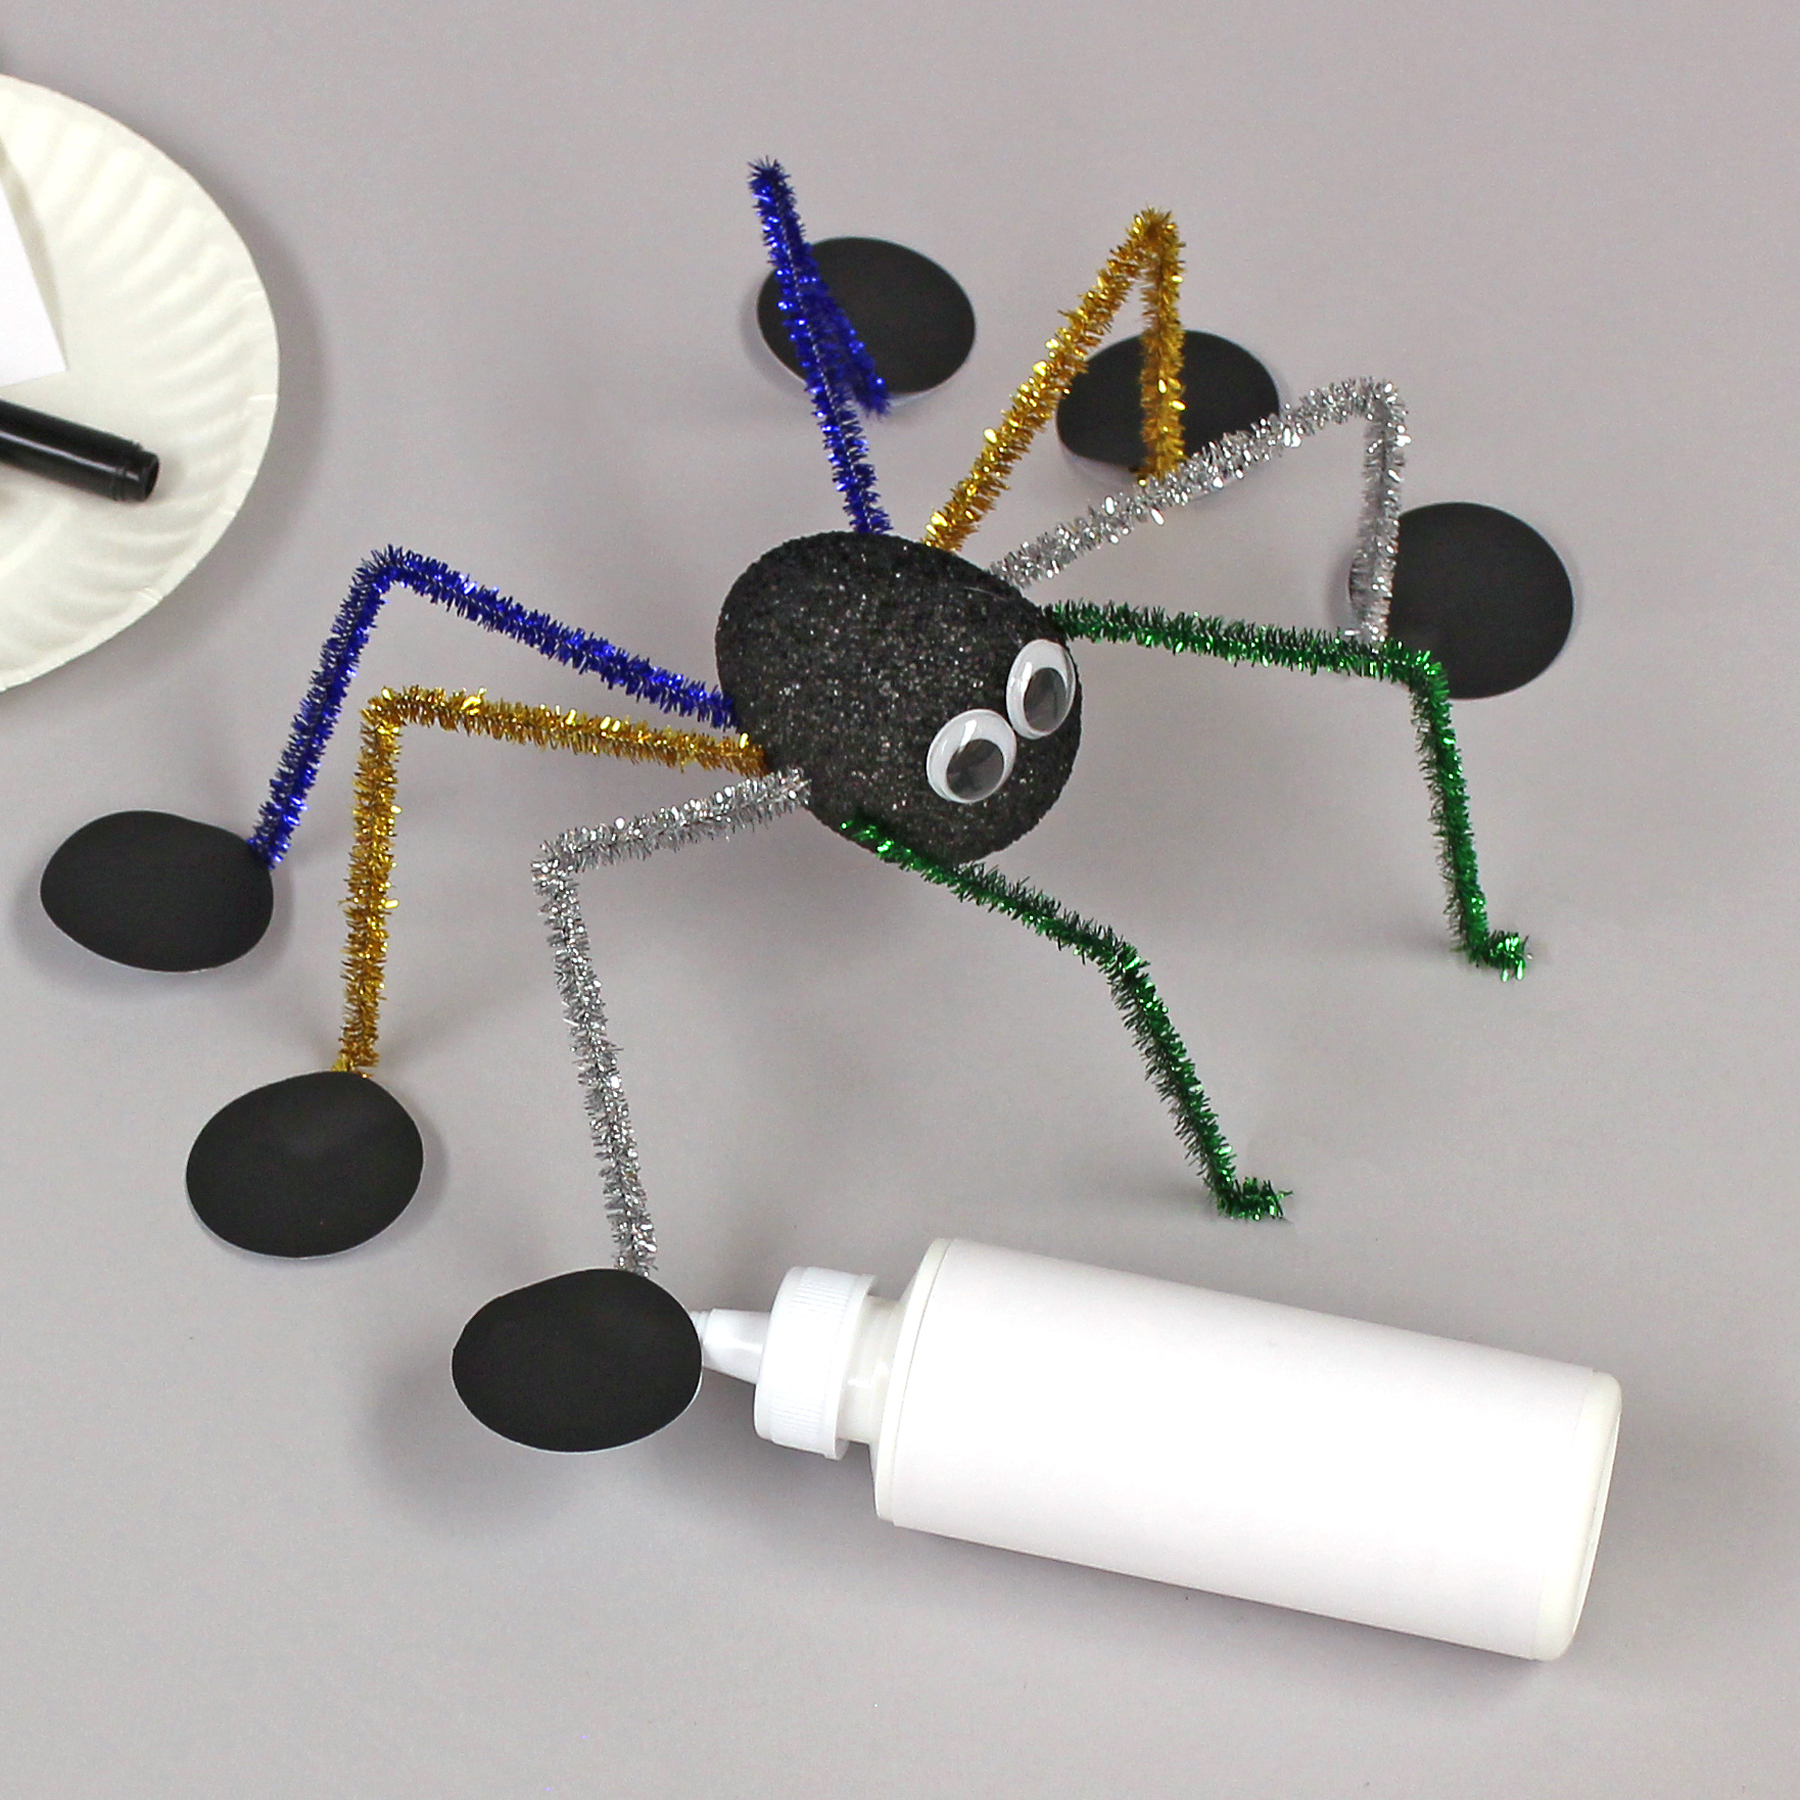
Have the child fold one tinsel stem in half (like an upside-down V). Then pinch and bend up just a little (1/4″) on the end to be inserted into a circle, later. (The reason this shouldn’t be more than 1/4″ is that it makes the chalkboard circle lumpy when writing, so it shouldn’t go into the circle area very far.) Have them bend all eight tinsel stems.
Show how to turn the egg-body sideways in order to insert the legs, in a row, about 1/4″ apart. Have them hold the non-bent end of the tinsel stem, close to the end and insert it into the foam egg. Repeat on the other side of the egg.
Have the child attach the folded back area of one chalkboard circle to the end of a tinsel stem leg, pinching the folded release paper onto the leg end. (This will remove the crease.) Then, have them squeeze a dot of glue under the release paper and press back down, securing the tinsel stem between the chalkboard layer and the release paper.
Ask the child to wrap the bottom of one front leg around the chalk to hold it. Using the marker, have them write, “I can spell” on the vertically positioned cardstock piece. Pinch the end of the other leg onto the sign. (If desired, glue the sign in place.)

Have the child put the spider, chalk and “I can spell” sign into a large bag to keep everything altogether, with the bag left open for drying. Explain that after the circles have dried, they will be able to write on their spiders.
Tips & Ideas:
- If using a roll of chalkboard paper, cut off what you’ll need and roll it in the opposite direction. Secure it with a rubber band for an hour or so, to uncurl it.
- When using a punch, turn it over to allow you to see where you’re placing the punch on the paper. This lets you conserve paper by making circles very close together, and not accidentally punching off the edge of the paper because you can’t see where it’s punching.
- A punch has a limited reach and cannot get into the center of a sheet of paper. So, punch circles all around the outside. Then, use scissors to trim off the excess paper and punch all around the outside again. Continue working your way to the center.
- Use a glue gun to attach any feet that won’t stick.
- Use a slightly damp paper towel to clean the chalkboard circles, as needed.
More…
For more information on this project and other learning activities, click here to visit the Make It: Fun Learning Center.


Leave a Comment
Want to join the discussion?Feel free to contribute!