
Handmade Selfie Frame
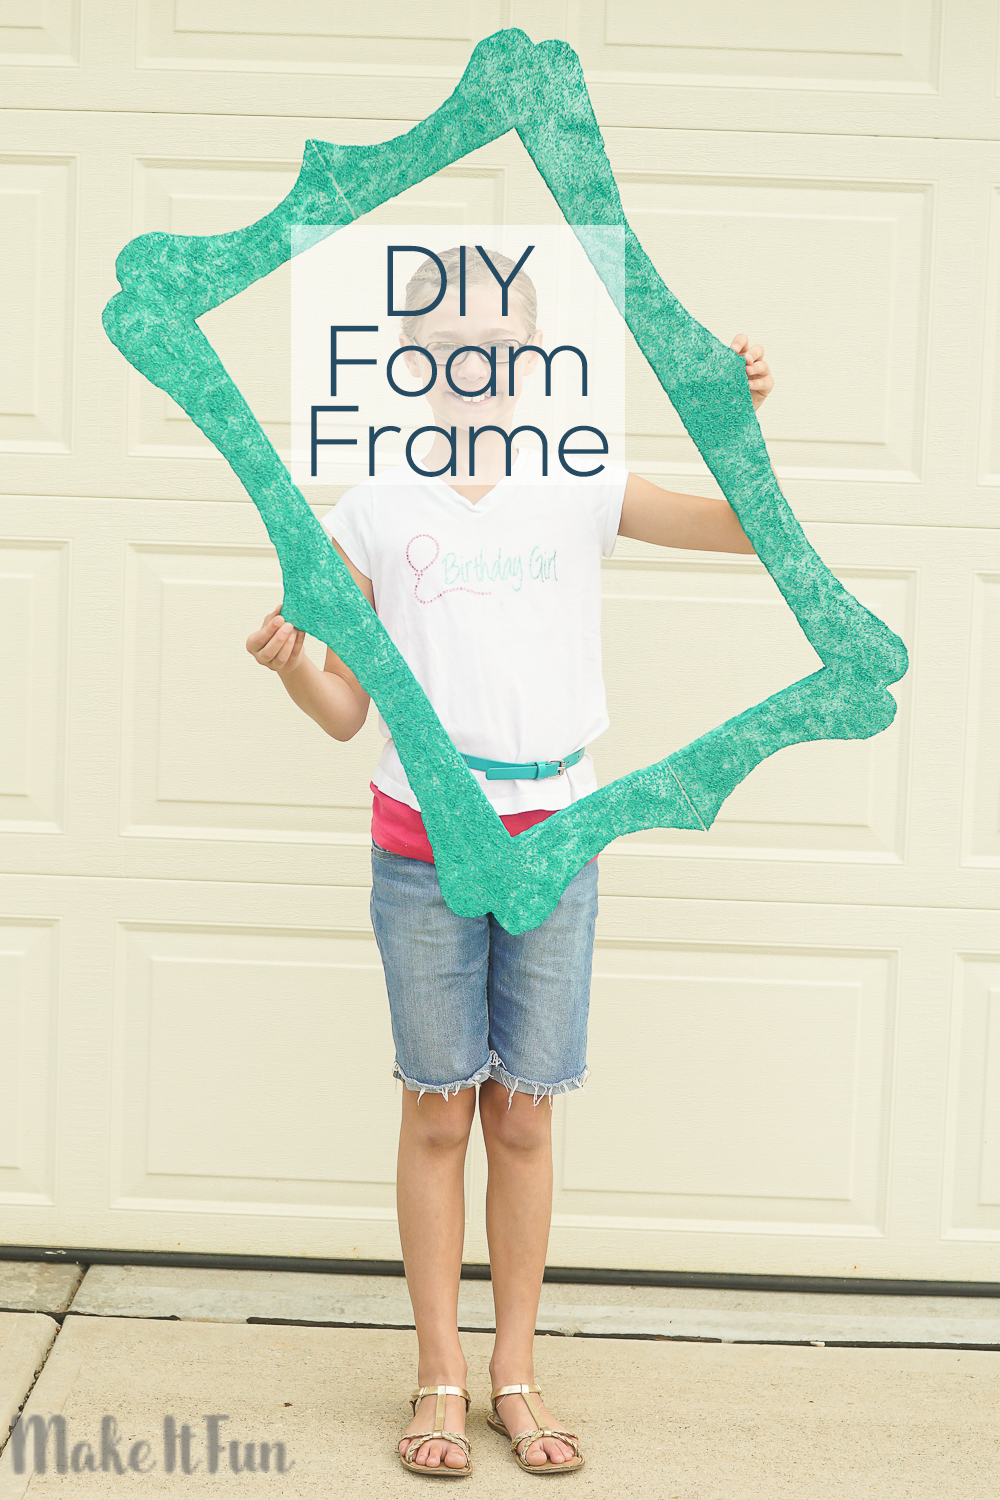
I think that taking photos is so much fun! From more formal family shots to candid ones of the kids. I love them all! I even take our own family pictures every year! Sometimes it is really fun to have props for either formal or candid shots. We have had so many photo ops recently and since it is almost time to take family photos again, I decided it would be really fun to create my own, over-sized frame to use as a photo prop! I knew I could buy a really large frame but they tend to be expensive and they also can be a bit heavy to hold. But a foam frame would be the perfect way to get a fun frame look in a photo without the price or weight of a regular frame. So today I am really excited to share all the details of how to make this Foam Frame yourself.
Ah I think this turned out so fun!
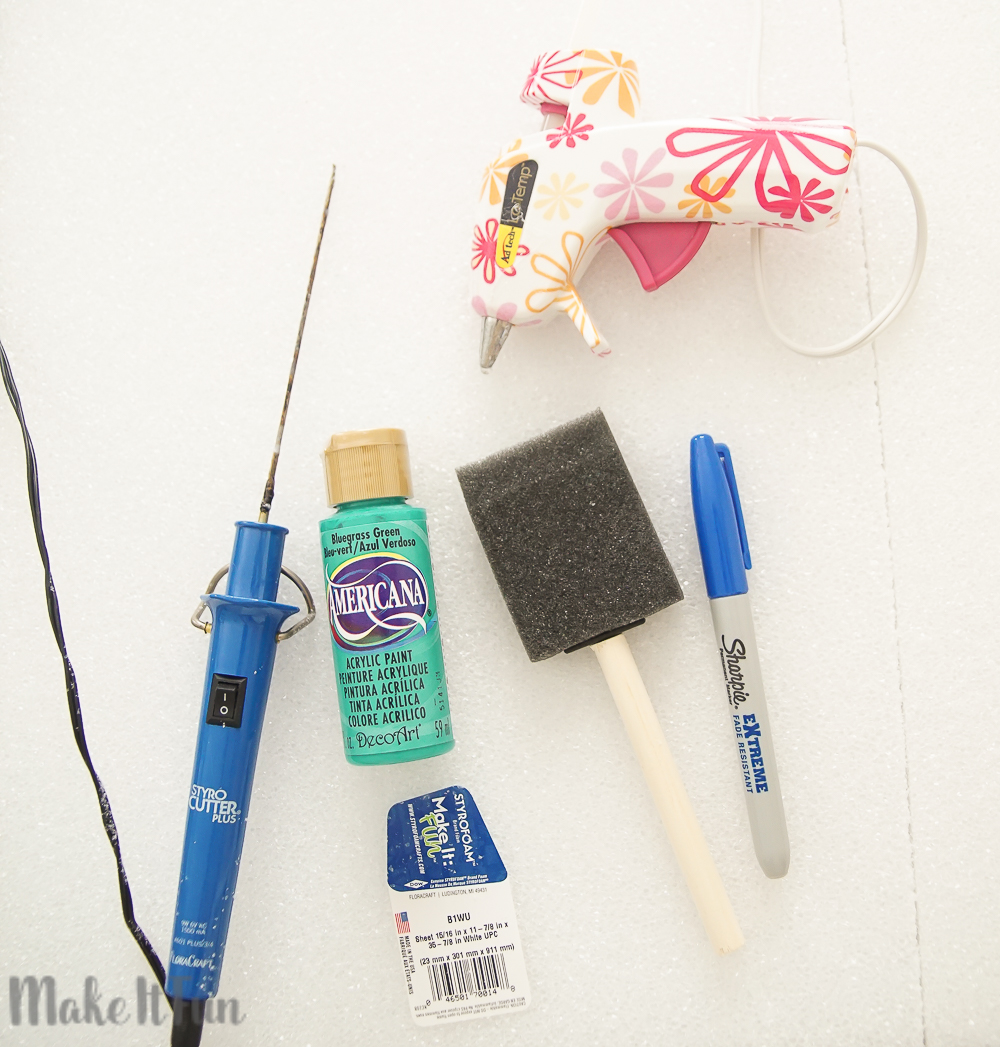
Supplies needed to make this project:
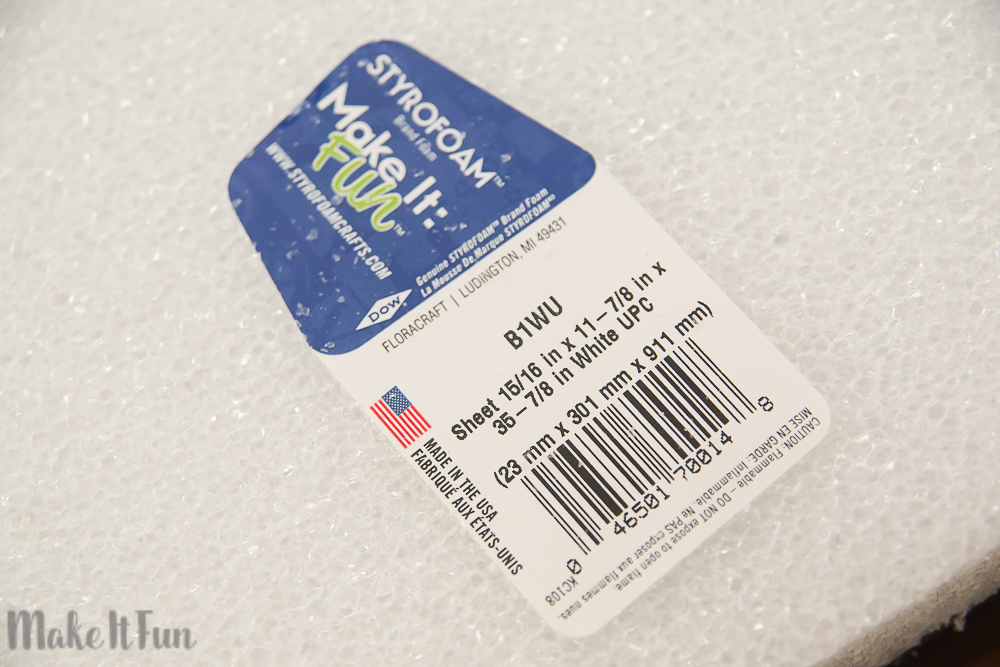
- (2) FloraCraft® Make It: Fun® Foam: Sheets – Approximately 36″ x 12″ x 1″
- FloraCraft® StyroCutter® Plus
- Sharpie Marker
- T-Square or Large Ruler
- Foam Brush
- Acrylic Paint (I used Americana in Bluegrass Green)
- Low-Temp Glue Gun and Glue
Here is a close up of the exact size foam boards I used for this project.
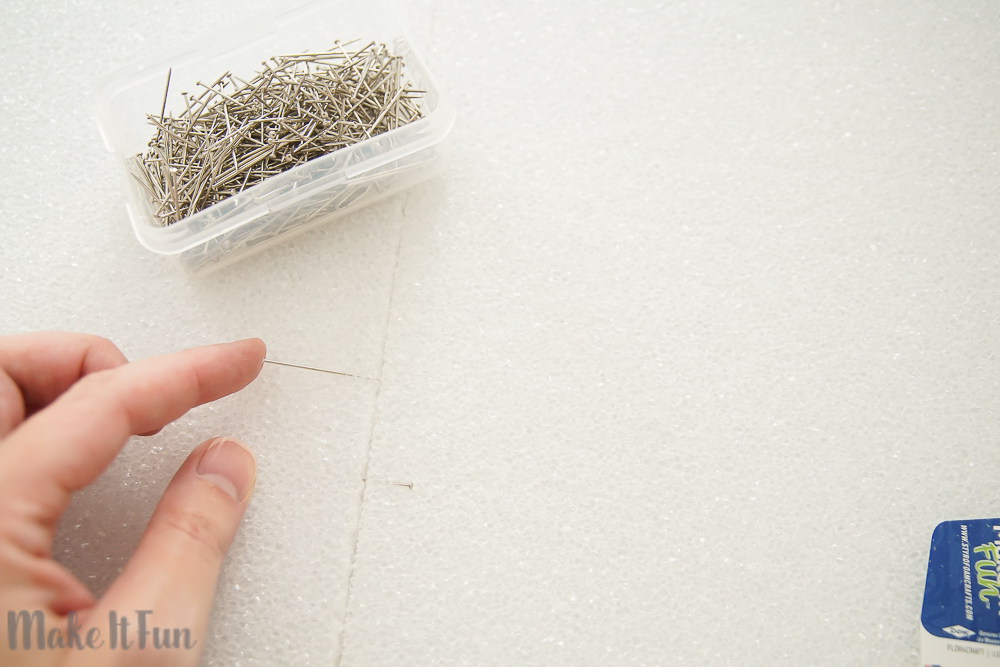
You will want to begin by pinning the two long sides of the foam boards together. You can also use glue to help keep the boards together, but pins will really secure it. I like to alternate the directions of the pins as well.
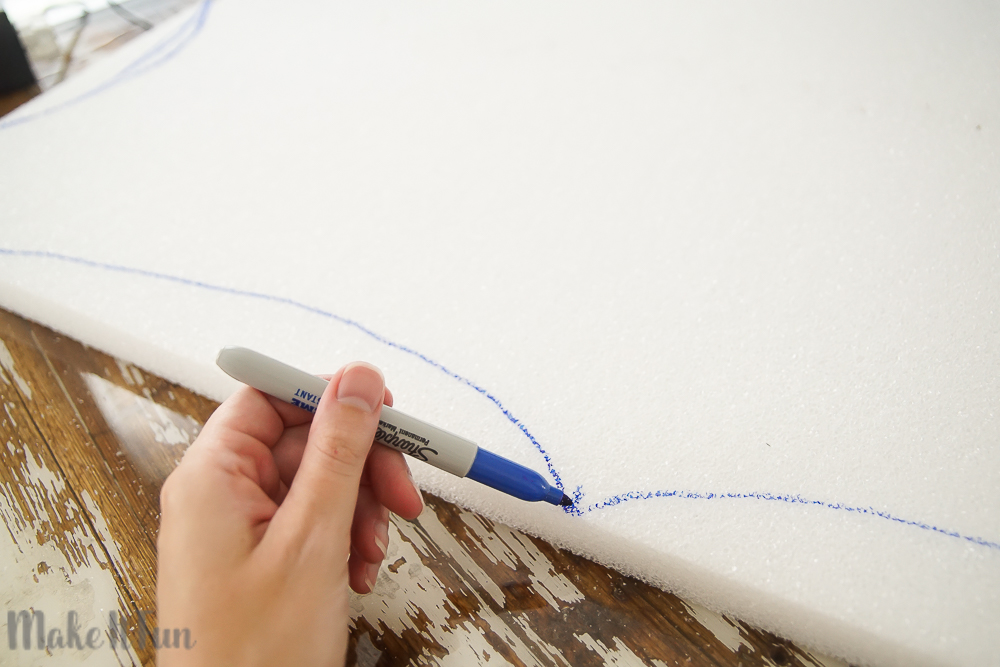
Once the boards are pinned together, use your Sharpie marker to draw the design of your frame. You can keep it as simple or as decorative as you like. Use a t-square or long ruler to help you keep the design symmetrical.
Then you can use the StyroCutter® Plus to cut the outside of the frame out. I love using the StyroCutter Plus because it cuts foam without leaving a big huge mess like cutting foam with a knife can. It takes a bit of patience but it is completely worth it.
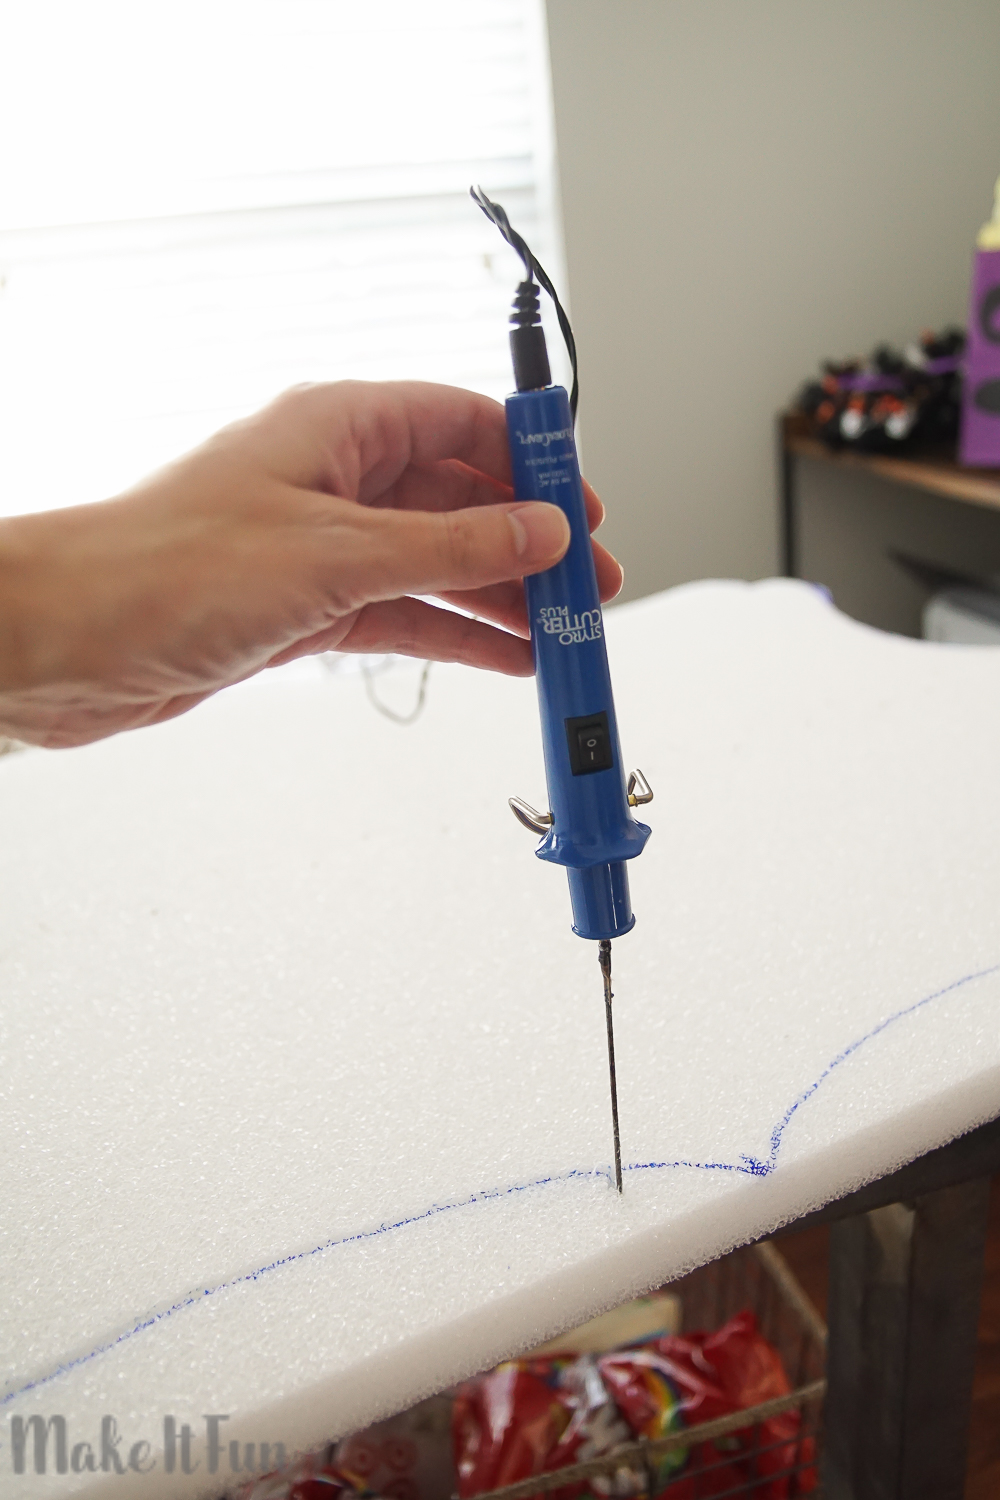
After the outside of the frame is cut, you can draw the lines to cut out the middle of your frame and then cut it out using the StyroCutter® Plus as well.
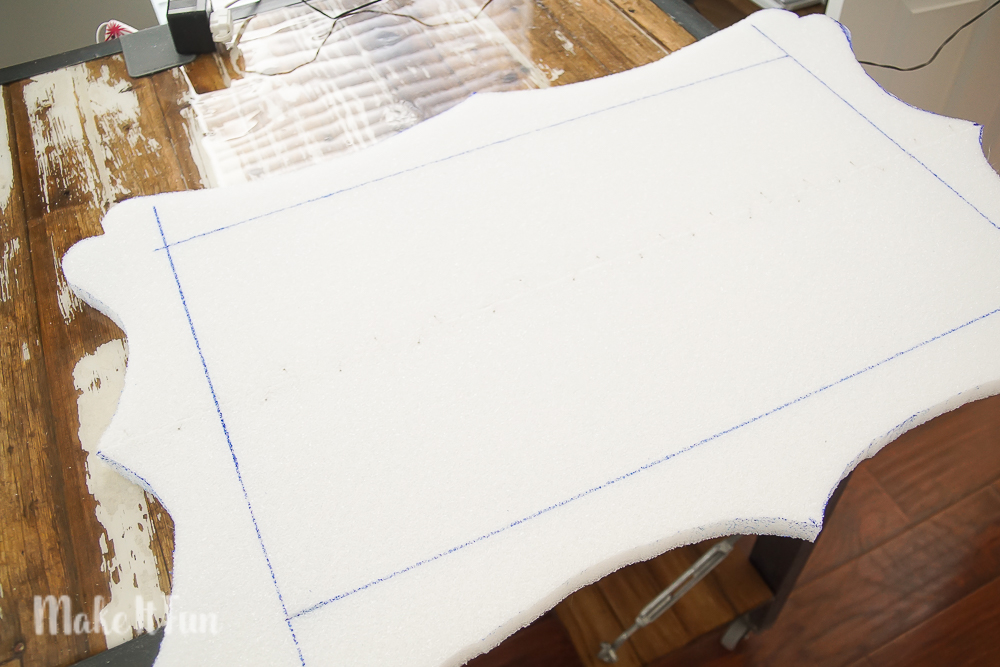
After the frame shape is cut, you might need to reinforce the areas where the frame connects with a few more pins just to ensure it will stay together well.
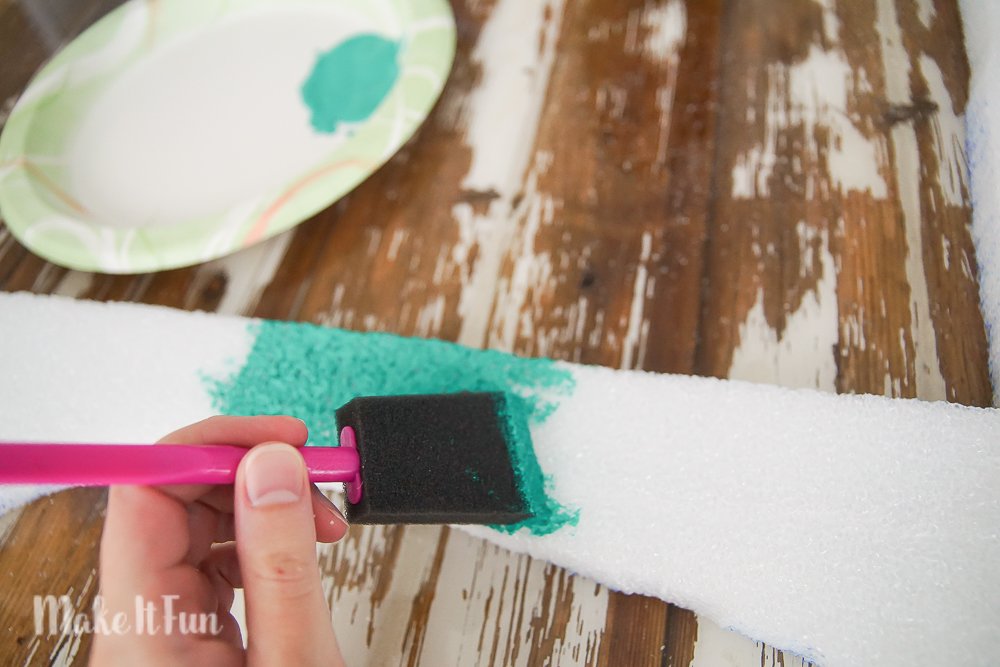
Then it is time to paint!
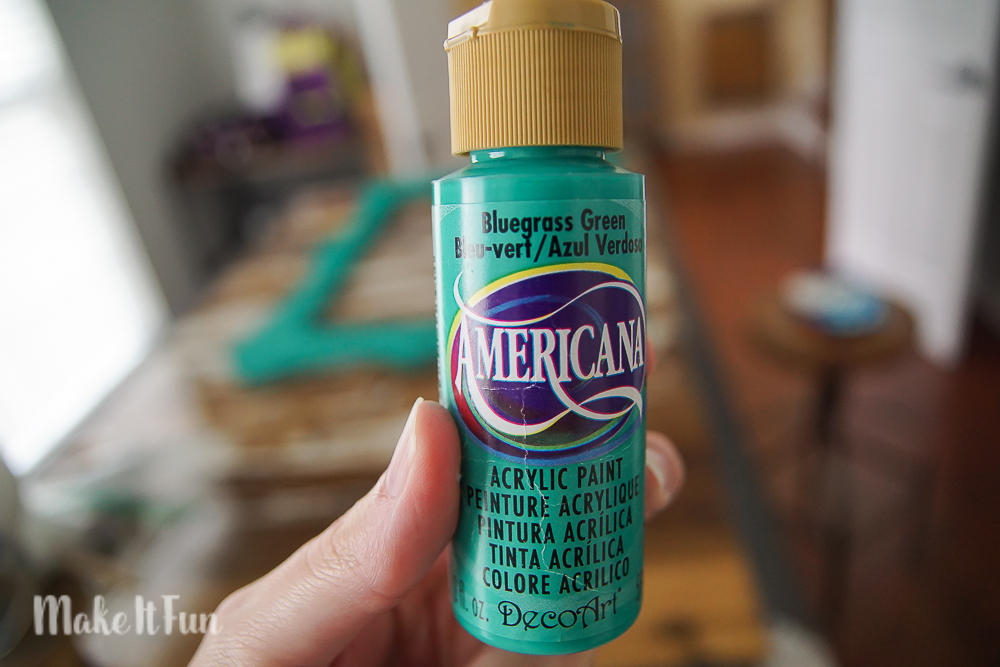
Use a foam brush and acrylic paint to paint the DIY foam frame.
Once the paint is dry you are ready to use it as a frame either in your home or as a photo prop!
This size frame is perfect for two people or even three! And adds so much fun to any photo session!
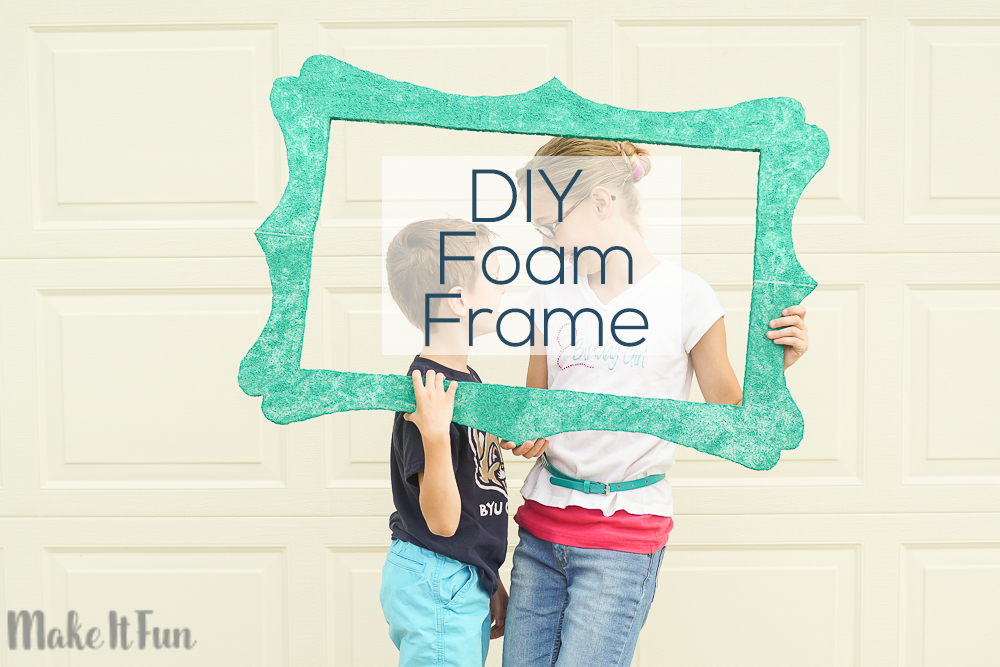
My kids had so much fun using this as a photo prop! Do you have any family members or kids who would enjoy using this as a photo prop?


Leave a Comment
Want to join the discussion?Feel free to contribute!