
Teach Me! – Counting Critters
Hi, I’m Cindy and every other Tuesday I’ll be here to share a fun project with you that can be used to teach an educational lesson – now known as “Teach Me Tuesday”!
For toddlers and preschoolers, “Counting Critters” is a fun, twenty-minute project that parents and teachers can do with them! It encourages counting, listening and using fine motor skills in addition to offering a fun and educational play activity!
These critters teach important early childhood and pre-k lessons including: Classification by color; sorting by shapes; comparison of more/less; and identification of position – inside/outside and top/bottom.
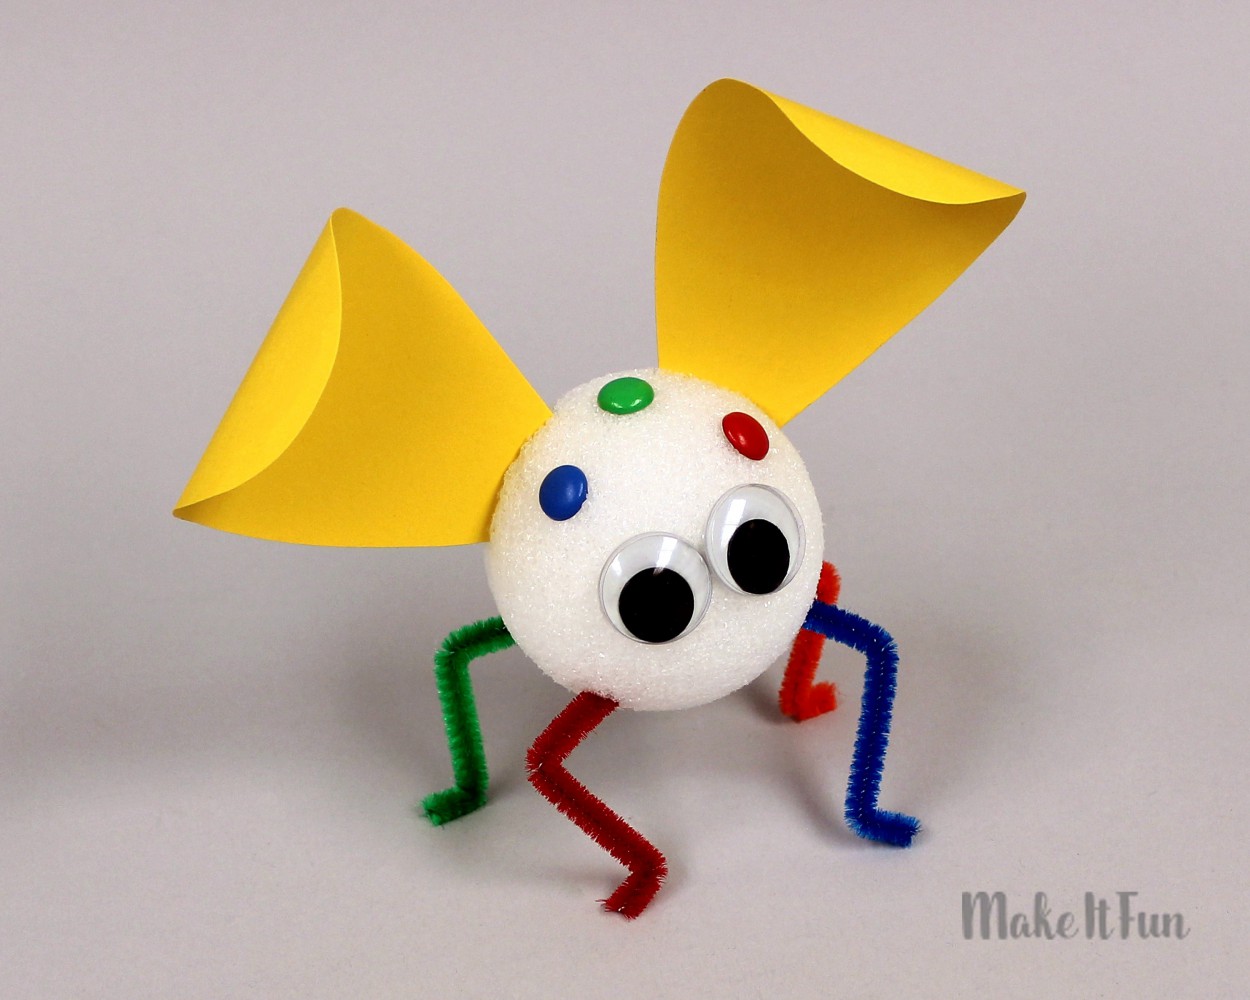
Introduce this lesson by explaining that there are lots of different kinds of bugs and they have different numbers of body parts. They will be able to make a bug that has 1 body, 2 wings, (and 2 eyes), 3 spots and 4 legs.
Supplies needed to make this project:
For Child:
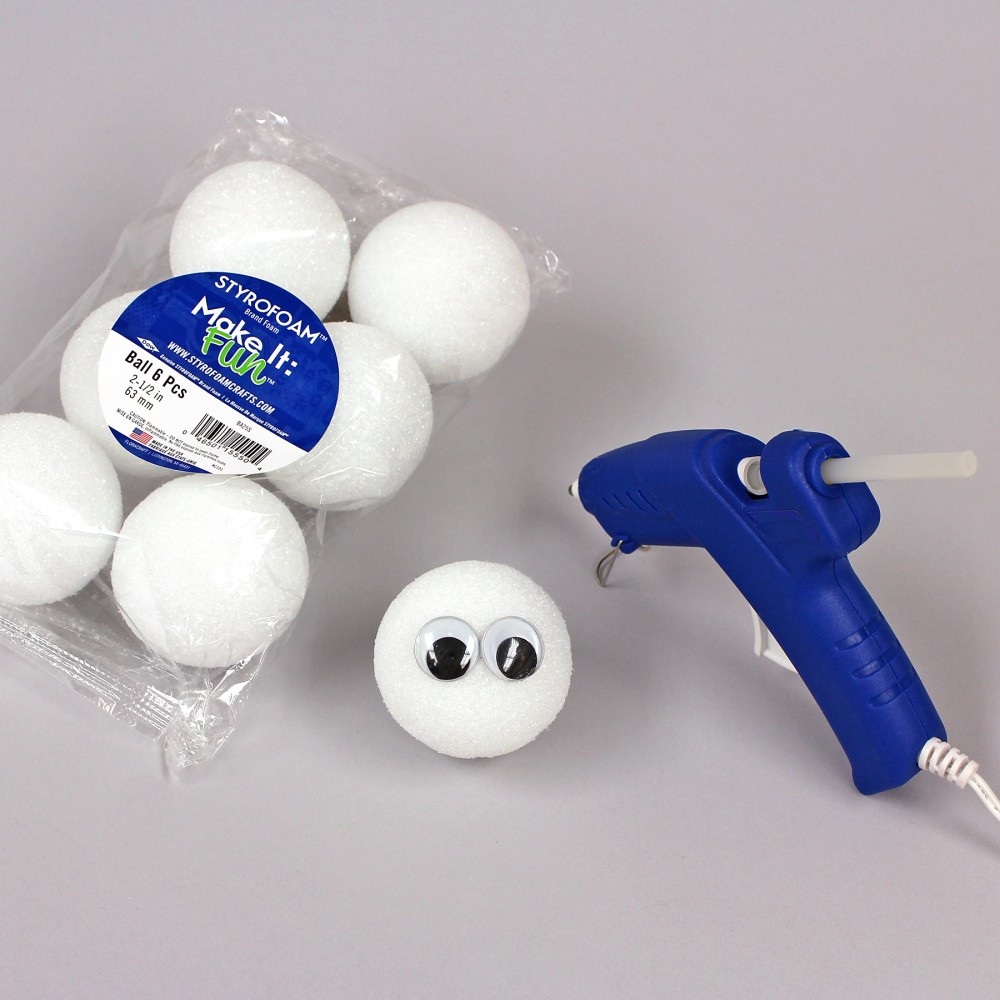
- FloraCraft® Make It: Fun® Foam Ball, 2-1/2″
- (2) 20mm wiggle eyes
- 8-1/2” x 11” yellow cardstock
- (4) 4″ lengths chenille stems: Red, blue, green and orange
- (3) colored brads (paper fasteners)
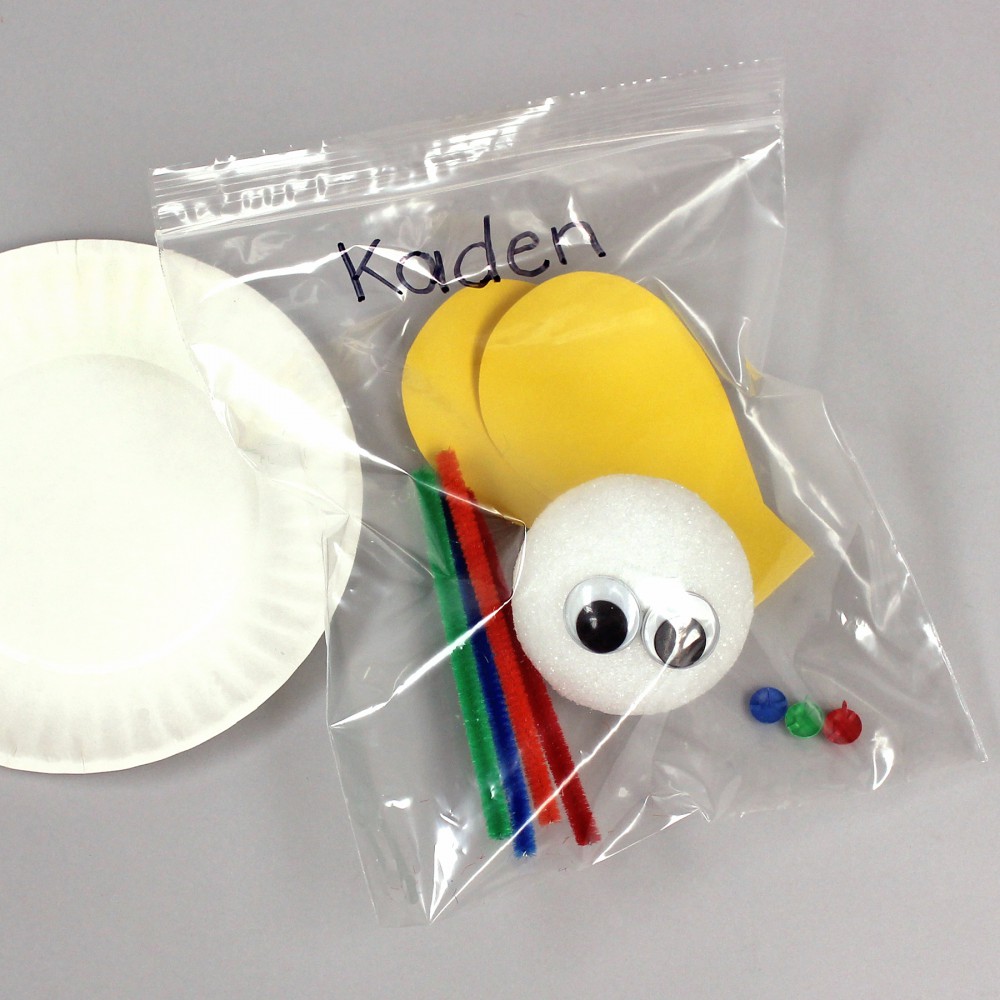
- Paper plate
- Small zip-sealed bag (to hold parts)
For Parent or Teacher:
- FloraCraft® Make It: Fun® Foam Tools – plastic knife
- Wire cutters
- Copy paper
- Pencil
- Fine line permanent black marker
- Ruler
- Scissors
- Low-temp glue gun & glue sticks
Instructions:
Before working with the child
All of the bugs’ body parts will be removable, for play, except the eyes. If you’re making them with more than one child, figure out the number of materials you’ll need. Also, make one critter first, before preparing the others, since knowing how the parts fit, might affect how you prepare.
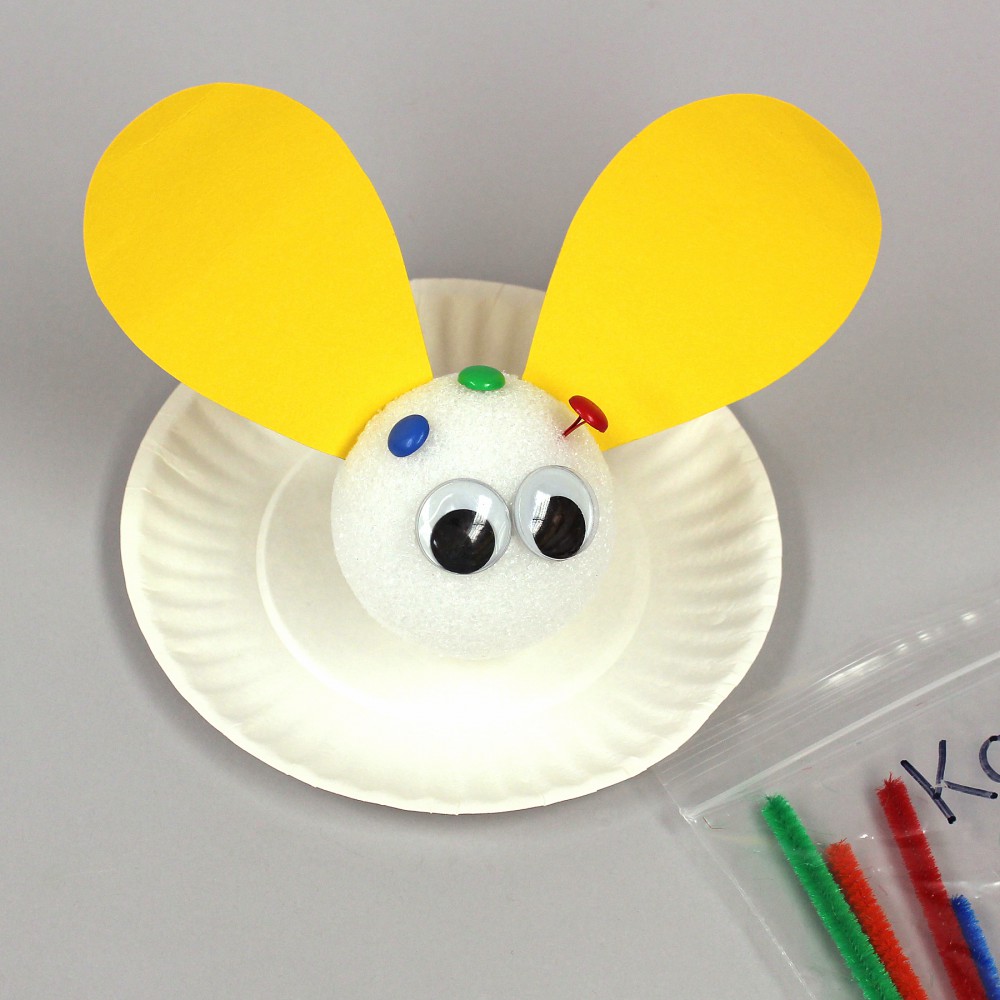
Hot glue the two eyes, side-by-side, on the foam ball. (This will help the child locate the front of the bug.)
Use the plastic knife to make two slits for the wings, in the top of the foam ball. (About 1-1/4″ wide from right to left, 1-1/4″ back from eyes and 1″ apart from each other.) Press down into the ball about an inch.
On copy paper, sketch a tapered wing about 2-1/2″ wide x 3-1/2″ long. For extra sturdiness, draw a 1″ square onto the tapered bottom. This square will be inserted into the foam.
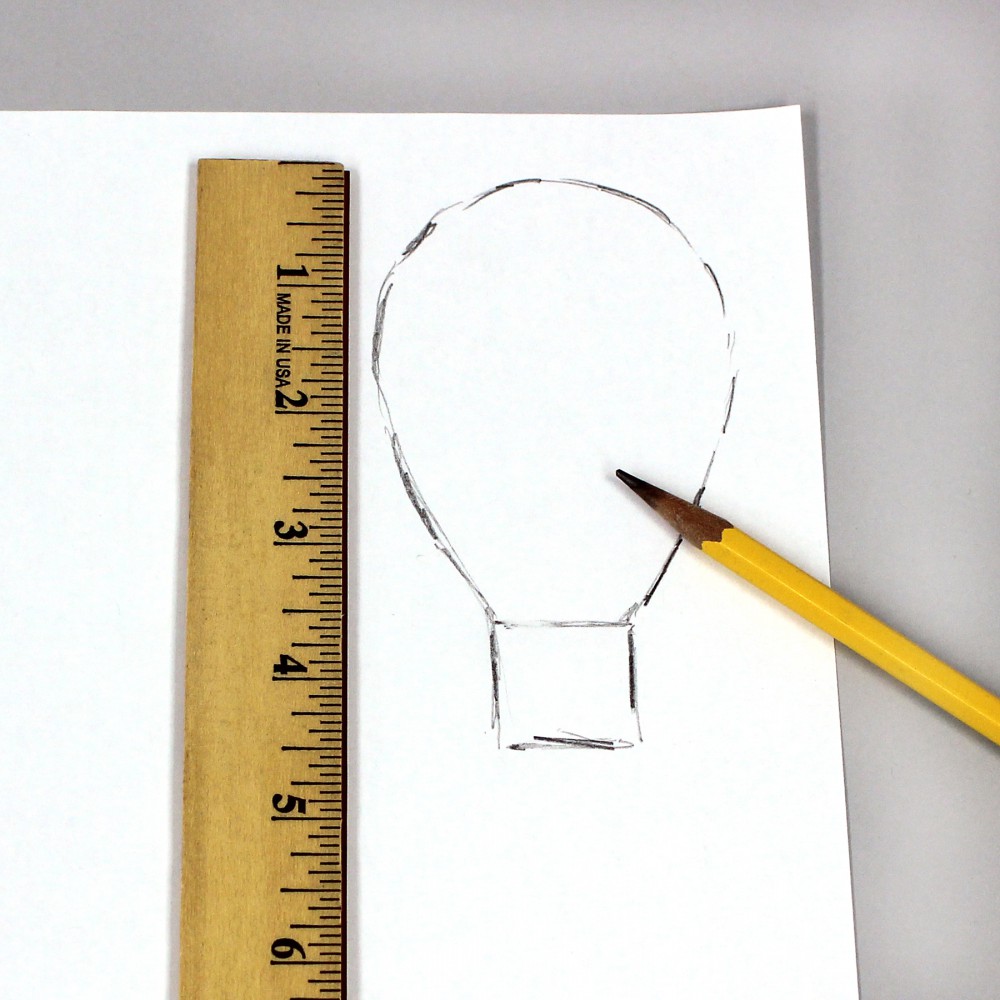
Vertically fold the wing in half, and cut it out to make symmetrical sides. Fit it into the slits in the foam ball and adjust the pattern as needed. Trace the pattern twice onto the yellow cardstock and cut them out.
Use the wire cutters to cut the chenille stems into three 4″ lengths.

Do this part with the child
Ask questions while working with the child to keep them interested:
- What shape is the foam? (ball)
- How many are there? (one)
- What is glued onto the foam ball? (eyes)
- How many are there? (two)
- Do you see two of anything else? (yellow paper)
- What are they? (wings)
Ask the child to insert the wings into the foam ball.

Ask:
- Do you see three of something? (brads or paper fasteners)
- What colors are they? (red, green, blue)
Have the child take one (specify color) and put it into the top of the bug, between the eyes and wings. Then continue with each of the other two colors, one at a time.
Ask:
- What is left? (chenille stems)
- What do you think they are on our bugs? (legs)
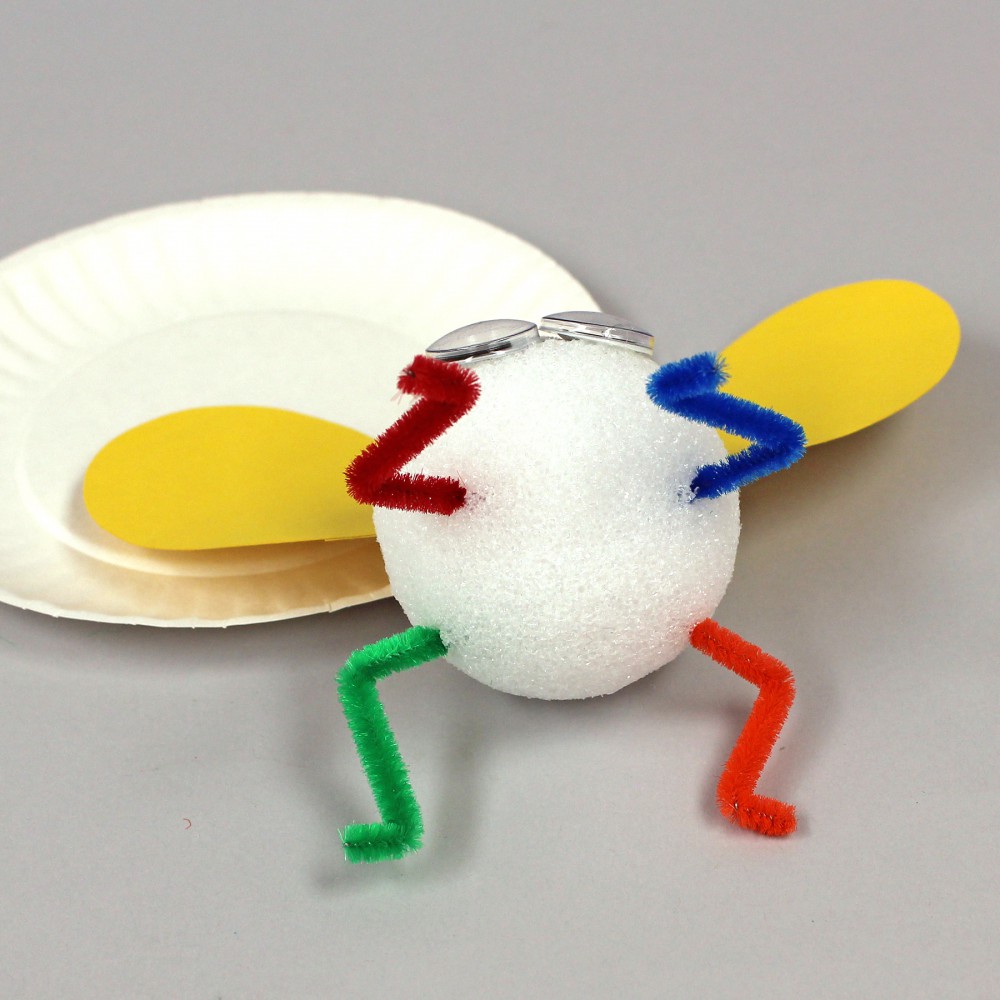
- How many are there? (four)
Have the child take one (specify color) and show them how to pinch and fold the chenille stem in half for the knee. Then, have them pinch just one end, and bend it out for the foot.
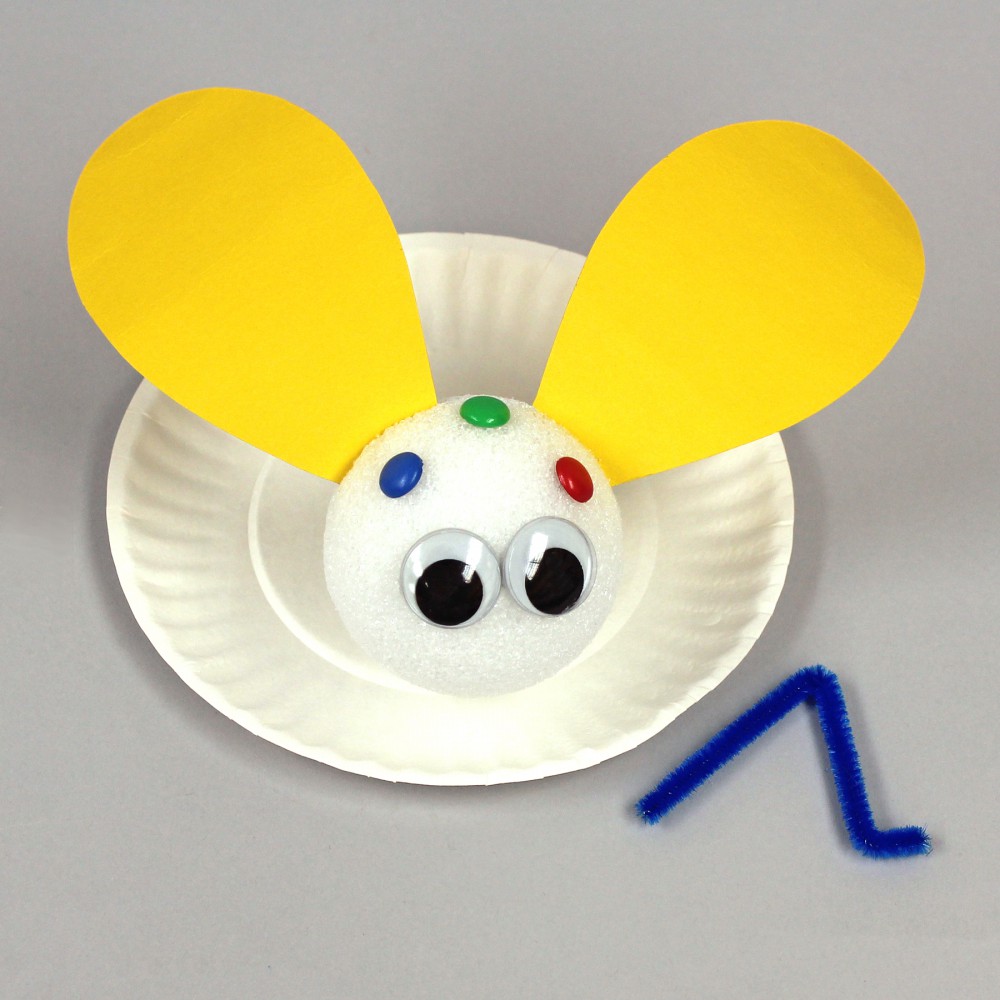
Repeat with the other legs. If necessary continue to go through it step-by-step for each leg, or see if the child can repeat the process on their own.
Show the child how the bug’s legs go into the bottom of the foam ball. Have them insert their bugs’ legs.
The child can play with the bugs, removing parts and reassembling. Remind them that the eyes do not come off and the parts should be kept together in their bags.
Tips & Ideas:
- Optional: Fold under about 1/4″ on each chenille stem end and tightly pinch to prevent wire from scratching the child.
- Supervise so that no parts go into mouths.
- Have extras of all parts on hand.
- If you’re concerned about the wings tearing as the child plays with them, back the bottom part of the wings with two layers.
- Optional: Help the child curl the wings by rubbing them over the edge of a table.
- When it’s time to put away, have the child count with you each part as they put them into their bags.
- To display, hang the bugs from baker’s twine or cord so that they can buzz around the room.
More…
For more information on this project and to find other learning activities, click here to visit the Make It: Fun Learning Center.


Leave a Comment
Want to join the discussion?Feel free to contribute!